
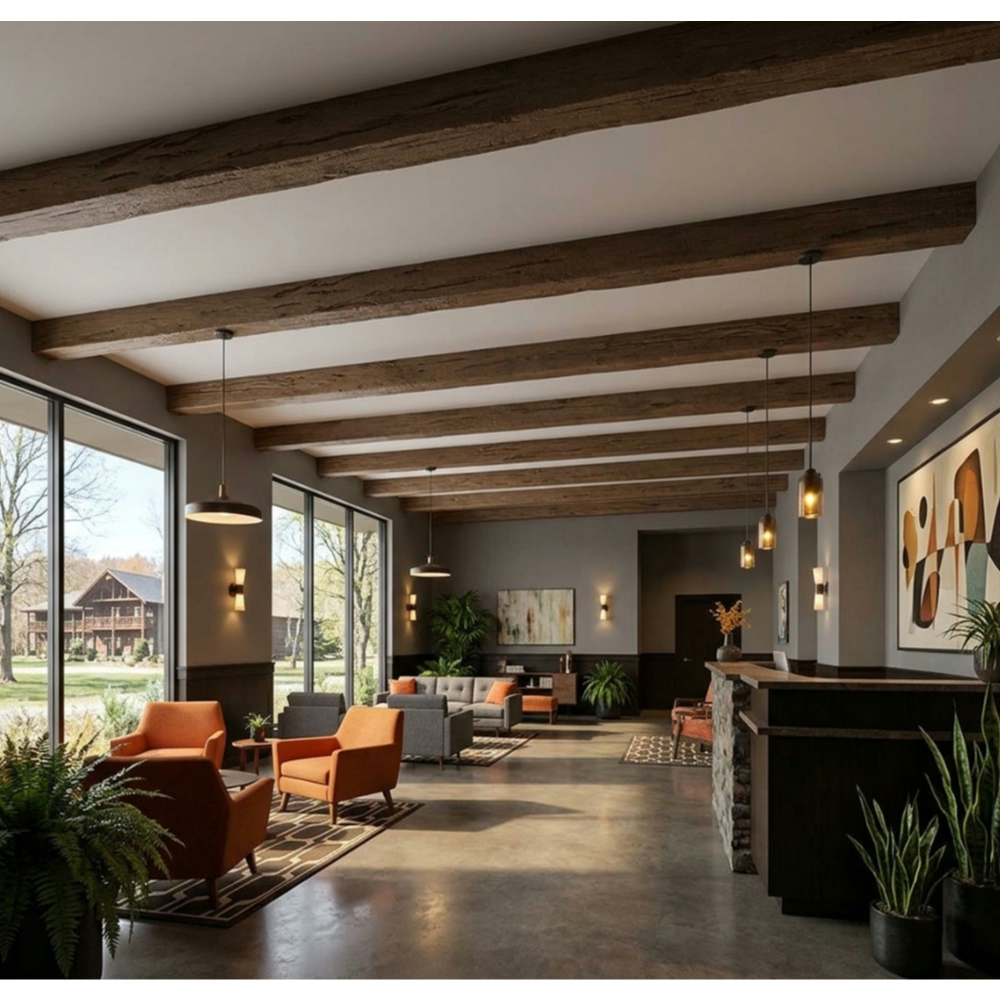
Property owners and managers frequently encounter a frustrating situation: structural beams that serve their load-bearing function admirably but create aesthetic liabilities in the space. The beams might be steel, concrete, or even outdated wood that conflicts with renovation goals. Demolition seems excessive for what is fundamentally a cosmetic problem, yet the ugly structure dominates the room visually. Beam sleeve covers solve this exact dilemma, providing wood-textured coverings that install directly over existing structural elements without requiring their removal or modification.
The sleeve cover approach works because it decouples appearance from structure. A steel I-beam performing necessary structural work can wear a beautiful wood-textured skin that makes it appear to be hand-crafted timber. The building's engineering remains uncompromised while the room's aesthetics transform entirely. This separation of form and function enables renovations that would otherwise require costly structural engineering assessments, permit applications, and construction work.
Understanding Sleeve Cover Construction
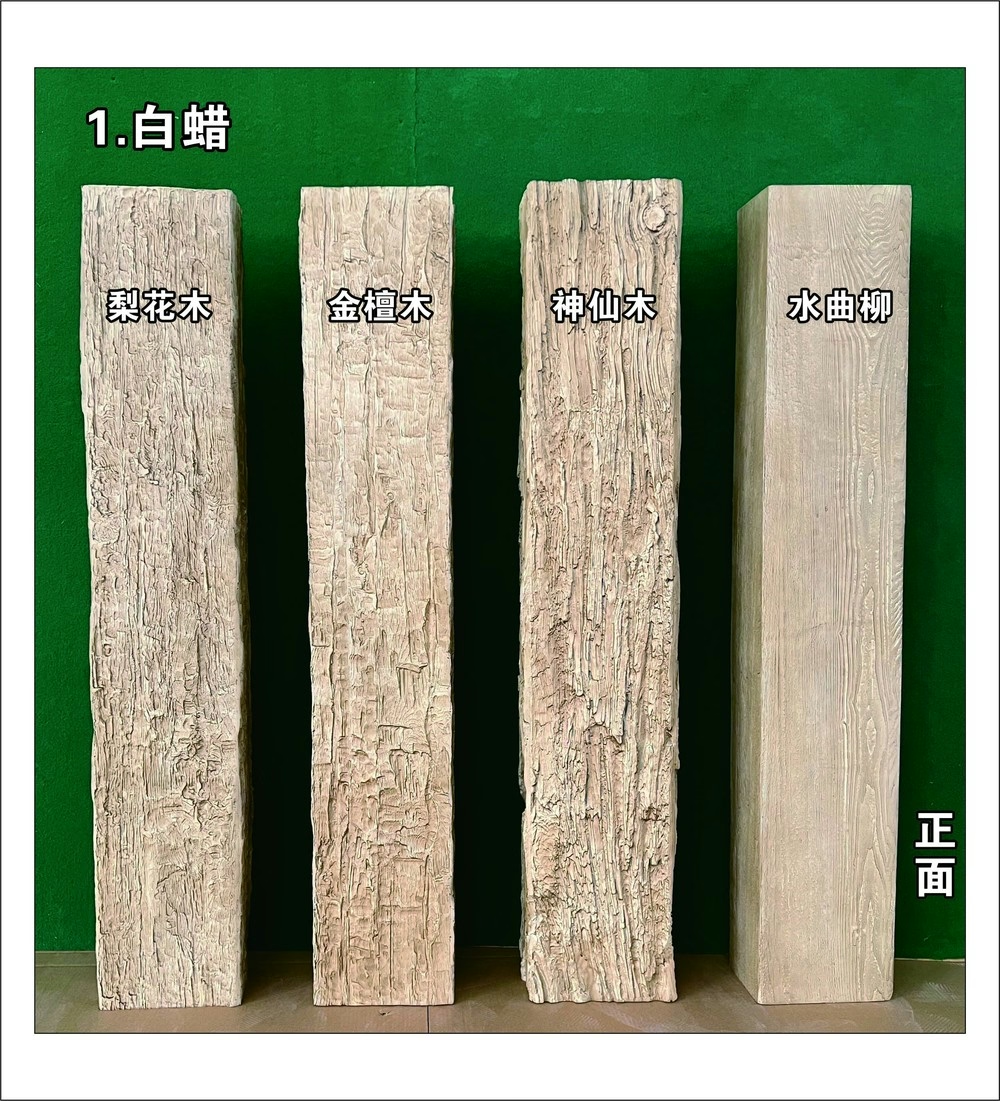
PU beam sleeve covers achieve realistic wood textures through advanced manufacturing processes that replicate timber's natural characteristics. High-density polyurethane forms the structural base, providing dimensional stability and impact resistance. Surface embossing creates tactile wood grain patterns that catch light authentically, creating depth perception that triggers the brain's wood-recognition responses. Some manufacturers employ multi-layer finishing processes where base color, grain highlighting, and protective coatings combine to produce appearances indistinguishable from genuine timber at normal viewing distances.
The hollow construction distinguishes sleeve covers from solid faux wood beams. Interior cavities accommodate existing structural elements while minimizing material usage and weight. Wall thickness typically ranges from half an inch to one inch depending on the beam size and profile complexity. This construction allows sleeve covers to slide over existing beams or to be assembled around them in sections for larger installations. The hollow core also permits running electrical wiring, audio cables, or low-voltage lighting connections inside the beam assembly where design requires.
Profiles range from simple rectangular forms to elaborate multi-part assemblies featuring crown moldings, corbels, and decorative end caps. Custom fabrication services accommodate non-standard beam dimensions or unusual architectural details. For projects requiring specific wood species appearances—knotty alder, white oak, reclaimed barn wood looks—manufacturers maintain extensive finish libraries that translate into production specifications for custom orders.
Measurement and Planning
Accurate measurements determine whether sleeve cover installation succeeds or fails. Each existing beam requires three critical dimensions: width, depth, and length. Width and depth establish the sleeve cover's interior dimensions, which must accommodate the existing structure with clearance for attachment hardware. Length determines how many sleeve sections connect to span the full beam run, with most installations requiring joints that align with architectural features or structural requirements.
For beams longer than standard production lengths, plan joint placement to coincide with natural visual break points—corners, window alignments, or fixture locations. End-to-end joints in the middle of long sight lines create visual interruptions that make the sleeve cover assembly obvious. Strategic joint placement distributes seams where they become part of the design rather than distractions from it.
Height clearances require verification before ordering. Sleeve covers add depth to existing beams, which can affect door swing paths, window openings, or lighting fixture positioning. Measure from the existing beam's bottom edge to the lowest point of any adjacent element that might interfere. Account for any planned recessed lighting or other ceiling treatments that might reduce available clearance. In older buildings where walls and ceilings may not meet at precisely 90-degree angles, take measurements at multiple points along the beam run to identify any taper or variation that might require custom fitting.
Installation Techniques for Various Ceiling Types
Concrete ceiling installations require different mounting approaches than wood-framed structures. Sleeve covers for concrete beams typically use adhesive bonding combined with mechanical anchoring. Heavy-duty construction adhesive applied to the beam's top surface provides initial holding power while tapcon screws or concrete nails driven through mounting blocks establish permanent connections. The adhesive compensates for concrete's uneven surfaces while the mechanical anchors resist uplift forces that might otherwise loosen the assembly over time.
Wood-framed ceiling beams accept simpler mounting systems. Wood screws driven through the sleeve cover's inner surfaces into the underlying beam create strong connections without requiring access above the existing structure. Spacing screws at 16 to 24-inch intervals provides adequate holding power for most residential and light commercial applications. Where appearance requires invisible fasteners, pocket hole joinery techniques create screw access holes that hide beneath wood trim pieces after installation.
Steel beam installations present unique opportunities. Magnetic mounting systems attach directly to steel without requiring drilling or welding. These systems use rare-earth magnets rated for continuous shear loads, securing sleeve covers without penetrating either the steel or the covering material. For steel beams in occupied spaces where welding sparks or drilling would create safety hazards, magnetic mounting provides installation capability where traditional methods cannot function.

Finishing and Detailing
Factory-finished sleeve covers arrive ready for installation, eliminating on-site finishing labor and associated cleanup. The finishing quality achieved in controlled manufacturing environments typically exceeds what site finishing can deliver, with consistent color saturation, uniform texture depth, and proper sealer application throughout. For projects with aggressive timelines, factory finishing removes finishing from the critical path entirely.
When custom colors or site-matched finishes are necessary, PU surfaces accept standard wood finishing products readily. Oil-based stains penetrate the material and can be layered to achieve complex color effects. Water-based stains offer faster dry times and easier cleanup but may require conditioning to ensure even absorption. Topcoat application should use polyurethane or polyacrylic products formulated for synthetic surfaces, following manufacturer recommendations for application thickness and recoat intervals.
Sealing joints between sleeve cover sections prevents moisture intrusion and maintains the continuous wood appearance. Color-matched caulk compounds designed for wood trim applications work well for this purpose, flexible enough to accommodate minor thermal movement without cracking. For exterior applications or high-humidity interiors, apply caulk before topcoat application to ensure moisture cannot reach the underlying structure through the joint gap.
Maintaining Sleeve Covers Long-Term
One advantage of PU sleeve covers over real wood involves their minimal maintenance requirements. The non-porous surface does not absorb stains, making cleaning straightforward—typically requiring only dust removal with soft cloths or gentle vacuuming with brush attachments. For locations where accumulated grime requires more aggressive cleaning, mild detergent solutions followed by清水 rinsing remove contaminants without damaging the finish.
Impact damage, while rare with quality products, can be repaired. Small dents or punctures accept wood filler compounds that bond to the PU surface. After filling, sand smooth and apply touch-up finish matching the surrounding color and sheen. For extensive damage, individual sleeve cover sections can often be replaced without disturbing adjacent elements, making repairs economical compared to other ceiling renovation approaches.
UV exposure affects sleeve covers differently depending on finish type and installation location. Direct sunlight through skylights or sunrooms may cause gradual lightening of dark finishes over years of exposure. Periodic application of UV-inhibiting clear coats every three to five years maintains original appearance in challenging light environments. Interior installations away from direct sunlight maintain their appearance indefinitely without additional treatment.
Technical References
ASTM standards cited in every specification
Test Data
Lab results from internal testing program
Updated 2026
Reviewed against current product specs


