
The dining room ceiling in this 1990s ranch was flat, white, and forgettable. The homeowner wanted a coffered look without taking on full custom millwork. The answer came on a Saturday morning when four 14-foot polyurethane faux beams were unpacked in the garage. By Sunday evening, the room had a grid of recessed panels that read as if the house had been built with the detail from day one. Total labor was roughly 14 hours across two days. Total material cost was under $1,400.
Coffered ceilings built with PU faux beams are an approachable DIY project for someone comfortable with a level, a miter saw, and basic drywall work. The result looks substantially better than the cost suggests, which is why this combination has become popular in renovations from Texas to Toronto.
What a Coffered Ceiling Actually Is
A coffered ceiling divides a ceiling plane into a series of recessed panels (the coffers) separated by perpendicular beams. The beams project downward from the ceiling, the panels sit between them, and the whole composition reads as a grid.
Traditional coffered ceilings use solid timber or built-up MDF boxes installed as a grid. The coffers (recessed panels) sit between the beams, often finished in a contrasting color or with applied moulding.
A polyurethane faux beam coffered ceiling works the same way visually but uses a much simpler construction method. Instead of building boxes around the coffers, the homeowner installs flat faux beams directly to the existing ceiling, leaving the coffer panels as the original drywall.
The visual result is identical to a traditional coffer from floor level. The construction method is simpler, lighter, and forgiving of imperfect framing.
Why Polyurethane Works for Coffered Construction
Polyurethane faux beams offer three specific advantages in a coffered ceiling application:
- Light weight. A 6x8 polyurethane beam weighs roughly 2 pounds per linear foot. A solid pine beam of the same size weighs 8 to 10 pounds per foot. Across a 200-linear-foot installation, the difference is 1,200 to 1,600 pounds hanging from the ceiling. Most residential ceiling joists handle that easily. Most residential ceilings do not want to carry 1,600 extra pounds.
- No on-site finishing. Polyurethane beams arrive pre-finished with a realistic wood grain and color. Traditional coffered construction requires hours of sanding, staining, and finishing per beam. The DIY timeline drops by days when finishing is removed.
- Tighter tolerances. Polyurethane beams ship in consistent dimensions. A 6x8 beam is exactly 6x8 inches along its entire length. Real timber varies. For a coffered ceiling where every beam meets every other beam at consistent heights and angles, that consistency matters.
For DIYers working solo or with one helper, the difference between working with 2 pounds per foot and 8 pounds per foot is the difference between a one-day grid installation and a three-day struggle with clamps and bracing.
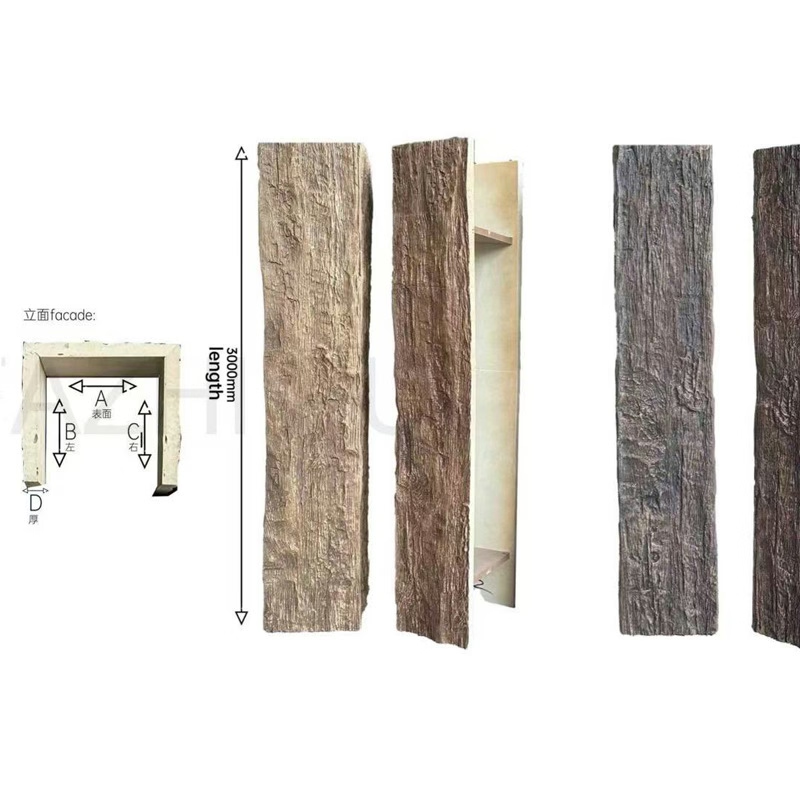
Planning the Grid Layout
A coffered ceiling grid lives or dies on the layout. Three decisions shape the rest of the project:
1. Beam Profile Size
A typical DIY coffered ceiling uses beams in the 5x7 to 6x9 range. Smaller profiles look correct on 8-foot ceilings. Larger profiles (7x9 or 8x10) suit 9 to 10-foot ceilings.
A common DIY mistake is going too small. A 4x6 beam on an 8-foot ceiling reads as decorative trim, not as structure. A 5x7 or 6x8 reads as architecture.
2. Grid Pattern
Three patterns dominate DIY coffered ceilings:
- Square grid. Equal squares across the entire ceiling. Reads as classical, traditional.
- Rectangular grid. Long rectangles running one direction. Reads as transitional, modern traditional.
- Stepped grid. Larger central panel surrounded by progressively smaller border panels. Reads as formal, dining-room.
For a first DIY coffer project, the square grid is the most forgiving. Every intersection is identical, which means cuts are repetitive and mistakes are visible only on close inspection.
3. Border Treatment
The outer edge of the ceiling needs a beam as the perimeter. The interior beams can run parallel to that perimeter beam or perpendicular to it. Parallel layouts read as framed panels. Perpendicular layouts read as a fully gridded ceiling.
Most DIY projects use a perpendicular layout because the perimeter beam is visually integrated with the field beams. The eye does not see two separate systems.
Step-by-Step Installation Sequence
Step 1: Snap Reference Lines
The first line is the centerline of the room. The next lines are parallel to the first, spaced at the chosen coffer interval.
A typical coffer interval is 24 to 36 inches on center. Smaller intervals create more coffers (more visual interest, more work). Larger intervals create fewer coffers (cleaner, less work, but the coffer size needs to match the room).
For a 12 by 14 dining room with a 30-inch coffer interval, the layout works out to four coffers along the 14-foot direction and five coffers along the 12-foot direction. Five cross-beams plus four running beams is the install count.
Use a chalk line for each reference. Verify the lines are parallel with a tape measure, not just by eye. A 1/8-inch drift over 14 feet becomes visible at every intersection.
Step 2: Install the Perimeter Beam First
The perimeter beam sets the depth of the coffers. Most DIY projects use a beam that drops 6 to 8 inches below the existing ceiling. Anything deeper starts to crowd a standard 8-foot room.
Cut the perimeter beam to length with a fine-tooth miter saw. A 32-tooth blade cuts polyurethane cleanly. Coarser blades tear the edges and leave a fuzzy cut that shows through the finish.
Mount the perimeter beam using a combination of:
- Construction adhesive on the back face
- Drywall screws through the beam face into the wall framing
- Finish nails at corners
The adhesive does most of the holding once cured. The screws and nails hold the beam in place while the adhesive sets.
Step 3: Install the Cross-Beams
Cross-beams run perpendicular to the perimeter beam, at the spacing set by the reference lines. Each cross-beam spans the room width minus the depth of the two perimeter beams.
Cut each cross-beam to length. Dry-fit it against the perimeter beam and the opposing wall. Mark any wall irregularities. Trim the beam to match the wall if the wall is out of square (and in a 1990s ranch, the wall will be out of square by 1/4 to 1/2 inch somewhere).
Mount each cross-beam with adhesive and finish nails through the sides into blocking installed at the ceiling. If the existing joists run the right direction, the cross-beams can screw directly into the joists. If not, the installer needs to add blocking or use a cleat system.
Step 4: Install the Running Beams
Running beams run parallel to the perimeter beam, at the reference line locations, spanning between cross-beams. They are the shorter pieces, fitting between cross-beams.
Each running beam sits flush against the cross-beam at each end. The simplest joint is a butt joint, with the running beam abutting the cross-beam. A more advanced joint is a half-lap, where each beam notches into the other. For a first DIY project, the butt joint works fine and reads cleanly when painted to match.
Step 5: Finish the Joints
Every joint between beams gets a thin bead of paintable caulk or wood filler colored to match the beam. Most factories sell color-matched caulk alongside the beams. If they do not, a standard paintable caulk tinted with a small amount of the beam finish works.
Run a damp cloth over the caulk line within 10 minutes of application. This wipes the caulk smooth and removes excess from the beam face.
Step 6: Paint the Coffer Panels (Optional)
The coffer panels themselves can be left as the existing ceiling color, painted the same color as the beams for a unified look, or painted a contrasting color for a stronger grid.
Contrasting coffer panels in a soft cream or pale grey are popular because they make the beam grid read more strongly. Same-color panels tone the grid down and let other room elements take focus.
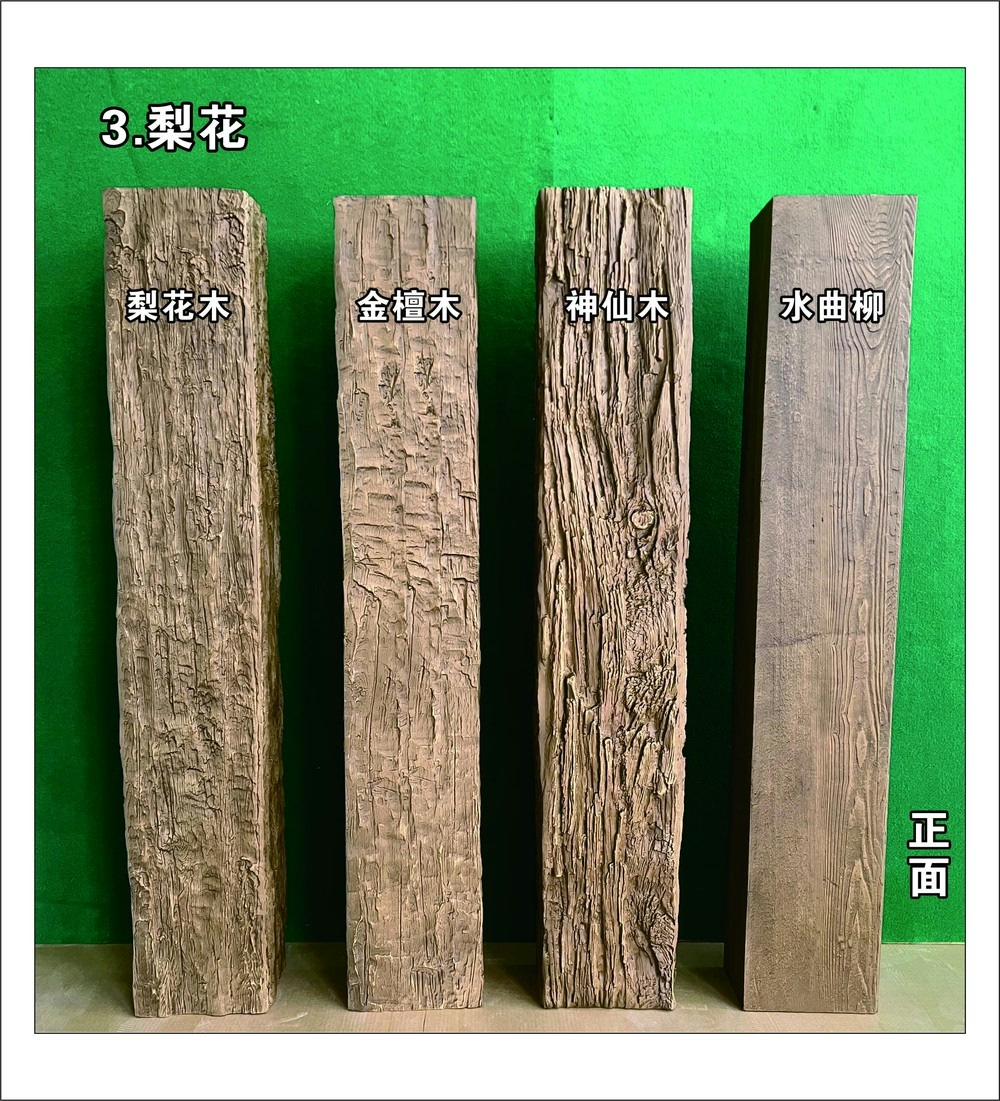
Tools and Materials for the DIY Coffer Project
Tools Required
| Tool | Purpose |
|---|---|
| Tape measure | Layout, cuts, fitting |
| Chalk line | Reference lines on ceiling |
| Level (4-foot) | Confirm beams run true |
| Miter saw | Cutting beams to length |
| Fine-tooth blade | Clean cuts in PU |
| Caulk gun | Adhesive and finishing |
| Drill/driver | Screws for blocking |
| Finish nailer | Quick beam fastening |
| Putty knife | Caulk smoothing |
Materials Required
| Material | Quantity |
|---|---|
| Polyurethane faux beams | Per layout (measure carefully) |
| Construction adhesive | 4-6 tubes |
| Color-matched caulk | 2-4 tubes |
| Finish nails | 1 box |
| Drywall screws | For blocking |
| Blocking lumber | Per layout |
| Touch-up paint | 1 small can, if needed |
A 12x14 room with a 30-inch coffer interval typically uses 80 to 100 linear feet of beam material, depending on layout choices.
Common DIY Mistakes and How to Avoid Them
Mistake 1: Mis-measuring the Grid Interval
The room is 14 feet wide. A 30-inch coffer interval gives five full coffers plus two 24-inch half-coffers at the walls. The cleaner option is a 28-inch interval, which gives six coffers of 28 inches each.
Always run the math both ways before cutting. A bad grid pattern is hard to fix after the beams are up.
Mistake 2: Forgetting About Light Fixtures
A ceiling grid does not work around an existing ceiling fan or chandelier without thought. Plan the grid so that a coffer center aligns with the fixture center. The beam intersection becomes the visual anchor for the light.
If the fixture cannot align with a coffer center, plan it to land at the midpoint of a beam span rather than mid-coffer. Mid-coffer fixtures look like they were afterthoughts. Mid-beam fixtures look intentional.
Mistake 3: Underestimating Adhesive Cure Time
Construction adhesive typically needs 24 hours to reach full strength. Do not stress the joints (by pushing on them, hanging anything from them, or installing crown molding against them) for at least that long.
Mistake 4: Skipping the Dry-Fit
Every beam should be dry-fit before adhesive is applied. Polyurethane cuts cleanly, but a mis-cut is annoying to redo once the adhesive is on the back face. Dry-fit, mark any issues, trim if needed, then mount.
Mistake 5: Not Buying Enough Material
Add 10 percent to the linear footage calculation for waste, mis-cuts, and future repairs. Buying an extra beam or two at the start is cheaper than a make-up order that requires a second shipping cost.
When to Call a Professional
Most coffered ceiling projects are within DIY reach. A few situations call for a contractor:
- The ceiling has significant sag or unevenness. Polyurethane is rigid and will telegraph the unevenness. A professional can correct the substrate first.
- The project includes rewiring or relocating light fixtures. An electrician handles that part.
- The room has a vaulted or angled ceiling. Coffered grids on vaulted ceilings require compound miter cuts that are difficult without specialized tools.
- The DIYer is not comfortable on a ladder for extended periods. The project involves 4 to 6 hours of overhead work. Falling off a ladder is not a budget item.
Cost Comparison: DIY vs Contractor
A professional coffered ceiling installation in PU faux beams typically runs $15 to $25 per linear foot installed. A 100-linear-foot project (12x14 room) lands at $1,500 to $2,500 in labor, on top of material cost.
The same project done DIY costs the labor hours plus material. Material for 100 linear feet of mid-range PU faux beams runs roughly $500 to $900 depending on profile and finish. Total DIY cost is $700 to $1,400 including consumables.
The savings are real but not the point. The point is that a competent DIYer can deliver a coffered ceiling in a weekend that would take a contractor a week to schedule and execute. That timeline compression is the real win.
Final Thoughts on the DIY Coffered Beam Project
Polyurethane faux beams lowered the barrier to coffered ceiling construction. A project that used to require a custom millwork shop, a finish carpenter, and a finishing crew now needs a tape measure, a miter saw, a Saturday, and patience at the joints.
The result, when done carefully, is a ceiling that reads as architectural detail rather than as decoration. The grid is consistent, the beams are uniform, and the room carries the weight of a detail that took decades to mature into DIY reach.
Technical References
ASTM standards cited in every specification
Test Data
Lab results from internal testing program
Updated 2026
Reviewed against current product specs


