The most beautiful beam installation in the world can be undermined by the smallest oversight. A beam that ends abruptly where it meets a wall, a joint where two beams meet at an angle that exposes raw material, a transition between beam and ceiling that shows the gap left for seasonal movement; each of these details, when poorly handled, signals to the eye that something is unfinished. Corner caps are the small but essential components that turn a competent installation into a polished one.
In a complete polyurethane beam system, corner caps are not an afterthought. They are manufactured as part of the same product family, with matching profiles, colors, and surface textures. They arrive ready to install, and they transform the visual outcome of the project in ways that are disproportionate to their modest cost.

Why Corners Matter in Beam Design
A beam that runs along a wall has a beginning and an end. A beam that turns a corner has a moment of decision. The way that moment is handled determines whether the installation looks like architectural intent or like a construction compromise.
The Visual Function of Terminations
Eyes naturally follow lines until they reach a stopping point. When a beam runs to a wall and stops, the eye expects to find a clean termination. A raw end, with visible wall thickness and unfilled gaps, looks accidental. A properly installed cap looks deliberate, as though the beam was always meant to end precisely where it does.
This visual function is independent of the beam material. Even the most authentic timber beam installation uses end caps or carefully finished returns to handle termination points. Polyurethane systems simply make the detail easier to specify and execute.
The Structural Function
Beyond aesthetics, corner caps also serve practical purposes. They protect the end grain or open ends of the beam from dust accumulation, insect intrusion, and incidental contact. In rooms where beams terminate near cooking areas or in bathrooms, this protective function extends the life of the installation.
Caps also provide a clean surface for any sealant or caulk that may be applied at the beam-to-wall interface. Rather than sealing against the rough cut end of the beam, the installer seals against the smooth, factory-finished surface of the cap. The result is a tighter, more durable seal.
Anatomy of a Polyurethane Beam Corner Cap
A well-designed corner cap is not simply a flat plate glued to the end of the beam. It is a three-dimensional component that integrates with the beam profile and handles the meeting of two surfaces.
Profile Matching
The cap is molded from the same tooling as the beam itself, ensuring that the profile, dimensions, and surface texture match exactly. When the cap is installed against the beam end, the eye cannot distinguish where the beam stops and the cap begins. The transition reads as a continuous surface.
This profile matching requires careful coordination between the beam manufacturer and the cap supplier. In a fully integrated product system, the same mold produces both components, which guarantees compatibility. In a mixed system, the installer must verify that the cap profile precisely matches the beam profile before installation begins.
Inside and Outside Corners
Beam installations encounter two distinct corner conditions. An outside corner occurs where two beams meet at a convex angle, such as a beam that wraps around a column or a structural projection. An inside corner occurs where two beams meet at a concave angle, such as the junction of a wall and a ceiling or the intersection of two beams in a coffered pattern.
Each condition requires a specific cap design. Outside corner caps typically have a mitered appearance that mimics traditional joinery. Inside corner caps often include a small return that allows the beam to terminate cleanly against the perpendicular surface. A comprehensive product line offers both configurations in matching profiles.
Material Composition
The polyurethane resin used in caps is formulated to match the density and behavior of the beam material. The cap feels the same under hand as the beam, accepts paint or stain in the same way, and weathers identically. This consistency is one of the quiet advantages of polyurethane systems over mixed installations where wood caps are paired with faux beams.
For exterior applications, caps may be produced in a formulation that includes additional UV inhibitors and weather-resistant additives. The same product family that serves interior applications can often be specified for outdoor beams with appropriate material upgrades.


Installation Best Practices
Corner caps are among the simpler components of a beam system to install, but their visibility demands careful attention to detail.
Surface Preparation
The end of the beam must be clean and free of debris before the cap is installed. Any saw marks or rough edges should be sanded smooth, since they will be visible at the joint between beam and cap. The contact surface on the wall or ceiling should also be clean, dry, and sound.
For installations where the cap will be painted to match the beam, both surfaces should be primed according to the manufacturer's recommendations. Some polyurethane products include factory-applied primers that simplify on-site finishing.
Adhesive Selection
The adhesive used to bond the cap to the beam should be compatible with both polyurethane materials. Construction adhesives formulated for foam and plastic typically work well. The adhesive should be applied in a continuous bead along both contact surfaces to ensure full contact.
Some installers add mechanical fasteners for additional security, particularly in ceiling applications where gravity is constantly working against the joint. Small finishing nails or brads, driven through the cap into blocking concealed in the beam, provide additional holding power without visible damage.
Alignment and Adjustment
The cap should be aligned carefully with the beam profile before the adhesive sets. Once the adhesive cures, adjustments are difficult. A small level or a square helps confirm that the cap is properly oriented, and a quick visual check from below catches obvious misalignments before they become permanent.
For longer beam runs that meet at inside corners, the installer may need to cope one beam slightly to fit against the cap of the perpendicular beam. This is a traditional joinery technique that requires a sharp coping saw and a careful hand. Pre-mitred caps from the manufacturer eliminate this step in many cases.
Common Applications
Corner caps appear in nearly every beam installation, but certain applications highlight their importance.
Wall Terminations
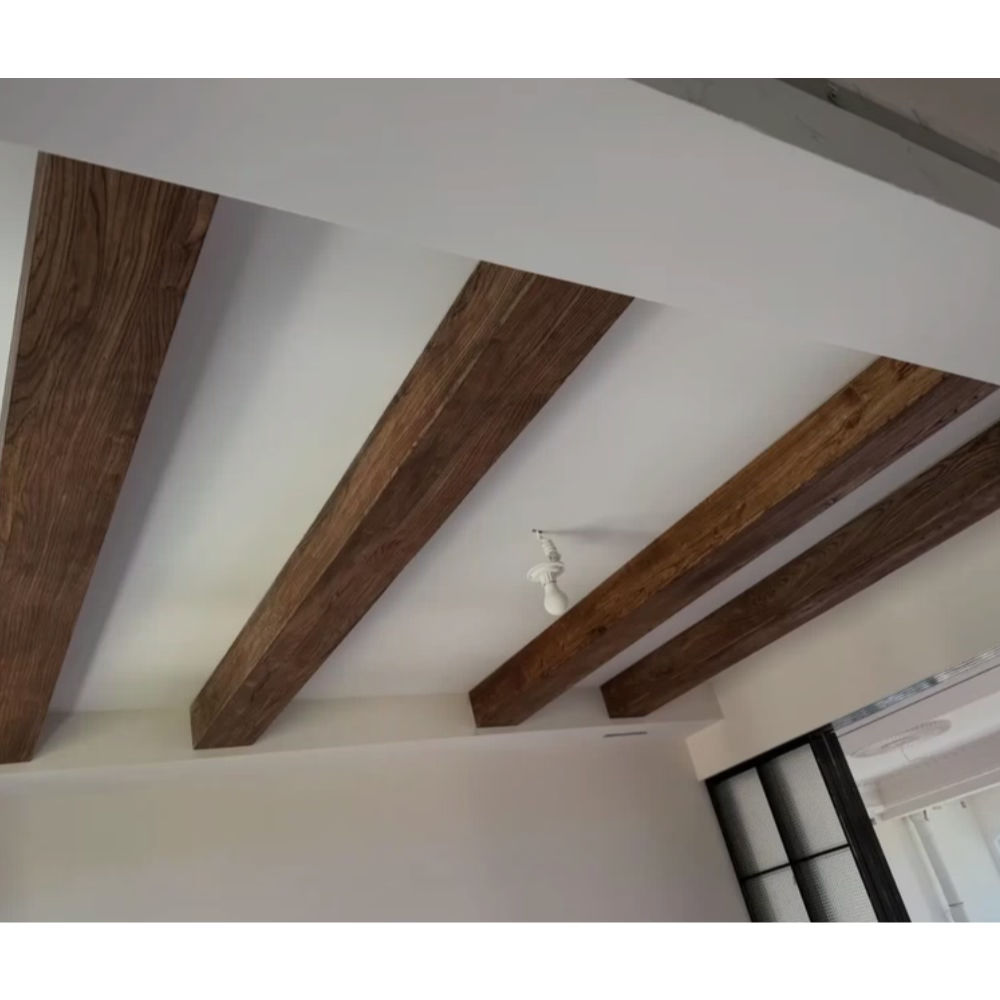
The most common application is a beam that runs along a ceiling and terminates at a wall. A properly installed cap closes the end of the beam against the wall, eliminating the visible gap that would otherwise show the beam's hollow interior or wall thickness. This detail is most visible at outside corners, where guests can see the beam end as they approach.
Column Wraps
When beams wrap around a column or structural post, outside corner caps are required at each transition. The visual impact of these wraps depends heavily on the consistency of the corners. Any variation between the cap and the beam profile is immediately visible, because the eye expects symmetry at the turning point.
Beam Intersections
In coffered ceilings or grid patterns, beams cross each other at regular intervals. Each crossing requires careful attention to how the beams meet. Some installations use a continuous beam with a perpendicular beam butted against it, with caps finishing the visible end. Others use a layered approach where both beams appear to pass through the intersection, requiring caps on multiple sides.
Vaulted Ceiling Transitions
Vaulted ceilings often feature beams that change direction along their length, following the slope of the roof. Corner caps at these transitions allow the beam to maintain a continuous visual line while accommodating the change in angle. The result is a ceiling that looks like it was constructed from a single piece, even though it was assembled from multiple components.
Selecting Caps for Your Project
The selection process for corner caps is straightforward but worth approaching deliberately.
Confirm Profile Compatibility
Before ordering caps, verify the exact profile of the beams being used. Even within a single product line, profiles vary. The cap must match the beam profile precisely to deliver the seamless appearance that justifies its installation.
Specify Quantity Accurately
Count the corner conditions in the installation plan carefully. Inside corners, outside corners, beam ends at walls, and beam intersections all require different cap types or quantities. A small sketch with each condition labeled simplifies the ordering process and prevents mid-project shortages.
Plan for Spare Pieces
Order a few extra caps beyond what the plan requires. Caps are small and inexpensive, and having spares available avoids project delays when an unexpected condition arises or when a cap is damaged during installation. The extras can be stored with the leftover beam materials for future reference.
Consider Pre-Finishing
Many manufacturers offer caps with factory-applied finishes that match the beams. When available, pre-finished caps eliminate one of the more tedious steps in the installation process and ensure perfect color matching. For custom-finished installations, factory priming still saves time on site.
The attention given to corner caps reflects in the final appearance of the entire beam installation. A space with well-finished corners looks considered and complete. The same space with rough or mismatched terminations looks like a project that ran out of attention at the details. For the modest cost and effort involved, corner caps represent one of the best returns on investment in any beam project.
Technical References
ASTM standards cited in every specification
Test Data
Lab results from internal testing program
Updated 2026
Reviewed against current product specs


