Rectangular shell PU faux wood beams are the quiet workhorses of the faux beam world. They lack the chunky profile of a hand-hewn timber beam, the dramatic angle of a truss, and the ornate detailing of a corbel. What they offer instead is clean geometry, consistent lines, and a willingness to fit into just about any design vocabulary. That versatility is exactly why they are specified so often for both residential renovations and commercial buildouts.
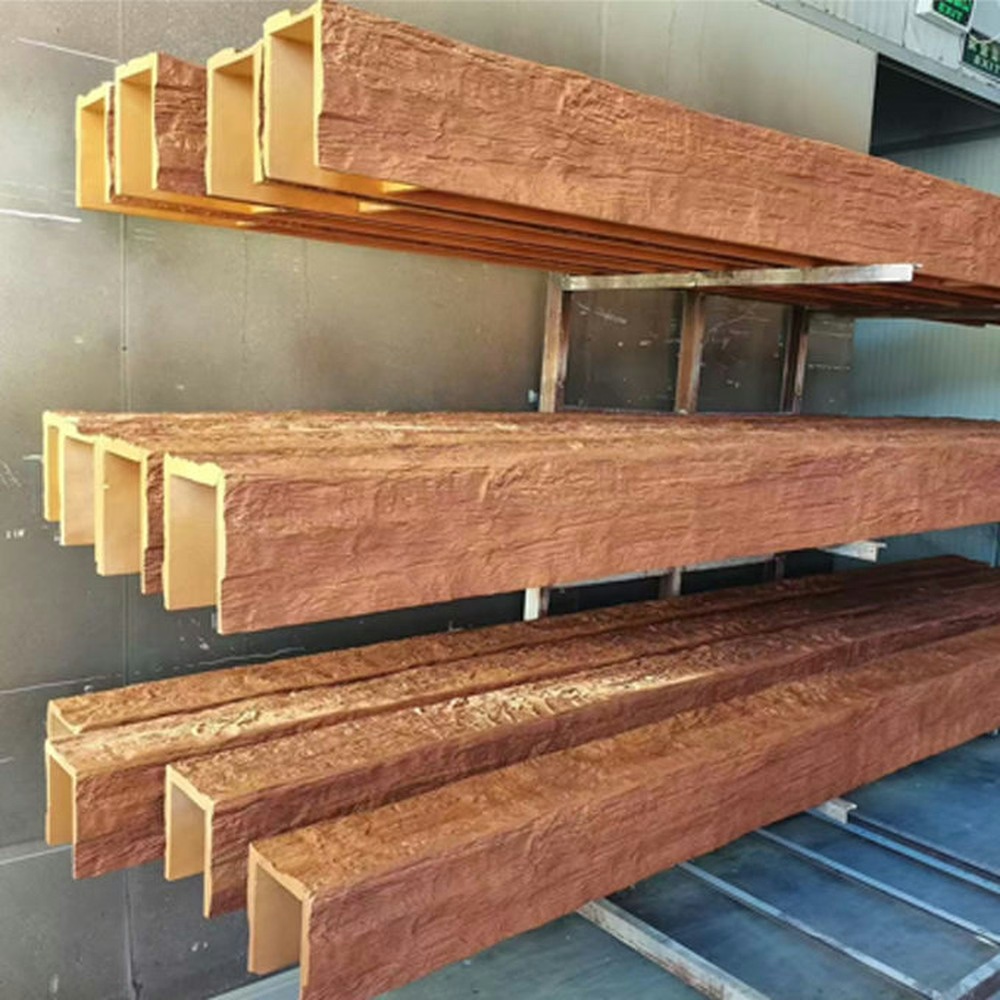
The "shell" in rectangular shell refers to the U-shaped cross-section that defines how the beam is constructed. A shell beam is a three-sided box, open at the top, that slides over a structural member or mounts to blocking above. The rectangular profile describes the clean, squared sides and bottom that give the beam its contemporary appearance. Together, those two characteristics make rectangular shell PU beams one of the most flexible products in any interior designer's toolkit.

What Makes Rectangular Shell Beams So Versatile
The combination of clean geometry and shell construction gives these beams a range of applications that more specialized profiles cannot match. They can wrap existing structural members, they can be added as purely decorative elements to flat ceilings, they can serve as covers for plumbing or electrical runs, and they can transition smoothly between rooms with different ceiling heights.
Compatibility With Multiple Design Styles
The rectangular profile reads as contemporary when paired with clean finishes, modern furniture, and minimalist details. The same profile reads as transitional when paired with mid-tone wood finishes and traditional furniture silhouettes. It reads as craftsman when paired with earthy finishes and hand-forged hardware. The geometry of the beam stays the same; the surrounding design language does the work.
That chameleon quality is unusual in building products. Most beam profiles are tied to a specific architectural style. A rough-sawn, deeply distressed beam looks out of place in a contemporary setting. A smooth, ultra-modern beam looks wrong in a craftsman bungalow. Rectangular shell beams adapt to either context without losing their identity.
Multiple Mounting Configurations
The shell construction supports several different mounting methods. The most common is to slide the beam over an existing structural member, where it serves as a wrap. The second is to mount it to blocking installed between ceiling joists, where it serves as a decorative beam in a room with no exposed structure. The third is to use it as a soffit or chase cover, hiding mechanical runs while creating a visual break in the ceiling plane.
That flexibility means a designer can use the same beam product throughout a house or building, specifying different mounting methods for different applications without changing the visual appearance of the finished installation.
Sizing for Different Room Scales
Rectangular shell beams come in a wide range of dimensions, and choosing the right size is critical to the visual success of the installation.
Residential Sizing
Most homes look proportional with beams in the 6-by-8 to 8-by-10 range. Beams smaller than 6-by-8 tend to disappear visually in rooms with ceilings over 9 feet. Beams larger than 10-by-12 can overwhelm residential-scale rooms unless the ceilings are well above 12 feet.
The width of the room also matters. In a narrow room, beams that are too wide will make the space feel tunnel-like. In a wide room, beams that are too narrow will look spindly and lost. A simple rule is to scale the beam width to about one-tenth of the room's shortest dimension. A 12-foot-wide room looks proportional with beams in the 10 to 14 inch range.
Commercial Sizing
Commercial spaces with high ceilings call for larger beams. Hotel lobbies with 20-foot ceilings routinely use 12-by-16 or 14-by-18 beams. Conference centers and ballrooms sometimes go even larger. The visual weight of a beam has to balance the height and width of the room, and undersized beams in large commercial spaces always look like an afterthought.
Mixing Sizes Within a Project
Using multiple beam sizes within the same project can create visual interest, but it requires careful coordination. A common approach is to use a larger beam for the primary structural wraps and slightly smaller beams for the decorative cross-members. The size difference should be noticeable but not jarring, typically a 2-to-3-inch reduction in both width and height.
Joining Sections for Long Runs
Long ceiling runs often exceed the longest available shell beam, which means sections have to be joined. The quality of those joints determines whether the finished installation looks like one continuous beam or several pieces butted together.
Splicing Methods
The simplest splice is a square butt joint where two sections meet end to end. The joint is hidden inside the shell if the splice lands over the supporting blocking. Outside the blocking, the joint is finished with a small amount of filler and paint.
A more refined splice uses a scarf joint, where the ends of the two sections are cut at an angle to create a longer, less visible seam. Scarf joints require more accurate cuts but produce a cleaner finished appearance. They are worth the effort on long runs where the joints will be at eye level.
Decorative splice plates can also be used to hide a joint. Wrought-iron strap wraps, wooden splice blocks, or molded faux joint covers are all options. The choice depends on the design style of the room and the level of formality desired.
Staggering Joints Between Runs
When multiple parallel beams are installed in the same room, the splices should not all line up at the same elevation. Stagger the splice locations by at least a few feet between adjacent beams. Aligned splices create a visible rhythm across the ceiling that draws the eye and disrupts the illusion of long, continuous beams.

Finish Choices for Versatile Applications
Rectangular shell beams ship in a wide range of factory finishes, and the right choice depends on the design intent of the space.
Smooth Finishes for Modern Looks
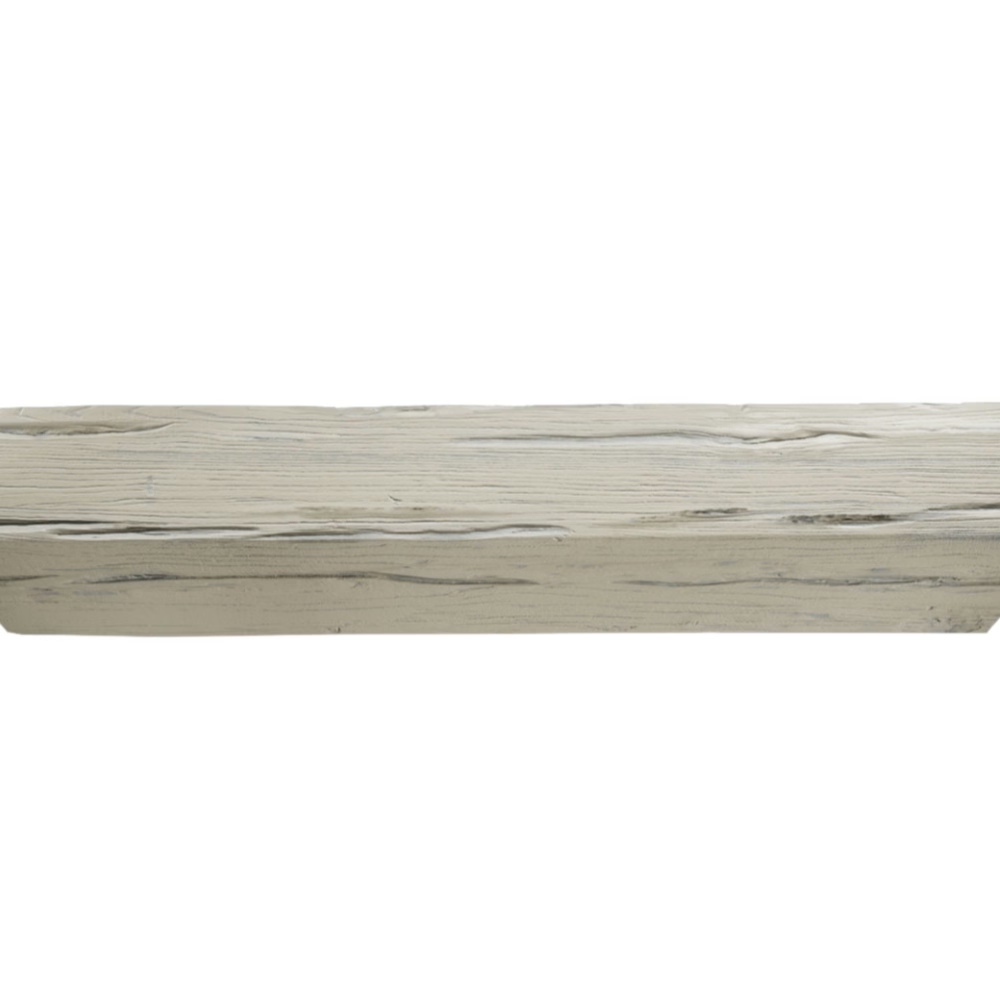
Smooth, matte finishes in colors like whitewash, weathered gray, or soft taupe suit modern and Scandinavian interiors. The clean geometry of the rectangular beam pairs naturally with the clean geometry of contemporary furnishings, and a smooth finish keeps the installation from competing with other design elements in the room.
Light Wood Tones for Transitional Spaces
Light oak, whitewashed pine, and natural maple finishes work well in transitional and coastal interiors. They add warmth without the visual heaviness of darker finishes, and they pair easily with both painted and stained wood trim.
Medium to Dark Tones for Traditional and Craftsman Styles
Honey oak, warm walnut, and aged barnwood finishes suit traditional, craftsman, and farmhouse interiors. The richer color complements the warmer wood tones common in those styles and adds the sense of substance that traditional design language demands.
Custom Finishes for Specific Projects
For projects that require a specific color or texture, most manufacturers offer custom finishing services. Send a sample of the desired color or texture, and the factory will match it. Custom finishes add a few weeks to lead time and a modest upcharge per beam, but they make it possible to coordinate with existing millwork or to match a brand standard in a commercial setting.
Lighting and Accessory Integration
Rectangular shell beams are well suited to integrated lighting and accessories because of their flat, regular surfaces.
Recessed and Surface-Mounted Lighting
LED strip lights recessed into the bottom of the beam cast a continuous wash of light across the wall or surface below. Surface-mounted puck lights or track lighting can be added to the bottom of the beam for more focused illumination. Both options look clean because the geometry of the rectangular beam accommodates them naturally.
Hanging Loads
Hanging plants, pendant lights, ceiling fans, and even porch swings can be supported from rectangular shell beams with appropriate reinforcement. Because the shell is hollow, loads have to be transferred to the supporting structure behind or above the beam. Wood backer blocks, threaded inserts, or surface-mounted reinforcement plates can all be used depending on the load and the design intent.
For heavy loads, plan the reinforcement during the beam specification phase. Some manufacturers will factory-install blocking or threaded inserts at specified locations. That approach is much cleaner than field-fabricated reinforcement and preserves the consistent factory finish on the visible surfaces.
Speaker and Sensor Integration
The shell construction also accommodates ceiling speakers, smoke detectors, sprinkler heads, and HVAC supply registers. Cutouts can be made in the field with standard hole saws and finished to match the surrounding beam surface. For commercial applications where multiple identical beams are used, factory-cut openings provide the cleanest result.
Installation Best Practices
A clean installation starts with careful planning and ends with attention to the small details that separate a professional result from an amateur one.
Ceiling Preparation
The ceiling surface where the beam will mount should be clean, dry, and free of loose material. Old paint flakes, popped nails, and water stains do not affect the structural integrity of the installation, but they telegraph through the joint between the beam and the ceiling if they are not addressed. A quick pass with a scraper and a coat of primer on the surrounding ceiling prevents issues.
Blocking and Fastening
Install solid blocking between the ceiling joists at every point where a beam will be mounted. The blocking should be the same depth as the joists and extend at least 3 inches past each side of the beam. Drive fasteners through the side flanges of the beam into the blocking every 16 inches. Stainless steel or coated fasteners are essential in any application where moisture is a concern.
Joint and Seam Treatment
Fill any visible seams between sections with a flexible, paintable filler. Tool the filler smooth before it cures, then apply a light topcoat to match the surrounding finish. Pay particular attention to the joint between the beam and the ceiling. A bead of paintable caulk along the ceiling line creates a clean shadow and prevents the small gaps that always exist along that transition.
The versatility of rectangular shell PU faux wood beams comes from a combination of clean geometry, flexible mounting, and a wide range of finishes. They adapt to almost any design context, install faster than traditional alternatives, and look good for decades with minimal maintenance. For projects where the design vocabulary is still being developed, they are a safe choice that will not lock the designer into a specific style.
Technical References
ASTM standards cited in every specification
Test Data
Lab results from internal testing program
Updated 2026
Reviewed against current product specs


