
The appeal of glue-on beam installation is that there are no drills, no screws, and no visible hardware when the project is done. For homeowners who want to skip the most intimidating parts of beam installation, glue-on methods provide a way to add architectural detail to a ceiling using skills most people already have.
The trade-off is that glue-on installation requires more careful preparation and patience than mechanical fastening. The adhesive must bond properly with both the ceiling and the beam, and the beam must be supported during the curing period without any mechanical fasteners holding it. For some projects, this trade-off is worth making. For others, the convenience of screws outweighs the visual benefits of adhesive-only mounting.
This article explores how glue-on installation works, when it is the right choice, and how to execute it successfully.
Understanding the Glue-On Approach
Glue-on installation is essentially a simplified version of the glue-mount approach described elsewhere, optimized for homeowners tackling a single-room upgrade project. The approach uses heavy-duty construction adhesive to bond a lightweight PU faux beam directly to a flat ceiling surface.
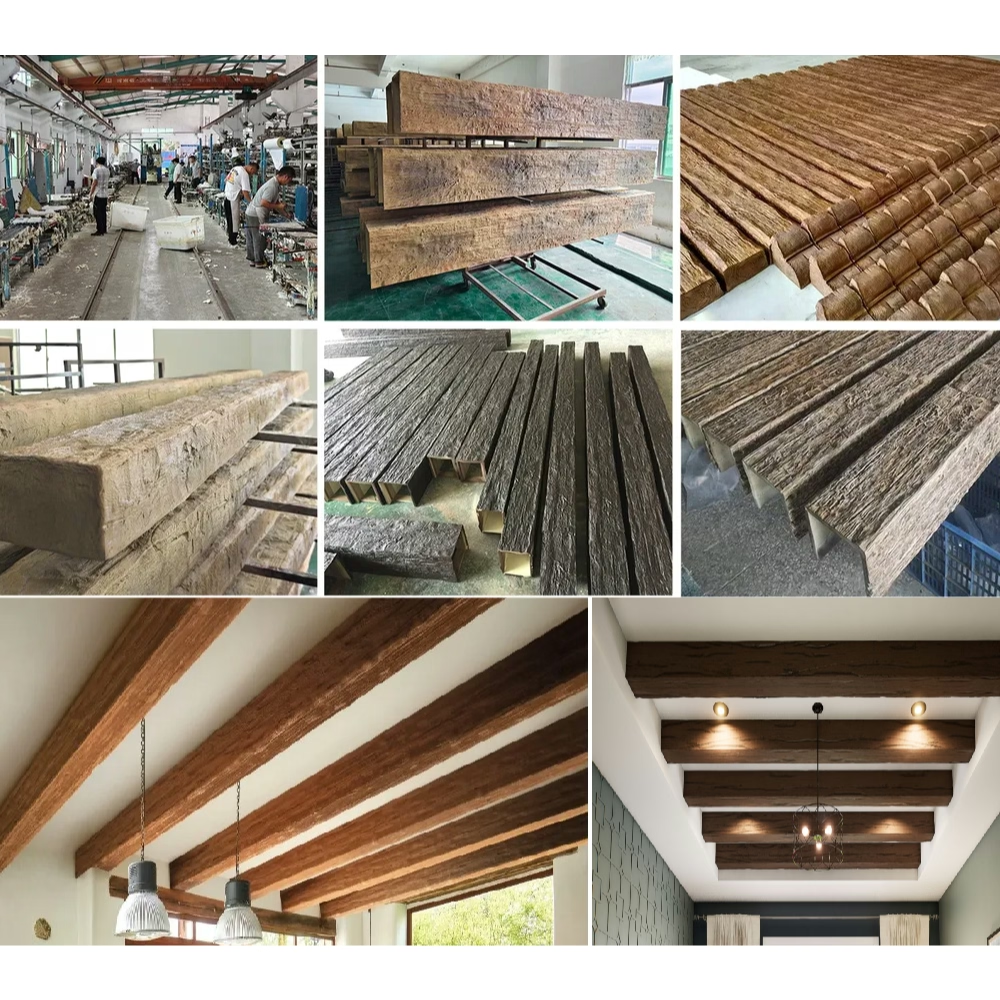
The beams used in glue-on installations are typically thinner profiles than beams mounted with internal blocks. The thinner design keeps the weight manageable for adhesive-only attachment, and the closed back of the beam provides a continuous surface for adhesive bonding.
This approach works best with beams under five pounds per linear foot and ceilings with flat, solid surfaces. Textured ceilings, popcorn finishes, and severely uneven surfaces do not bond reliably with adhesive and are not good candidates for glue-on installation.
The Right Beam for Glue-On Installation
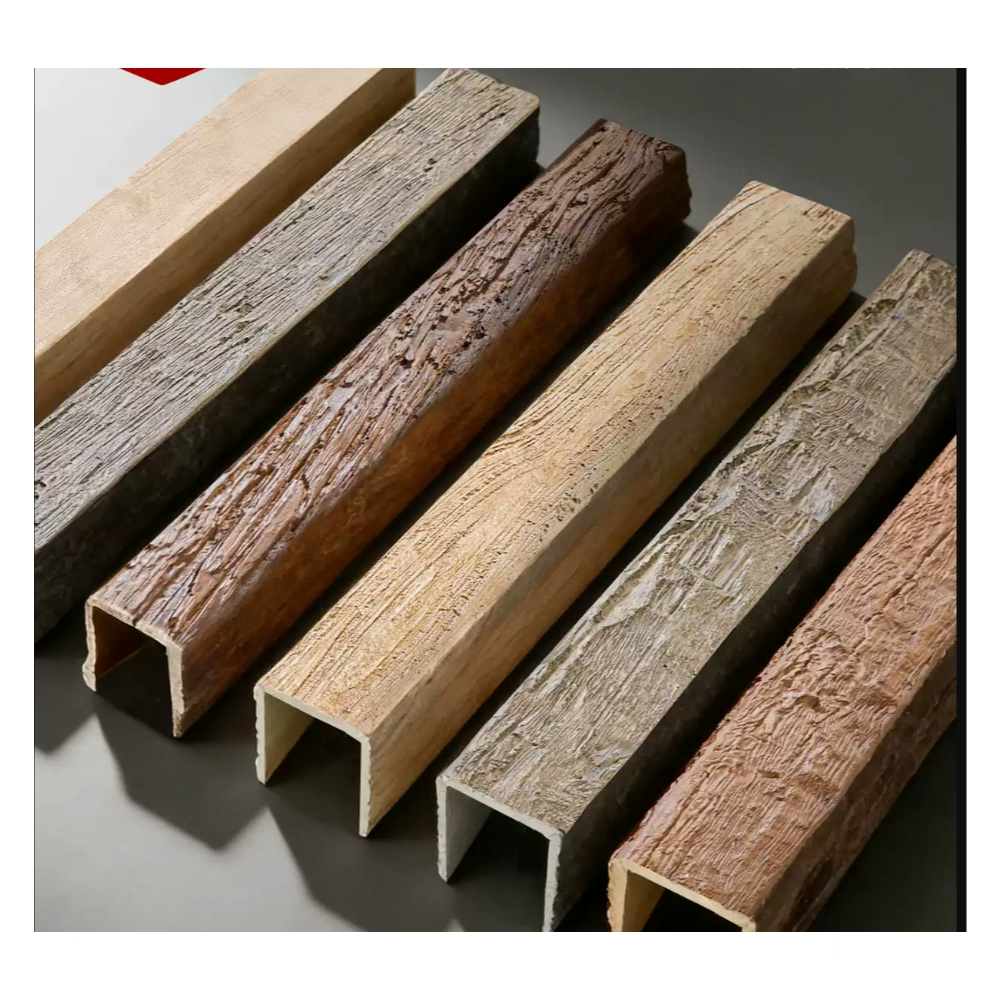
Not every PU faux beam is designed for glue-on installation. Beams with hollow backs are not suitable because the adhesive cannot form a continuous bond through the hollow space. Beams with closed backs and flat or slightly contoured back surfaces work best.
Most manufacturers offer specific glue-on beam models with closed backs and slightly recessed mounting channels. The channels provide additional adhesive surface area and help center the beam during positioning. The closed back prevents adhesive from squeezing into the beam's hollow interior.
When ordering, it is worth confirming with the manufacturer that the chosen beam is suitable for adhesive-only mounting. Some beams are designed exclusively for mechanical fastening and will not provide reliable bonds with adhesive methods.
Adhesive Selection and Application
The adhesive used for glue-on installation needs to bond strongly with both the ceiling material and the PU foam. Most general-purpose construction adhesives are not ideal because they are formulated for wood-to-wood or wood-to-drywall connections. PU foam requires adhesives designed to bond with the foam substrate.
The most reliable adhesives for PU beams are polyurethane-based construction adhesives or modified silane polymer adhesives. Both types provide strong initial grab, flexible long-term bonds, and compatibility with the closed-cell foam structure of PU beams.
The adhesive is applied in continuous beads along the back of the beam, typically in a serpentine pattern that ensures full coverage when the beam is pressed against the ceiling. The bead size depends on the beam's weight and the manufacturer's recommendations, but a half-inch bead is a common starting point for residential beams.
After applying the adhesive, the beam is pressed firmly against the ceiling and held in place temporarily while the adhesive begins to grab. The initial grab happens within minutes for most adhesives, but full cure takes twenty-four to seventy-two hours.
The Working Time Factor
Different adhesives have different working times — the period during which the beam can be repositioned after initial contact. Fast-grab adhesives allow only seconds of working time, while slower-curing products allow several minutes.
For first-time installers, a slower-curing adhesive is easier to work with because it allows for adjustments during positioning. For experienced installers, a faster-curab provides quicker project completion but requires precise initial placement.
The working time is usually specified on the adhesive packaging and should be confirmed before starting the project. The wrong product for the situation leads to frustration and suboptimal results.
Surface Preparation for Reliable Bonds
The ceiling surface must be clean, dry, and structurally sound for glue-on installation to work properly. Loose paint, peeling texture, or active leaks all compromise the bond and will cause the beam to separate within months.
The first step is to test the ceiling by pressing on it firmly with a fingertip. Soft spots, cracking sounds, or movement under pressure indicate a problem that needs to be addressed before installation. Loose drywall may need to be resecured, peeling paint may need to be scraped, and active leaks must be repaired before any beam is installed.
Once the ceiling is structurally sound, the surface is cleaned to remove dust, cobwebs, and any oily residue. A cloth dampened with isopropyl alcohol works well for most surfaces. The surface must be allowed to dry completely before adhesive application.
For ceilings with gloss paint or semi-gloss finishes, a light scuff sanding with fine-grit sandpaper creates a better bonding surface. The scuffing is barely visible but significantly improves adhesive grip. After sanding, the dust is wiped clean and the surface is ready for installation.
Priming Porous Ceilings
Bare drywall, fresh joint compound, and unsealed plaster are porous surfaces that absorb adhesive, weakening the bond. A primer designed for the specific surface creates a sealed layer that allows the adhesive to cure properly rather than being absorbed into the substrate.
Most primers dry within a few hours, after which the adhesive can be applied. The primer is a small additional cost but makes the difference between a bond that holds for decades and one that fails within a few years.
Temporary Support During Curing
Glue-on installation requires temporary support while the adhesive cures. Without mechanical fasteners, the beam depends entirely on the adhesive bond during the curing period, and any movement or vibration can compromise the bond.
The support method depends on the beam's weight and the available tools. For light beams, painter's tape stretched across the beam and onto the walls provides adequate support. For heavier beams, temporary T-braces made from scrap lumber hold the beam firmly against the ceiling.
The braces must remain in place for the full curing period specified by the adhesive manufacturer. Removing the braces early allows the beam to sag or shift, breaking the adhesive bond at the edges of the contact area.
During the curing period, it is worth checking the beam periodically with a level to confirm it has not shifted. If movement is detected, the braces are readjusted and the curing period restarts.
Where Glue-On Installation Works Best
Glue-on installation is ideal for single rooms with flat ceilings. Bedrooms, dining rooms, and home offices are common candidates because the ceilings are typically flat, the dimensions are manageable, and the visual impact of beams is high.
Open-plan spaces with mixed ceiling heights or decorative ceiling treatments are not good candidates. The varied ceiling surfaces make consistent adhesion difficult, and the visual complexity of the space reduces the impact of single-room beams.
Glue-on installation is also well-suited for rental properties where permanent modifications to the ceiling are not allowed. The adhesive bond holds the beam in place but can be released with the right solvent when the tenant moves out. The ceiling underneath is typically undamaged, which satisfies landlord requirements about restoration.
Limitations to Consider
Glue-on installation has limitations that affect suitability for some projects. Beams in seismic zones should use mechanical fastening for positive connection during earthquakes. Beams that support heavy fixtures need the holding power of screws. Beams in high-humidity environments need the moisture resistance of mechanical fastening combined with adhesive.
For projects where the ceiling has significant texture or unevenness, glue-on installation is not practical. The adhesive cannot fill gaps, and the beam will not sit flat against an irregular surface. In these cases, removal of the texture or installation over a framed mounting system is necessary.
Glue-on installation also requires more physical effort during the installation itself. The adhesive bead must be applied carefully, the beam must be positioned precisely the first time, and the temporary bracing must hold the beam firmly for days. For homeowners who find mechanical fastening easier to understand and execute, the trade-off may not be worth it.
Removing Glue-On Beams
One advantage of glue-on installation is that the beams can be removed without permanent damage to the ceiling. When the beams are pried away carefully, most of the adhesive stays on the back of the beam rather than tearing the ceiling surface.
Any remaining adhesive on the ceiling can be removed with a plastic scraper and a solvent recommended by the adhesive manufacturer. The ceiling underneath is typically clean and ready for repainting or for a different ceiling treatment.
This reversibility makes glue-on installation popular for homeowners who may want to change the room's appearance in the future. The investment is not lost when tastes change.
For rental properties, the reversibility is even more valuable. At the end of a lease, the beams can be removed and the ceiling returned to its original condition without significant repair work.
The Bottom Line for Fast DIY Upgrades
Glue-on PU faux beam installation is a real option for homeowners who want the cleanest possible appearance and are willing to invest the time in preparation and curing. The results are visually striking and the process is accessible to anyone with basic handyman skills.
The key to success is following the manufacturer's recommendations for adhesive type, surface preparation, and curing time. Skipping any of these steps compromises the bond and leads to failures that require reinstallation.
For projects where the conditions are right, glue-on installation produces an installation that looks factory-finished. The absence of visible fasteners makes the beams appear to be integral architectural features rather than added elements, which is exactly the appearance most homeowners are trying to achieve.
Technical References
ASTM standards cited in every specification
Test Data
Lab results from internal testing program
Updated 2026
Reviewed against current product specs


