
A curved beam or an arched structural member is one of the most distinctive architectural features a room can have. It is also one of the hardest features to work around when renovating, because replacing or modifying a curved element usually means custom fabrication, specialty installers, and a budget that escalates quickly. Easy-install curved slip-on polyurethane beam sleeves change that equation by offering a pre-formed cover that slides over the curved member and locks into place.
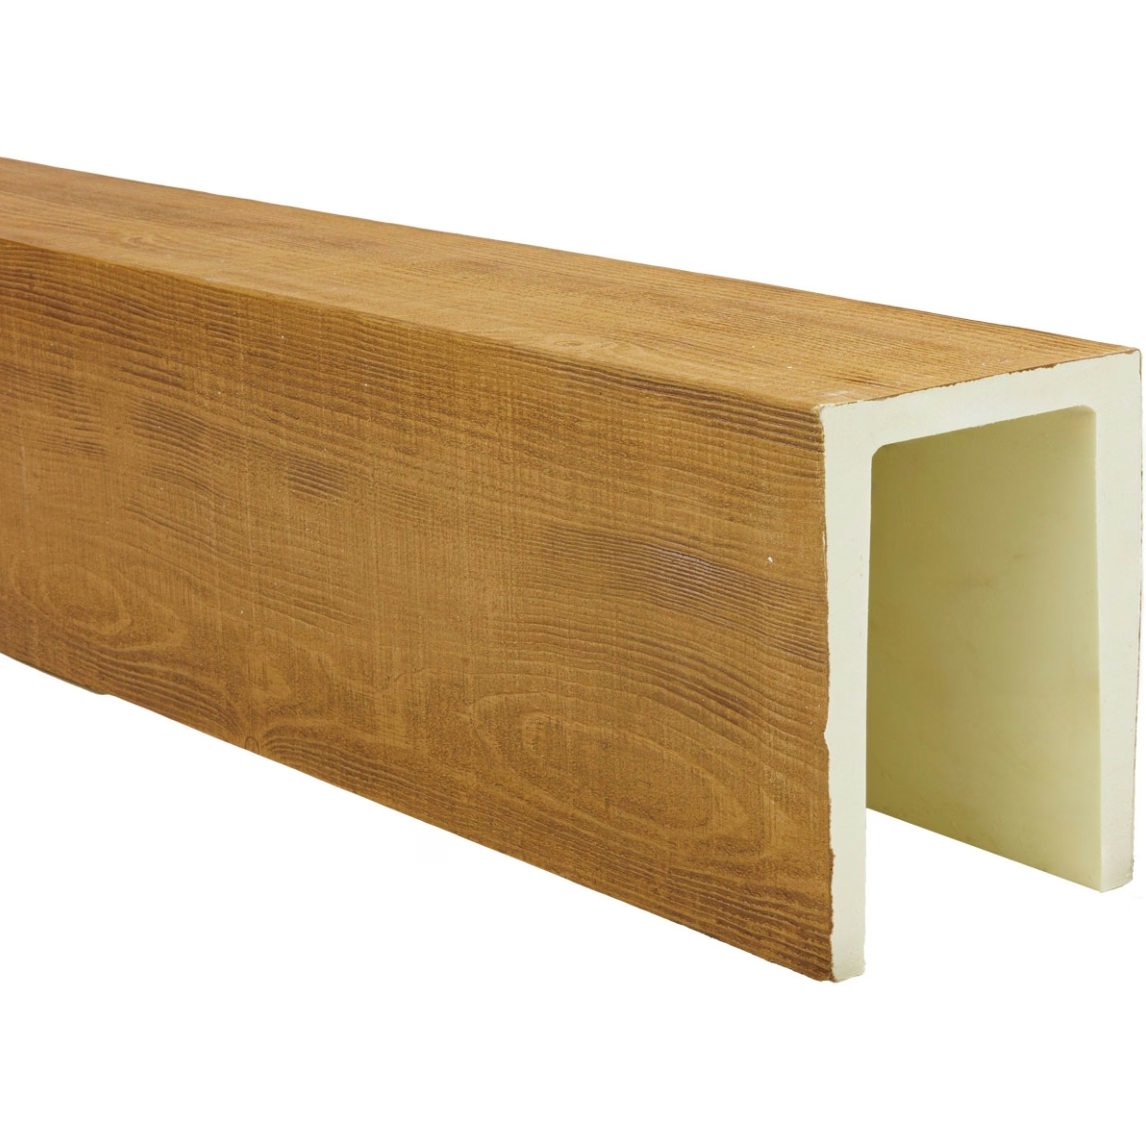
The result is a curved decorative beam that looks like a single, sculpted piece of timber. In reality, the curved sleeve is two or more pre-formed segments that meet at clean seams along the curve. The seams disappear with the right finishing, and the finished installation reads as a continuous curved beam from any reasonable viewing distance.
When Curved Sleeves Make Sense
Curved sleeves are the right answer when the existing structural member is curved and the renovation calls for a decorative timber appearance. The most common scenarios include arched structural members in older buildings, curved transition beams between vaulted ceiling sections, and radius beams that follow the curve of a stair or a balcony.
The sleeve approach is also valuable when the existing member has a profile that would be expensive or impossible to replicate with traditional carpentry. A radius soffit built with curved framing and flexible drywall is achievable, but the time and skill required put it out of reach for most DIY projects. A pre-formed sleeve that drops into position is much more accessible.
Commercial spaces with curved architectural features benefit from sleeve installations because the work can be done outside of business hours. The installation is relatively quiet, generates minimal dust, and produces a finished surface that does not require additional painting or staining on site.
How Curved Sleeves Are Made
Curved PU sleeves are molded in two or more sections that fit together around the existing member. The mold is created from a digital model of the curve, and the foam is poured into the mold and allowed to cure before the segments are removed, trimmed, and finished.
The number of segments depends on the radius of the curve and the size of the beam. Tight curves with small radii usually require more segments to follow the curve accurately, while gentle curves with large radii can be covered with as few as two segments per side.
Each segment arrives from the factory with the wood grain texture, color, and protective topcoat already applied. The segments are numbered to indicate their position in the sequence, and the seams between segments are designed to fall in locations that are visually unobtrusive.

Measuring for Curved Sleeves
Measuring a curved member is more involved than measuring a straight one. You need the rise, the run, the radius, and the arc length, along with the height and width of the member at several points along the curve.
The radius can be measured by laying a flexible curve template along the existing member and tracing it onto a piece of cardboard. The traced curve can then be matched against standard radius options offered by the manufacturer. If the curve is non-standard, a custom mold may be required, which adds lead time and cost.
The arc length is the distance along the curve from one end to the other. This is the dimension that determines how many segments you need and how long each segment will be. A flexible tape measure laid along the curve is the easiest way to capture this dimension.
Planning the Installation
Before ordering, decide how the sleeve will terminate at each end. A sleeve that ends at a wall needs a clean cut and a small bead of caulk. A sleeve that transitions into a straight beam needs a transition piece that matches both the curved and the straight profiles. A sleeve that ends in mid-air needs an end cap that fits the curve.
Mark the location of any seams between segments on the existing member. These marks help during installation because each segment has a specific position in the sequence. Lay out the segments in order on the floor before lifting them into position, so you can verify that you have the right pieces and that they fit together correctly.
Plan the lifting sequence carefully. Curved segments are often bulkier than straight sections, and they can be awkward to maneuver on a ladder. Some installers assemble the segments on the floor and then lift the assembled sleeve into position in one piece, while others install each segment separately and join them in place.
Installation
Start at one end of the curve and work toward the other. Lift the first segment into position over the existing member and secure it with the included brackets or clips. Check the segment for level and alignment before moving to the next piece.
Join each subsequent segment to the previous one along the seam. The seams are usually designed as tongue-and-groove or as overlapping joints that hide the connection. A small amount of adhesive on the joint faces holds the segments together, and the seam is reinforced with a small spline or dowel if needed.
Continue along the curve, checking each segment for proper alignment as you go. Small variations in the existing member can compound along a long curve, so make adjustments at each segment rather than letting them accumulate.
Secure each segment to the existing member with the brackets or clips supplied by the manufacturer. The brackets typically screw into the existing member from inside the sleeve, so the fasteners are not visible from outside.
Finishing the Seams
The seams between segments are the most visible part of a curved sleeve installation, so they deserve careful attention. Use a color-matched caulk or filler along each seam, and smooth it with a damp finger or a small plastic spreader. Wipe away any excess before it cures.
For sleeves with deep grain texture, the seams may need additional work to blend the texture across the joint. A fine artist brush and a small amount of stain can be used to draw faint grain lines that bridge the seam. Practice on a piece of cardboard first to get the line weight and spacing right.
Once the seams are filled and blended, apply a light coat of the same finish used on the rest of the sleeve. The finish should match in sheen and color so the seams disappear into the surrounding surface.
Common Challenges
Tight curves with small radii are the most challenging installations because the segments have to follow a sharp change in direction. The seams between segments are closer together, which means there are more seams to finish. Plan for extra finishing time on tight curves.
Long curves with large radii are easier to install but require more segments to cover the same arc length. The cumulative weight of the segments can be significant on a long curve, so make sure the existing member is structurally capable of supporting the additional load.
Curves that are not uniform radii present their own challenges. A curve that transitions from one radius to another requires custom-fabricated segments that match the changing geometry. Most manufacturers can produce these custom segments, but the lead time and cost are higher than for standard curves.
When to Call a Professional
Curved sleeve installations are within the capabilities of an experienced DIYer, but they benefit from professional installation in many cases. The geometry is more complex than a straight beam, the seams require more finishing work, and the segments are harder to handle on a ladder.
For commercial installations, historic renovations, and any project where the curved feature is a focal point of the room, professional installation is usually worth the additional cost. The finished result will be cleaner, the seams will be less visible, and the installation will take less time than a DIY attempt.
Technical References
ASTM standards cited in every specification
Test Data
Lab results from internal testing program
Updated 2026
Reviewed against current product specs


