
Older homes with plaster ceilings present a mounting challenge that newer drywall ceilings do not. Plaster is harder than drywall, which makes it more resistant to compression, but it is also more brittle. A screw driven into plaster without a proper anchor can crack the surrounding surface and leave you with a hole that is much larger than the one you started with. A beam that pulls its anchors loose a few months after installation is an even worse outcome, because the beam comes down and the ceiling is damaged in the process.
The good news is that plaster ceilings are perfectly capable of holding faux beams, as long as you use the right anchors and the right technique. The beam itself is light, which puts less load on each anchor than a heavier installation would. The challenge is transferring that load into the structure behind the plaster, which usually means lath or joists.
Understanding Plaster Ceiling Construction
A traditional plaster ceiling is built up in multiple layers over a substrate of wood lath or, in some cases, metal mesh. The lath is nailed to the ceiling joists, and the plaster is applied over the lath in three coats: a scratch coat that keys into the lath, a brown coat that builds up the thickness, and a finish coat that creates the smooth surface.
The total thickness of a plaster ceiling is typically 15 to 25 millimeters, which is significantly more than the 10 to 15 millimeters of a standard drywall ceiling. That extra thickness means screws need to be longer to reach the structure behind, and anchors need to be sized for the thicker material.
Lath-and-plaster ceilings also have a characteristic that catches DIYers off guard. The plaster keys that push through the gaps in the lath are what hold the plaster to the structure. If the keys have failed in a particular area, the plaster will feel spongy or hollow when you press on it. Mounting a beam to an area with failed keys is asking for trouble, because the plaster can pull away from the lath under the weight of the beam.
Finding the Joists
The first step is locating the joists behind the plaster. A standard stud finder does not always work well on plaster because the density of the material confuses the sensor. A magnetic stud finder, which detects the nails holding the lath to the joists, is often more reliable.
Tap the ceiling lightly with a hammer or the handle of a screwdriver. A solid sound indicates a joist, while a hollow sound indicates a gap between joists. Mark the joist locations clearly with painter's tape so you can find them once the ceiling is covered with layout lines.
For ceilings where the joist locations cannot be determined with confidence, consider using a small drill bit to probe for solid wood. Drill a 2-millimeter hole and push a piece of wire into it. If the wire meets solid resistance after 25 to 40 millimeters, you have found a joist. If the wire passes through with little resistance, you are in the gap between joists. Patch the probe holes with a small amount of spackle when you are done.

Choosing the Right Anchors
For joist locations, use wood screws long enough to penetrate at least 25 millimeters into solid wood. A 60-millimeter screw is usually sufficient for a plaster ceiling with a 20-millimeter plaster thickness. Pre-drill the plaster with a bit slightly smaller than the screw to avoid cracking the surface.
For locations between joists, use hollow-wall anchors rated for the weight of the beam. Metal toggle bolts are the strongest option for plaster ceilings, but they require a larger hole and more installation effort. Self-drilling drywall anchors work for lighter loads but may not provide enough holding power for a beam installation.
Plastic expansion anchors are the weakest option and should be avoided for beam installations. The vibration of a beam being adjusted on its brackets can work a plastic anchor loose over time, which is how beams end up on the floor six months after installation.
Mounting the Brackets
Hold the first bracket in position against the ceiling at the marked joist location. Pre-drill the plaster with a masonry bit or a sharp wood bit, taking care not to apply too much pressure. Let the drill do the work and back the bit out periodically to clear dust from the hole.
Drive the screw through the bracket and into the pre-drilled hole. Tighten the screw until it is snug against the bracket, but do not over-tighten. Plaster can crack under excessive torque, especially near edges or where the plaster is thin.
For anchors between joists, drill a hole sized for the anchor and insert the anchor according to the manufacturer's instructions. Toggle bolts require folding the toggle and pushing it through the hole, then tightening the bolt to draw the toggle against the inside of the ceiling. Self-drilling anchors are simply screwed into a pre-drilled hole.
Check each bracket for level before moving to the next. A bracket that is out of level will translate into a beam that sits crooked, and the error is much harder to correct once the beam is in place.
Dealing with Plaster Cracks
Small cracks in the plaster near the mounting points should be addressed before the beam goes up. A crack that is ignored will continue to grow over time, especially under the cyclic load of a beam that expands and contracts with humidity changes.
Widen the crack slightly with the tip of a utility knife to create a clean V-shaped groove. Vacuum out the dust and fill the groove with a setting-type joint compound or a flexible plaster repair product. Smooth the repair with a damp sponge and let it cure fully before mounting the bracket.
For larger cracks or for areas where the plaster is pulling away from the lath, the repair is more involved. Loose plaster needs to be re-secured to the lath with plaster washers and screws before any decorative work is mounted nearby. This kind of repair is best done by a plaster specialist.
Hanging the Beam
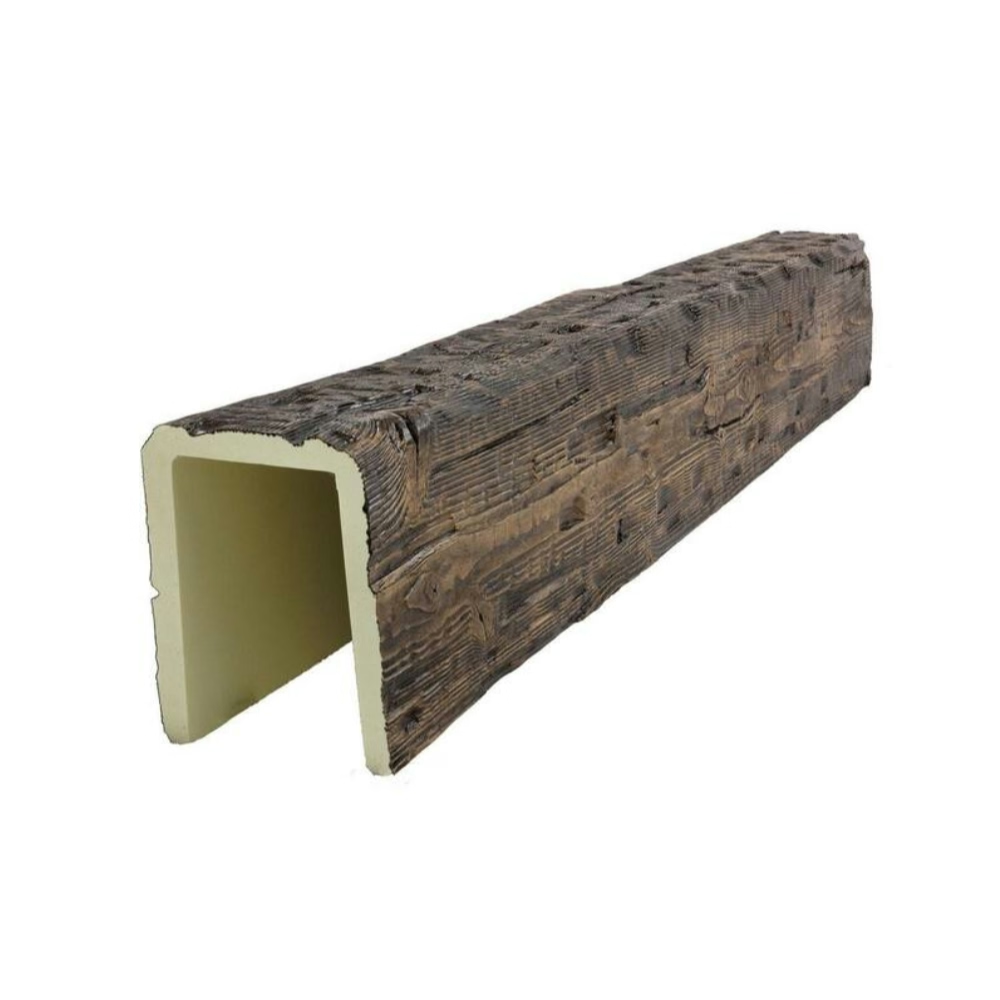
Once the brackets are in place, the beam installation follows the same process as for any other ceiling type. Lift the beam onto the brackets with the routed channel facing the bracket arms. Drop the beam into position and secure it with the included set screws or clips.
Check the beam for level along its full length. Plaster ceilings are rarely perfectly flat, and the brackets may need to be adjusted slightly to compensate. The adjustability of the bracket system is what makes this kind of installation practical on an uneven surface.
Finishing the Installation
Caulk the seam between the beam and the ceiling with a paintable caulk that matches the ceiling color. Plaster ceilings often have a slight texture that is hard to replicate with caulk alone, so work the caulk into the texture with a damp sponge or a stippling brush before it skins over.
If the ceiling has been recently painted, save some of the paint for touch-ups after the beam installation. Even careful work can leave small scuffs on the ceiling that need to be painted over once the beam is in place. A small touch-up brush and a cup of the ceiling paint takes care of these in a few minutes.
End caps, corner joints, and wall terminations all need the same attention to detail as a beam on any other ceiling type. The caulk lines, in particular, need to be carefully matched to the plaster texture so the seams disappear visually.
Long-Term Performance
A properly mounted faux beam on a plaster ceiling should last as long as the beam itself. The plaster around the mounting points may show minor cracking over time due to seasonal humidity changes, but this cracking is usually cosmetic and can be touched up with a small amount of caulk.
If you ever need to remove the beam, the anchor holes in the plaster can be patched with a small amount of joint compound. Sand the patch smooth and paint over it with the ceiling color, and the repairs will be invisible.
For ceilings with significant plaster damage or failed keys, consider reinforcing the mounting area with a backing plate before installing the beam. A plywood plate screwed into the joists and spanning the gap between them provides a solid mounting surface that distributes the load across multiple anchors. The plate can be hidden inside the beam shell, so it does not affect the finished appearance.
Technical References
ASTM standards cited in every specification
Test Data
Lab results from internal testing program
Updated 2026
Reviewed against current product specs


