
There is a particular satisfaction in standing back and looking at a freshly installed beam that did not require a single hole in the finished ceiling. Slip-on installation gets you there. Instead of driving screws through the face of the beam or even through the sides, the beam drops onto a pre-installed track and locks in place with no fasteners visible from below.
For property owners who like to change their mind every few years, this is the beam installation method that finally makes decorative ceiling work reversible. The brackets stay in place. The beam comes off when you want a new look and goes back up again when you change your mind.
The Difference Between Slip-On and Direct Mount
Direct mounting, the traditional method, involves screwing through the beam itself and into the substrate behind it. It is reliable, but it puts visible fastener locations on the visible face of the beam unless you use color-matched caps. It also commits the beam to its position permanently, because removing it means unscrewing and patching.
Slip-on installation flips the relationship. The fasteners go into the substrate first, into brackets or a track, and the beam is the part that slips over them. The beam itself has no screws in it, no plugs, no caps. Removing the beam is a matter of lifting it off the track, and reinstalling is just as quick.
The trade-off is that slip-on installation requires more planning up front. You have to know exactly where the beam will sit, where the joists or backing are located, and how the brackets will line up with the routed channel inside the beam. That planning happens on paper before anyone climbs a ladder.
What Comes in a Slip-On Kit
Most PU beam manufacturers offer slip-on kits that include the track, the brackets, and the screws needed for a typical installation. The track is usually a powder-coated steel channel in two or three meter lengths that can be cut to size on site with a hacksaw or a metal-cutting disc. The brackets come in two styles: fixed L-brackets that hold the beam at a set distance from the ceiling, and adjustable brackets that allow you to fine-tune the gap.
Screws are typically not included because the right screw depends on the substrate. Wood screws for joists, self-drilling metal screws for steel framing, and concrete screws for masonry all require different fasteners. The kit instructions usually specify a minimum screw length and a minimum embedment depth rather than a specific screw type.

Tools You Will Need
The tool list for a slip-on install is shorter than for most other ceiling projects. A cordless drill with a driver bit, a level, a tape measure, a pencil, a hacksaw or angle grinder for cutting the track, and a sturdy ladder are the basics. A stud finder is helpful for locating joists behind a finished ceiling, and a laser level makes long runs much easier to align.
A helper is also strongly recommended. Even though PU beams are light, holding a four-meter section steady while you position the brackets is awkward on a ladder. The job goes much faster with one person on the ladder and one on the ground handling the beam.
Planning the Layout
Start with a drawing of the ceiling. Mark the walls, any fixed obstructions like light fixtures or ceiling fans, and the direction of the joists if you can find them. Lay the beam runs over the drawing and note where each bracket will need to land.
For a typical room, a single beam running across the short dimension looks balanced and brings the eye toward a focal wall. For larger rooms, two or three parallel beams at regular spacing create rhythm and proportion. In open-plan spaces, beams that break at a right angle to define different zones can do a lot of work without adding walls.
Once the layout is set, mark the joist locations on the ceiling using a stud finder. If the ceiling is plaster or has a textured finish, snap a chalk line along each joist so the marks stay visible while you work.
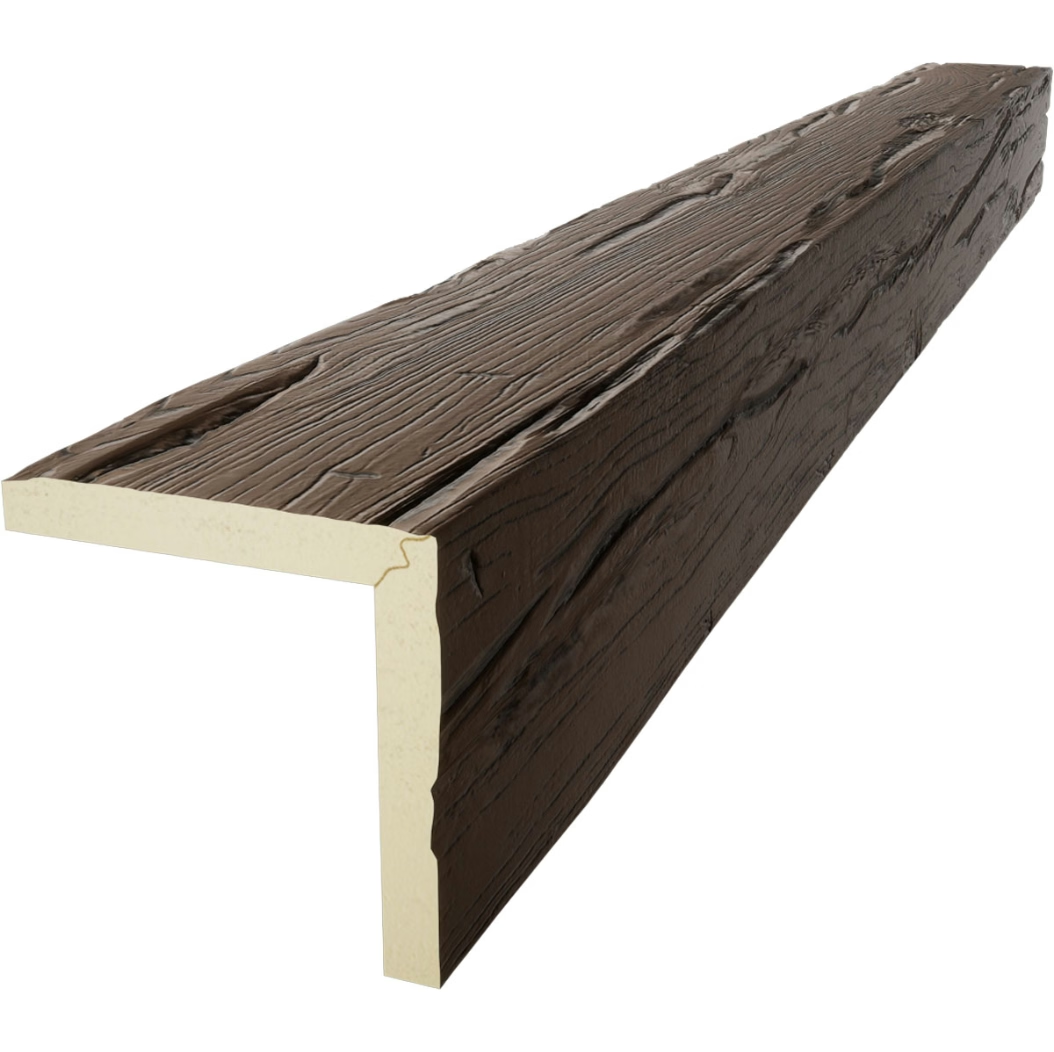
Mounting the Track
Cut the track to length with a hacksaw, allowing an extra few centimeters at each end so the track terminates inside the beam shell rather than at the visible beam end. Hold the track against the ceiling along the marked beam line and check it with a level.
Drive screws through the track and into each joist along the run. Use at least two screws per joist connection, and make sure each screw penetrates at least 25 millimeters into solid wood. If you hit empty space between joists, install a horizontal backing strip of lumber across two joists and screw the track into the backing instead.
For metal framing, use self-drilling screws designed for sheet metal. For concrete ceilings, drill a pilot hole with a masonry bit, insert a plastic anchor, and then drive the screw into the anchor.
Setting the Brackets
Most kits include brackets that slide along the track and lock in place with a set screw. Slide each bracket into position above the marked joist locations, then tighten the set screw to lock it. The typical spacing is every 60 to 90 centimeters, with a bracket within 15 centimeters of each end of the beam.
Adjustable brackets have a threaded section that lets you raise or lower the beam slightly. This is useful when the ceiling is not perfectly flat. Set each bracket to the same height, then check the beam position once it is installed and tweak any brackets that are sitting too high or too low.
Hanging the Beam
Lift the beam up to the track with the routed channel facing the brackets. Tilt one end up and over the first bracket, then walk the beam along the track until it is in its final position. The brackets should drop into the routed channel with an audible click or a firm resistance.
If the beam does not seat fully, check that nothing is sitting in the channel. A small piece of debris or an over-tightened set screw on the track can stop the beam from sliding on cleanly. Also confirm that the brackets are oriented correctly. Some designs only lock when the bracket is facing a particular direction relative to the beam.
Once the beam is in place, step back and check it visually from several angles. A beam that looks level from directly below may look slightly off when viewed from the side of the room. Make any final adjustments to the bracket heights before declaring the install complete.
Adding End Caps and Trim
Most PU beams include matching end caps that press into the routed channel at each end of the beam. These caps hide the cut end of the track and give the beam a finished look where it meets the wall. A small amount of construction adhesive on the back of each cap holds it permanently in place.
For runs that meet a wall at an angle or that need to terminate against a ceiling feature, a small bead of paintable caulk along the seam is usually all that is needed. Wipe the caulk smooth with a damp finger and remove any excess before it cures.
Common Mistakes
The biggest mistake is skipping the planning step. Brackets that land between joists with no backing will sag over time, beams that are ordered too short leave ugly gaps at the walls, and tracks that are not level produce beams that look crooked no matter how well they are installed.
The second mistake is using the wrong screws. Wood screws that are too short will pull out under load, and concrete screws that are too small for the hole will spin without gripping. Match the fastener to the substrate and follow the manufacturer's recommendations for embedment depth.
Finally, do not assume that a slip-on beam is a permanent commitment. If you are installing them in a rental property, check with the landlord before drilling into the ceiling. The track holes are small and easy to patch, but they are still holes, and they should be approved before any work begins.
Technical References
ASTM standards cited in every specification
Test Data
Lab results from internal testing program
Updated 2026
Reviewed against current product specs


