
Wrapping an existing beam used to mean building a soffit around it with wood framing and drywall, then finishing the drywall to look like a beam. The process took days, required several trades, and left behind dust and debris that took longer to clean up than the original installation. Timber look PU beam casings changed that equation entirely.
A casing is essentially a hollow PU shell with a wood grain finish on the outside. It slides over the existing beam and locks in place with concealed clips or brackets. The finished look is identical to a solid decorative beam, but the installation takes hours instead of days and produces almost no mess.
What Makes a Casing Different From a Beam
A solid PU faux beam is a closed box designed to be mounted to a ceiling or wall where there is no existing structure to wrap. A casing is open on one side so it can slide over an existing member. The wall thickness of a casing is thinner than a solid beam because it does not need to carry its own weight once installed, it just needs to look right and stay in place.
The thinner walls make casings lighter and easier to handle on a ladder. They also reduce the cost per meter, which makes them an attractive option for long runs where the material cost would otherwise add up quickly.
Common Profiles
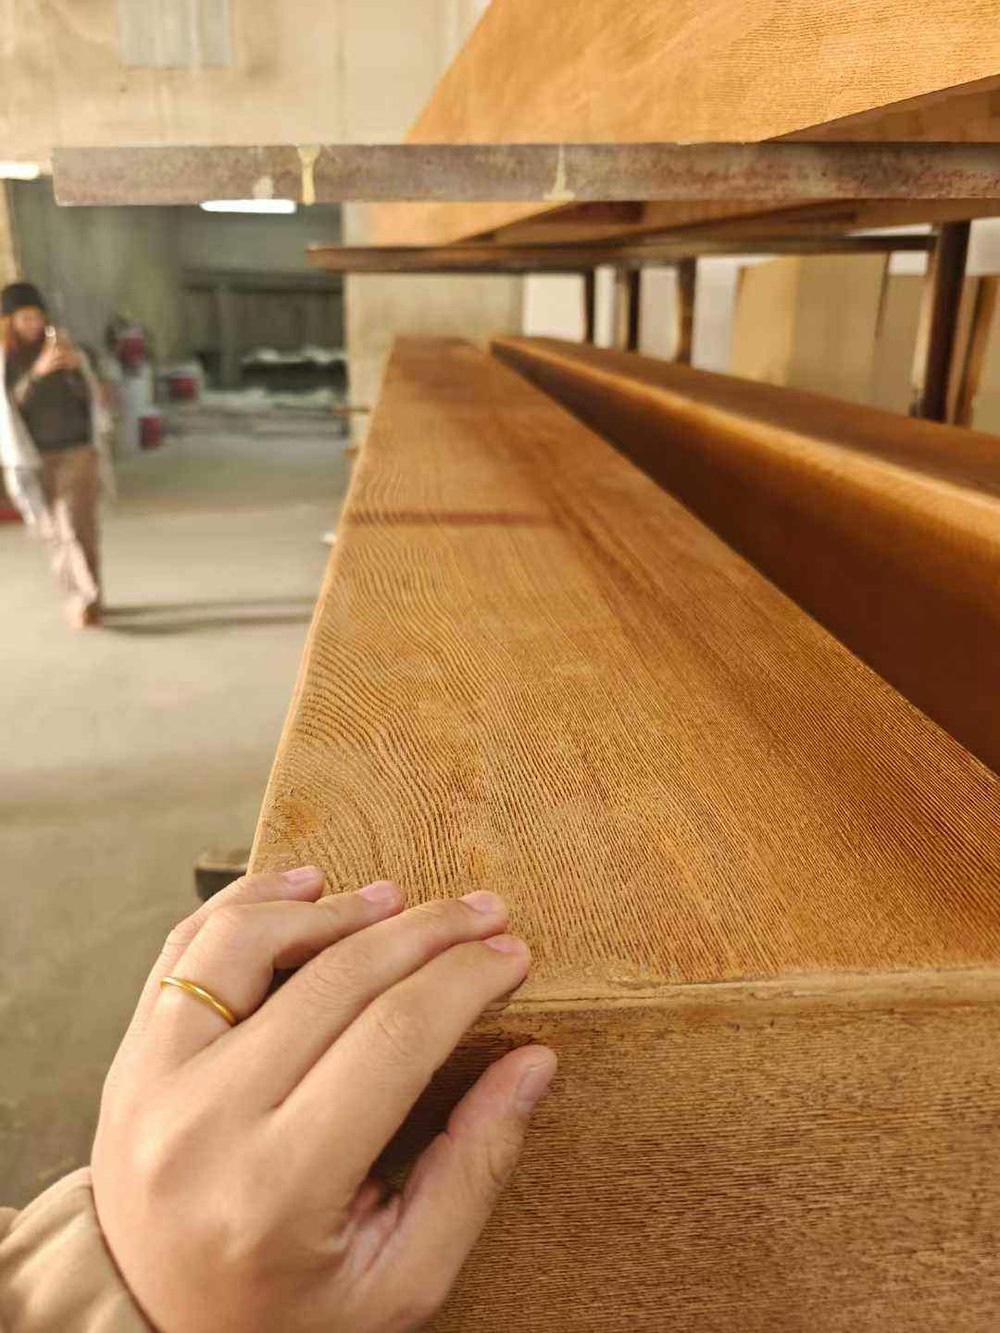
Casings come in the same general profiles as solid beams. The most popular options include smooth modern profiles with crisp edges, hand-hewn profiles with visible tool marks and slight irregularity along the edges, rough-sawn profiles with deep grain texture, and reclaimed timber profiles with knots, cracks, and weathering.
The right profile depends on the style of the room and the look of the existing structure. A smooth casing against a rustic reclaimed-wood ceiling would look out of place, while a heavy hand-hewn casing in a minimalist modern interior would feel overwhelming. Most manufacturers offer sample pieces so you can hold the profile against the existing beam before committing to an order.
Color is the other major choice. Most casings are available in a range of factory finishes, from pale driftwood tones through warm oak and walnut to deep espresso and weathered gray. Some manufacturers will also do custom color matching if you send a sample of the wood tone you are trying to match elsewhere in the room.

Measuring and Ordering
Measure the existing beam at several points along its run. Height, width, and length are the three dimensions that matter, and each one should be measured at both ends and at the midpoint to catch any variation. Use the largest measurement in each direction when ordering.
Add a small clearance margin to each dimension. Five millimeters on the height and width gives you room to slide the casing on without forcing it, and the gap can be closed with caulk or trim once the casing is in place. For the length, add at least 50 millimeters at each end so the casing extends slightly past the existing member and hides any uneven ends.
For runs longer than a single casing length, plan for a joint. The joint should fall somewhere that is not in the direct line of sight from the main viewing position in the room. A joint over a doorway, behind a light fixture, or in a corner where the casing turns is much easier to hide than a joint that runs across an open span of ceiling.
Preparing the Existing Beam
Wipe down the existing beam to remove dust and any oily residue. Check for loose elements like bolts, hanger plates, or splices that need to be tightened before the casing goes on. Anything loose inside the casing will rattle or shift later, and reaching back in to fix it after the casing is installed is a hassle.
Mark the location of any junction boxes, light fixtures, or other elements that need to remain accessible. These marks will guide you when cutting openings in the casing for fixtures or access panels.
If the existing beam is wood and you are concerned about moisture, check for any signs of rot or water damage before covering it. A PU casing will trap any moisture that is present, which can accelerate decay in the underlying wood. Address any moisture issues before installing the casing.
Installation
Lift the casing up to the existing beam and angle it so the open side faces the existing member. Slide one end of the casing over the end of the existing beam, then walk the casing along the run until it is in position. For long casings, this is a two-person job because the shell can flex and bind if it is not supported at both ends.
Once the casing is in position, secure it to the existing member with the included clips or brackets. Most systems use spring clips that attach to the inside of the casing and grip the existing member, or small L-brackets that screw into the existing beam and hook into the casing shell. Either way, the fasteners should be completely concealed once the casing is fully seated.
Check the casing for level along its length. A casing that follows the slope of the existing beam will look obviously crooked if the underlying beam is not straight. Most casings can be shimmed slightly at the brackets to compensate for small variations in the existing structure.
Cutting Openings for Fixtures
Where the casing needs to accommodate a light fixture, junction box, or other element, lay out the opening carefully before cutting. Measure twice and cut once is especially true here because mistakes in a casing are difficult to patch invisibly.
Drill a starter hole in the corner of the marked opening and then cut along the lines with a jigsaw fitted with a fine-tooth blade. The blade should be sharp, because a dull blade will chip the PU material around the cut and leave a ragged edge that is hard to finish cleanly.
For junction boxes that need to remain accessible, install a small access panel in the cutout rather than sealing the casing around the box. The access panel can be made from a piece of the cutout material with a hinge and a magnetic catch, and it can be finished to match the rest of the casing so it disappears visually.
Finishing Touches
End caps, corner joints, and wall terminations all need attention to produce a clean finished look. End caps press into the open end of the casing and hide the cut edge. Corner joints use a miter cut on each casing end, glued and pinned together with small dowels or splines.
Where the casing meets a wall, leave a small gap and fill it with paintable caulk. Run a wet finger along the bead to smooth it, and wipe away any excess with a damp cloth before it cures. The caulk will take the same paint or stain as the surrounding wall, so the seam disappears into the wall surface.
Step back and check the finished installation from several angles around the room. Beams that look fine from directly below can show ripples or waves when viewed from the side. Any small adjustments to the brackets or clips should be made before the casings are sealed at the ends.
Technical References
ASTM standards cited in every specification
Test Data
Lab results from internal testing program
Updated 2026
Reviewed against current product specs


