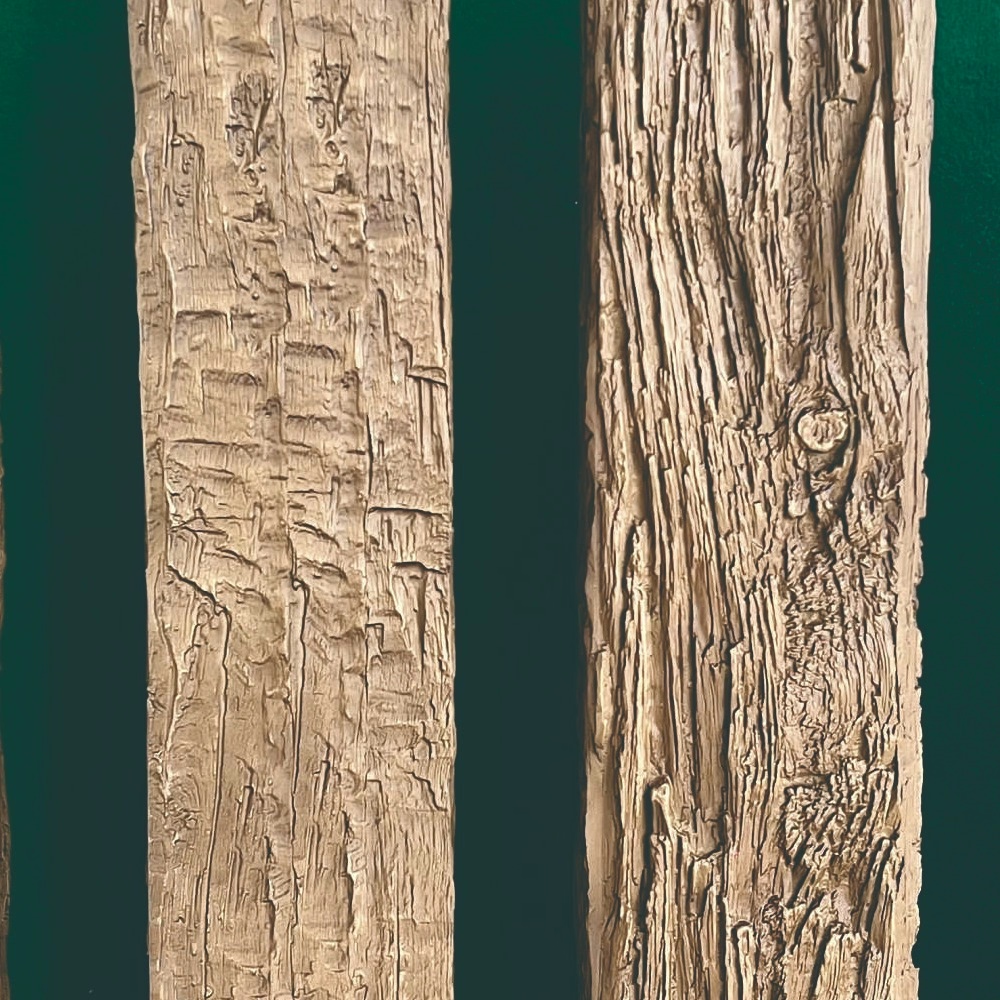
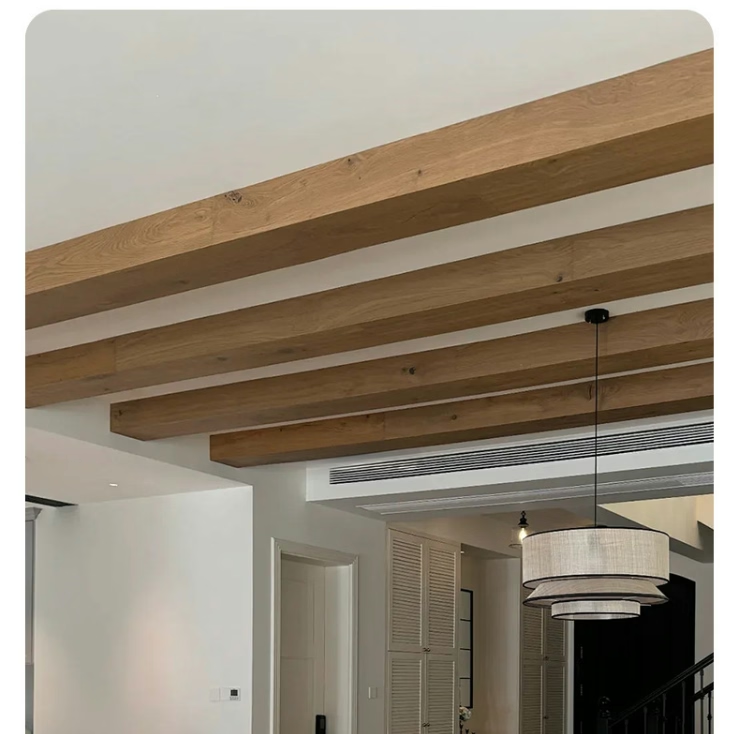
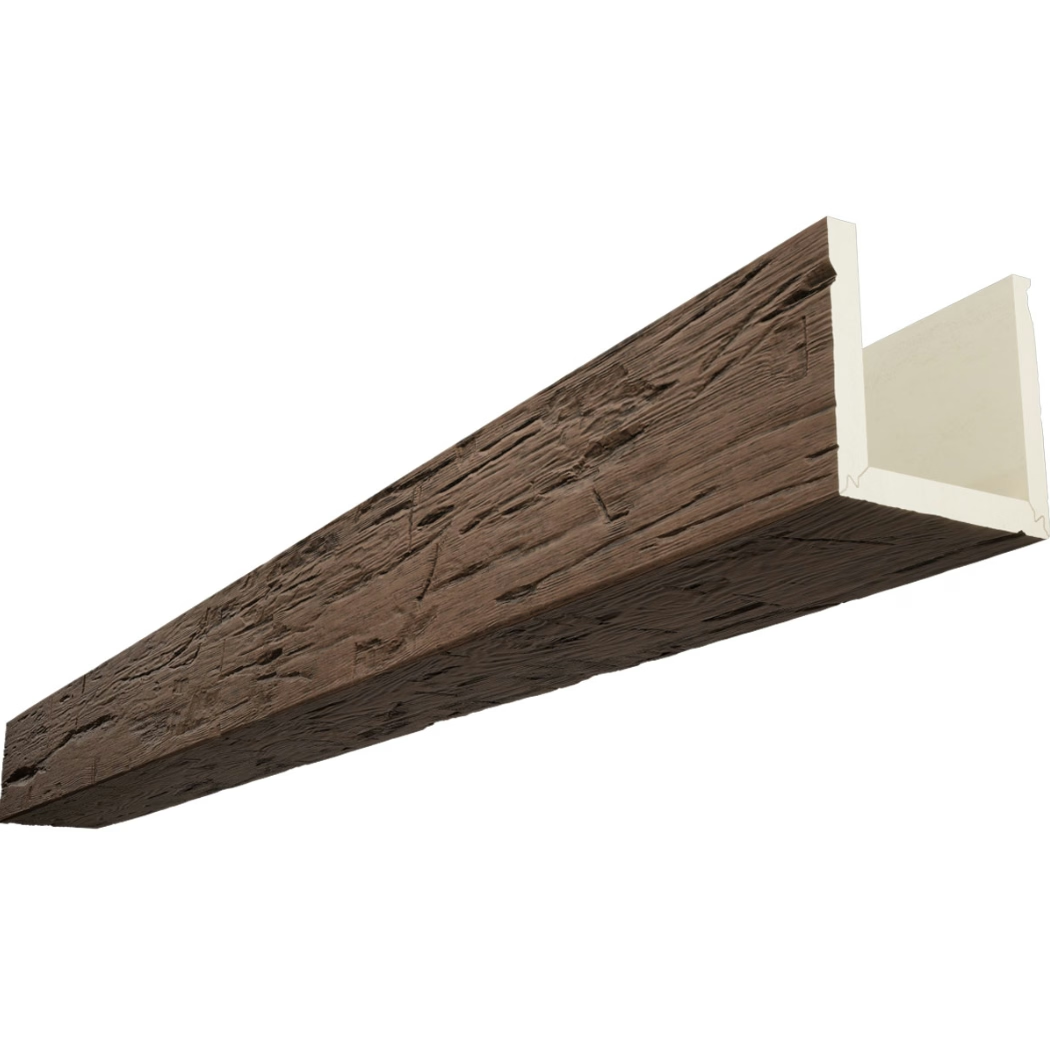
Steel beams show up everywhere once you start paying attention. They carry loads in loft apartments, define the character of industrial offices, and frequently appear in basement renovations where the ceiling height has been opened up. The problem is that steel beams rarely look like anything other than steel, and the industrial look they create does not suit every interior.
Wrapping a steel beam in a faux wood PU casing solves the visual problem without touching the structural element. The beam keeps doing its job, the fire rating is preserved, and the room takes on the warmth of a timber ceiling. For building owners who want the architectural character of exposed wood without the cost or complexity of installing a real timber beam, this approach is hard to beat.
Why Steel Beams Need Special Consideration
Steel beams are not the same as wood beams when it comes to covering them. A wood beam can be wrapped in almost anything because it breathes, moves slightly with humidity changes, and tolerates being in contact with most building materials. A steel beam is dimensionally stable but conducts heat, can condensate moisture in humid conditions, and expands and contracts with temperature in ways that wood does not.
A PU casing has to accommodate this movement. The casing should not be fastened rigidly to the steel in a way that prevents the steel from expanding and contracting freely. Most manufacturers design their casings with a small air gap inside and use brackets that hold the casing in place without creating a tight mechanical connection to the steel.
Fire Rating Concerns
Steel beams in many commercial buildings are required to have a fire-rated assembly. The rating is usually achieved by wrapping the steel in a fire-resistant material like drywall, gypsum board, or a sprayed-on coating. A PU casing alone does not provide a fire rating.
If the steel beam in question is part of a rated assembly, the PU casing must be installed over the existing rated material, not in place of it. The casing becomes a decorative layer over the structural protection. In some cases, the rated material can be hidden inside the casing, with the casing sized to fit over the rated assembly rather than directly over the bare steel.
Check with the local building department and with the project's structural engineer before installing any decorative cover over a fire-rated beam. The rated assembly is there for life safety, and any modification needs to preserve the rating or be re-certified.
Measuring a Steel I-Beam
Steel I-beams have a profile that is more complex than a simple rectangle. The web is the vertical center section, and the flanges are the horizontal sections at the top and bottom. The depth of the beam is measured from the top of the upper flange to the bottom of the lower flange, and the width is measured from the outside edge of one flange to the outside edge of the other.
The flange thickness adds to the overall dimensions and can vary significantly between beam sizes. A small W8 beam may have flanges only 5 millimeters thick, while a large W14 beam can have flanges 25 millimeters or more thick. Measure the flange thickness at several points along the run so the casing pattern can be designed to fit over the maximum flange dimension.
Measure the length of the run and add clearance at each end. The casing should extend slightly past the end of the steel beam, hiding any uneven cuts or end plates and giving the finished beam a clean termination at the wall.
Choosing the Right Casing Profile
The depth of the steel beam usually dictates the minimum depth of the casing. A beam that drops 300 millimeters below the ceiling line needs a casing that is at least that deep, plus a small clearance margin. A beam that only drops 200 millimeters can be wrapped in a casing that matches the visual weight of the rest of the room's architectural elements.
Width is usually a less critical dimension because casings can be made wider than the steel beam to create a heavier visual presence. A narrow steel beam in a large room often looks better wrapped in a casing that is wider than the beam itself, giving the finished installation more visual weight in the space.
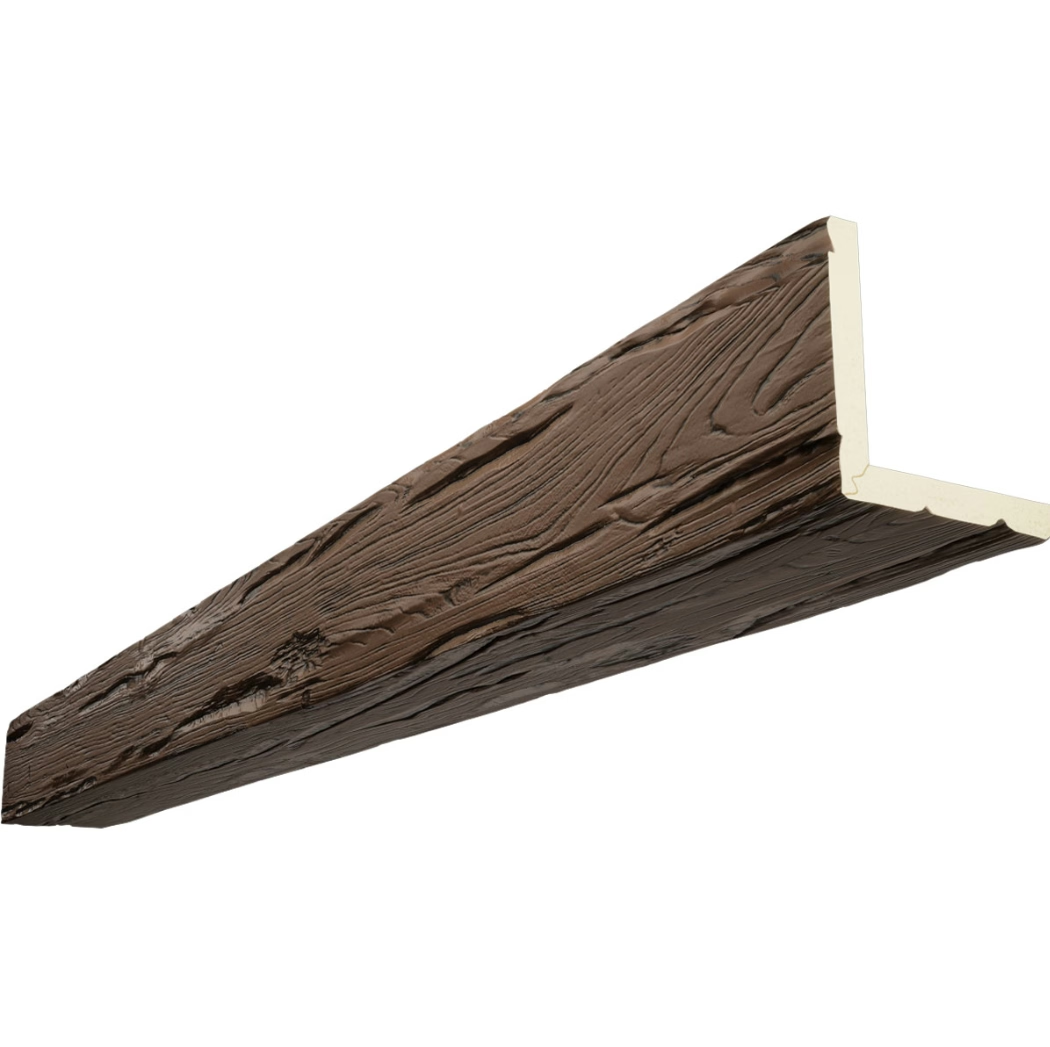
The profile style is a matter of design preference. A smooth, flat-faced casing suits contemporary interiors, while a hand-hewn or rough-sawn profile suits rustic and traditional spaces. Reclaimed timber profiles work well in adaptive reuse projects where the original building character is being preserved.
Installation Process
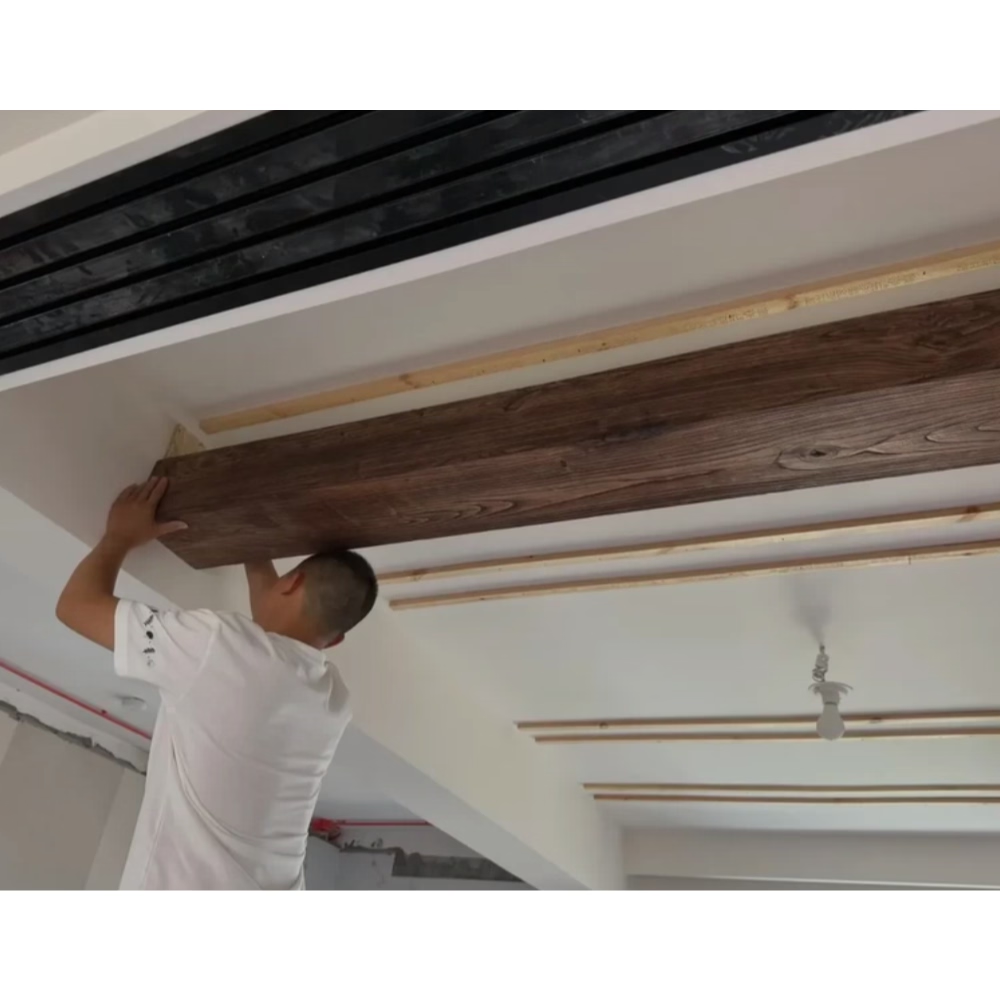
Lift the casing halves into position around the steel beam. For a two-piece casing, lift the first half and rest it on a temporary support, then slide it horizontally until it is centered along the run. Tilt the second half into place and fasten the two halves together along their long seam. For a single-piece casing, slide the cover over the end of the steel beam and walk it along the run.
Most steel beam casings include internal brackets that attach to the steel beam with set screws or clamping mechanisms. The brackets hold the casing in place without putting fasteners into the steel, which preserves any fire-rated coating on the beam. Tighten the brackets just enough to hold the casing firmly; overtightening can dimple the steel flange and create a visible mark on the finished casing.
Once the casing is secured, check it for level along its length. A steel beam that was installed slightly out of level will transmit that variation to the casing. Small adjustments at the brackets can correct for this, but a badly out-of-level steel beam may need to be acknowledged in the finished installation.
Hiding Seams and Joints
Where two casing sections meet along a long run, use a scarf joint to hide the seam. Each end is cut at 45 degrees, and the two pieces overlap slightly. A small bead of color-matched caulk along the inside of the seam seals the joint and hides any small gaps.
For corners where the casing turns, miter each end at 45 degrees and fit them together at the corner. A small amount of wood glue or construction adhesive on the mitered faces holds the joint together, and the corner can be reinforced with a small dowel or spline if additional strength is needed.
Where the casing meets a wall, terminate it with a clean cut and a small bead of paintable caulk. The caulk should match the wall finish so the seam disappears visually. If the wall has an unusual texture, work the caulk into the texture with a damp sponge or brush before it skins over.
Access for Future Maintenance
Steel beams occasionally need to be inspected, painted, or otherwise maintained. A PU casing that is screwed permanently to the steel beam makes that maintenance much harder than it needs to be. A casing that is held in place with removable brackets or clips can be lifted off in sections when maintenance is required, then put back in place when the work is done.
For buildings where the steel beam will need regular inspection, consider installing the casing with a few removable access panels at strategic locations. The panels can be held in place with hidden magnets or spring clips, and they blend into the rest of the casing when closed.
Why This Approach Works
Wrapping a steel beam in a faux wood PU casing is faster than framing a soffit, cheaper than replacing the steel with a wood beam, and reversible if the building owner ever wants to expose the original steel again. The finished result looks like a solid timber beam, and the room takes on the warmth and texture that only wood can provide.
For architects and designers working on adaptive reuse projects, this approach opens up design possibilities that would be impractical with traditional construction methods. A steel beam that was an obstacle becomes an architectural feature, and the room's character is defined by the design choices rather than by the structural requirements of the building.
Technical References
ASTM standards cited in every specification
Test Data
Lab results from internal testing program
Updated 2026
Reviewed against current product specs