
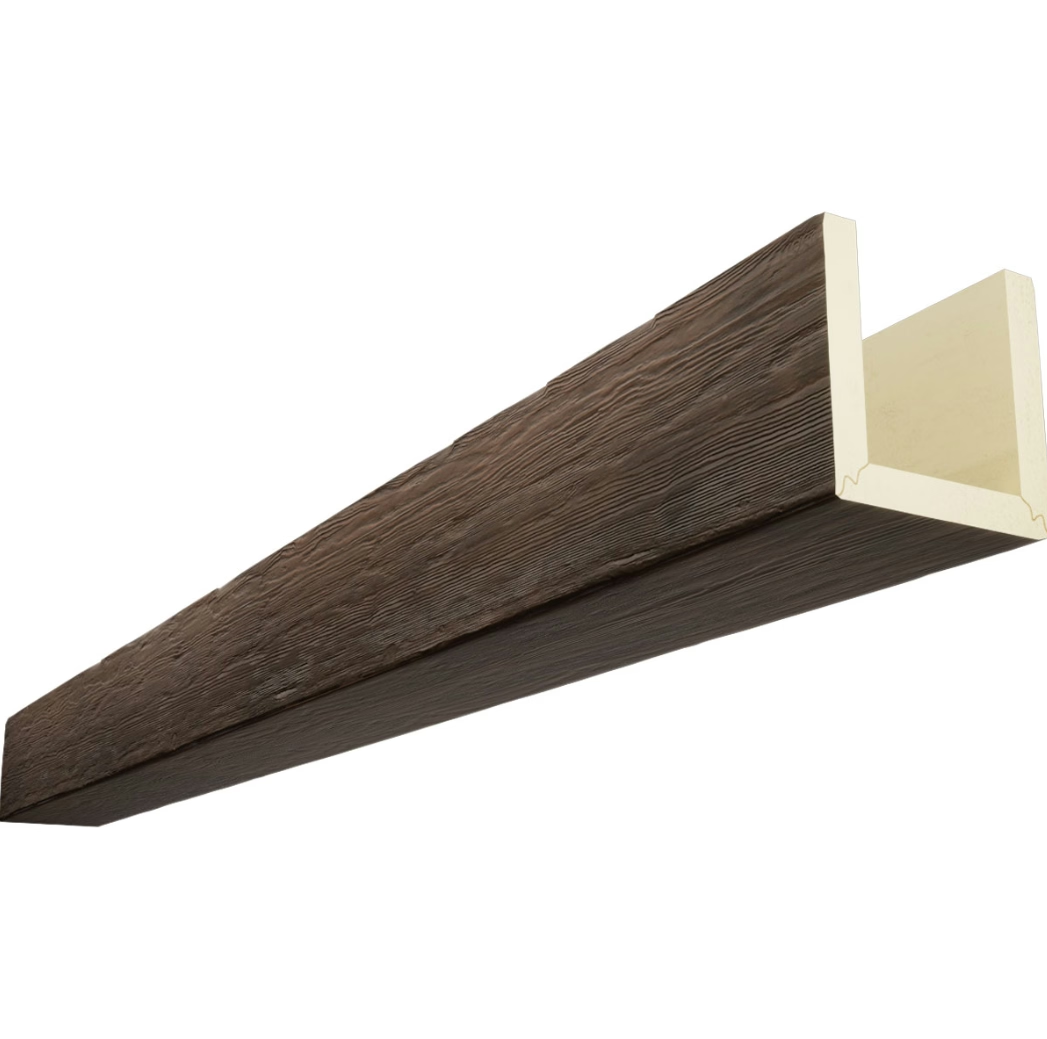
Some ceiling transformations require construction. Wrapping an existing structural member in a PU beam cover does not. The cover slides into position, locks in place, and the room looks like it was always meant to have a decorative timber beam running across the ceiling. The whole process takes hours rather than days.
The "wrap-on" name comes from how the cover fits over the existing member. Unlike a soffit built from framing and drywall, a wrap-on cover arrives pre-finished and ready to install. The wood grain texture, the color, the protective topcoat, all of it has already been applied at the factory. The installer just has to put it in place.
When Wrap-On Is the Right Answer
Wrap-on covers are the right answer when the goal is to change the appearance of an existing structural member without altering the structure itself. Common scenarios include steel I-beams in converted lofts, HVAC ducts that span the room, older wooden beams that have seen better days, and any other situation where the existing element is functional but visually distracting.
The cover preserves access to anything running along or through the existing member. Pipes, wires, junction boxes, and structural connections all remain reachable by removing the cover, which is a significant advantage over framed and drywalled soffits.
Wrap-on is also the right answer when the renovation timeline is tight. A typical wrap-on installation takes a few hours for a single beam run, and a whole room can be transformed in a single day. That timeline is hard to beat with any other approach.
When Wrap-On Is Not the Right Answer
Wrap-on covers are not the right answer when there is no existing structural member to wrap. A cover needs something to fit over, and an empty ceiling cannot accept a wrap-on installation. For ceilings without an existing member, a traditional surface mount or a slide-on installation is the better choice.
The covers also have size limitations. Very wide or very tall existing members may exceed the maximum dimensions of standard cover profiles. Custom covers are available from most manufacturers, but they cost more and take longer to produce than standard sizes.
Finally, wrap-on covers may not be permitted in some commercial installations where fire-rated assemblies need to remain visible for inspection. The local building department should be consulted before covering any structural member in a commercial space.

Choosing the Right Cover
The cover profile should match the style of the room and the character of the existing member. A heavy steel I-beam in a contemporary loft often looks best with a deep, flat-faced cover in a warm wood tone. A narrow HVAC duct in a residential renovation might be better served by a shallow cover with a more textured profile.
The cover dimensions need to clear the existing member with a small margin. Measure the existing member carefully and order a cover that is slightly larger in each direction. The margin is usually hidden inside the cover or closed with a small trim piece.
Color matching is another consideration. Most manufacturers offer a range of standard finishes, from pale driftwood through warm oak and walnut to deep espresso and weathered gray. Some will also do custom color matching against a sample for an additional charge.
Measuring the Existing Member
Measure the existing member at several points along its run. Heights and widths can vary along a long run, especially for older wooden beams that have sagged or twisted over time. Use the largest measurement in each direction when ordering.
Mark the location of any protrusions on the existing member. Bolt heads, hanger plates, splice plates, junction boxes, and lighting conduit all add to the effective dimensions and need to be accounted for in the cover design.
Measure the length of the run and add a few centimeters of clearance at each end. The cover should extend slightly past the existing member to hide any uneven cuts or end conditions and to give the finished beam a clean termination at the wall.
Preparing for Installation
Wipe down the existing member to remove dust, oil, and any loose material. Tighten any loose bolts or fasteners, and address any sharp edges that could damage the cover from the inside. Mark the location of any services that need to remain accessible.
Pre-cut any openings needed in the cover for junction boxes, light fixtures, or other elements. Measure twice and cut once is especially true here. Lay the cover on a pair of sawhorses, mark the cutout carefully, and use a jigsaw with a fine-tooth blade for the cleanest cut.
Have all of the necessary fasteners, brackets, and clips on hand before starting the installation. Running to the hardware store mid-project is the fastest way to turn a quick transformation into a long day.
Installation
Lift the cover into position over the existing member. For a two-piece cover, lift one half up and rest it on a temporary support, then slide it horizontally into position. Tilt the second half into place and fasten the two halves together along their long seam. For a single-piece cover, slide the cover over the end of the existing member and walk it along the run.
Secure the cover to the existing member with the included brackets or clips. Most systems use spring clips that grip the existing member from inside the cover, or small brackets that screw into the existing member and hook into the cover shell. Either way, the fasteners should be concealed inside the cover so they are not visible from below.
Check the cover for level along its length. A cover that follows a bowed or twisted existing member will look obviously crooked when finished. Small adjustments at the brackets can correct for minor variations, but a badly out-of-level existing member may need to be shimmed before the cover goes on.
Finishing the Installation
Joints between cover sections, corners, and terminations all need careful attention to produce a clean finished look. Scarf joints hide seams better than square butt joints, especially on profiles with strong grain patterns. Mitered corners come together cleanly when cut accurately and reinforced with a small amount of adhesive.
End caps hide the cut ends of the cover and give the beam a finished appearance. Press each cap into the open end of the cover and secure it with a small amount of construction adhesive. Wipe away any excess adhesive immediately with a damp cloth.
Where the cover meets a wall, terminate it with a clean cut and a small bead of paintable caulk. The caulk should match the wall finish so the seam disappears visually. A wet finger run along the bead produces a smooth, professional-looking finish.
Why This Approach Works
Wrap-on decorative PU beams are fast, clean, and reversible. They produce a finished look that rivals traditional construction methods at a fraction of the time and cost. For room renovations on a tight timeline, they are often the only practical way to add the visual impact of a decorative beam without committing to a multi-day construction project.
The reversibility is also valuable. If the building owner decides to expose the original structural member again, the covers come off and the structure is unchanged. That flexibility is rare in construction, and it makes wrap-on covers an attractive option for rental properties, commercial leases, and any project where the long-term use of the space is uncertain.
Technical References
ASTM standards cited in every specification
Test Data
Lab results from internal testing program
Updated 2026
Reviewed against current product specs


