
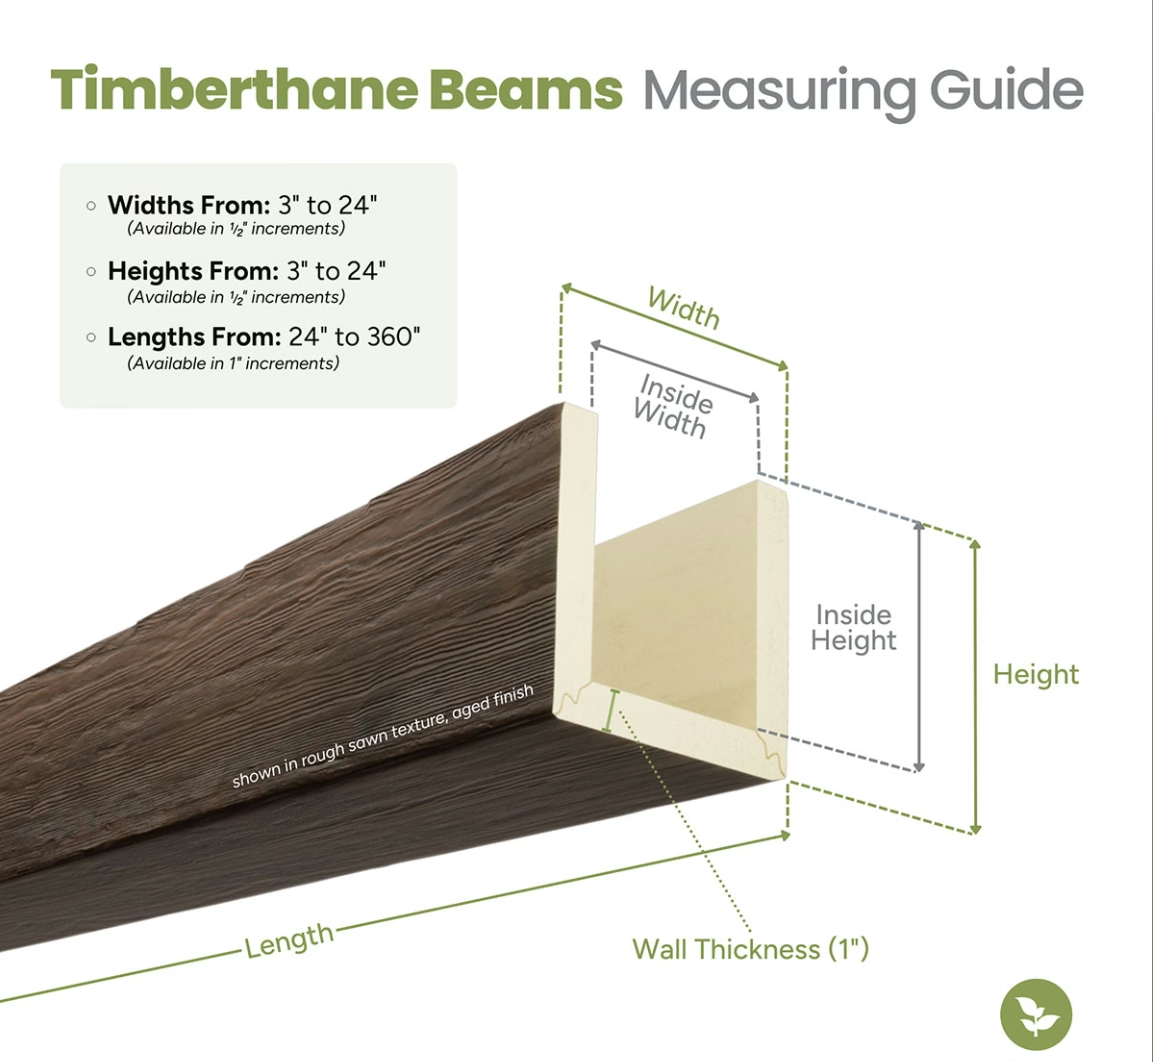
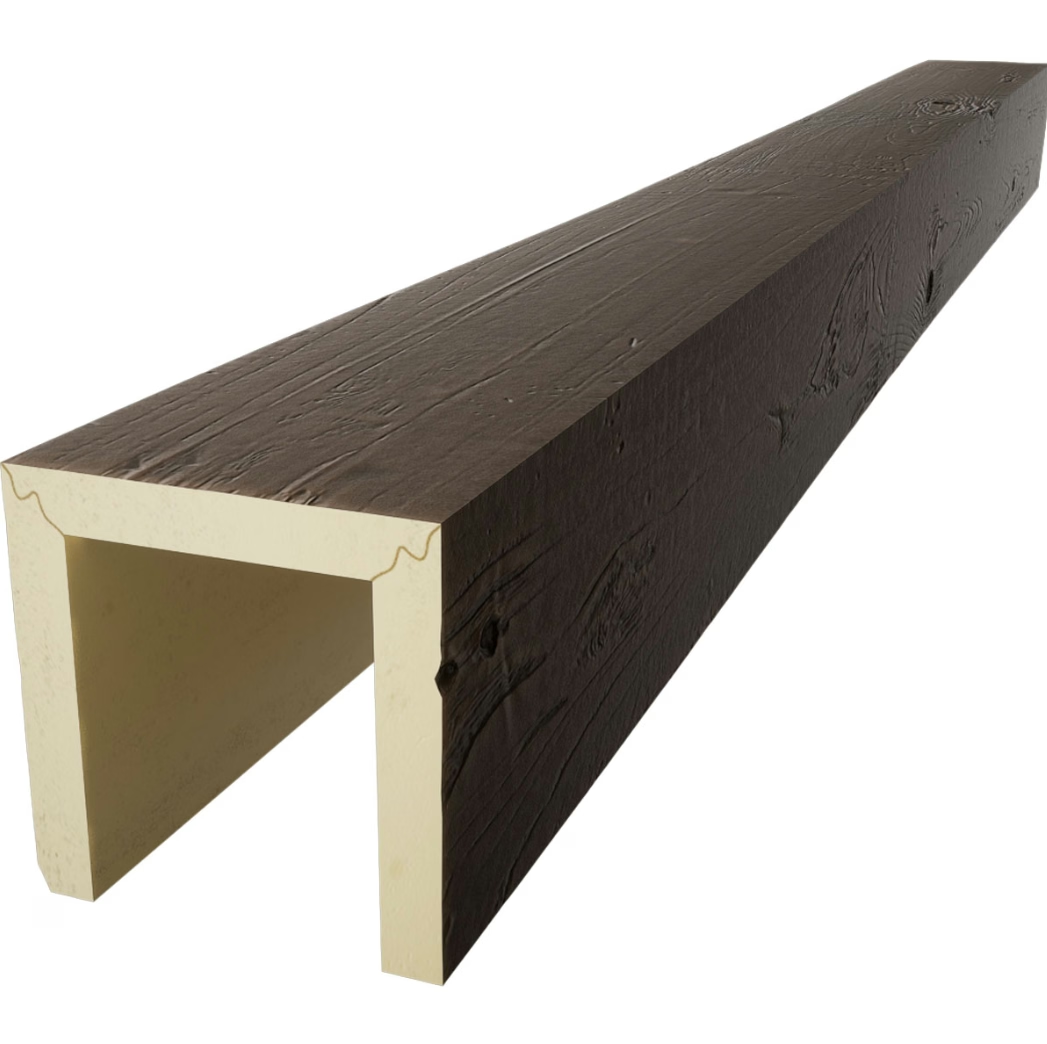
A hollow polyurethane beam is a marvel of efficient design. The closed-cell foam core provides structural rigidity while keeping the weight low, and the hollow interior can hide wiring, route cables, or simply reduce material cost. But the open ends of a hollow beam are also an invitation for trouble. Water can enter. Insects can nest. Debris can accumulate. Over time, any of these intrusions can degrade the beam or the surrounding structure.
End cap weather seals close off the open ends of hollow beams and prevent these problems. The seals are simple in concept but critical in practice. A properly sealed end cap keeps the beam cavity dry and clean for the entire service life of the installation. A poorly sealed or missing end cap can lead to failures that require expensive remediation.
Why Hollow Beams Need End Caps
The hollow interior of a faux wood beam is one of its most useful features. Electricians route cable through the cavity to power light fixtures, ceiling fans, and speakers. Low-voltage installers run data, audio, and control wiring through the same space. AV professionals hide projector cables and motorized screen wiring inside the beams. The cavity provides a clean way to integrate technology without exposing cables on the ceiling surface.
But the same hollow interior that makes the beam useful for cable routing also makes it vulnerable to moisture and pest intrusion. Water that enters the cavity can pool at the low point of the beam and remain there indefinitely. Insects find the warm, protected interior attractive for nesting. Wind-blown debris can accumulate and create conditions for biological growth.
End caps close off the open ends of the beam and prevent these intrusions. The caps are typically molded from the same polyurethane material as the beam, with a finish that matches the surrounding surface. When properly installed, the caps are visually invisible from a normal viewing distance.
Types of End Caps and Seals
Several types of end caps are available for different applications. The choice depends on the beam profile, the exposure conditions, and the desired appearance. Each type has its own advantages and limitations.
Snap-fit end caps are the simplest design. The cap is pressed into the open end of the beam and held in place by friction or by a slight compression fit. The cap can be removed for service access, which is useful for installations where the beam cavity may need to be accessed in the future. Snap-fit caps work well in protected locations where they will not be subjected to direct weather exposure.
Adhesive-bonded end caps use construction adhesive or sealant to bond the cap to the beam. The bond is permanent and creates a weatherproof seal that resists water intrusion even in direct exposure. Adhesive-bonded caps are the most secure option for exterior applications but cannot be removed without damaging the cap or the beam.
Screw-retained end caps use small screws to hold the cap in place. The screws can be removed for service access, and the cap can be re-installed after the service is complete. Screw-retained caps are commonly used in commercial installations where maintenance access is anticipated.
Compression-fit end caps use a gasket or sealing ring around the perimeter of the cap. The cap is pressed into the beam end, and the gasket compresses to create a weatherproof seal. Compression-fit caps are popular for high-end installations where the seal quality is critical.
Material Composition for Exterior Service
End caps for exterior service are typically made from the same polyurethane material as the beams themselves. This ensures that the cap and the beam expand and contract at the same rate with temperature, which prevents the seal from breaking due to differential movement.
The cap material is formulated with the same UV inhibitors and weather-resistant additives as the beam surface. This prevents the cap from degrading faster than the surrounding beam and maintains a consistent appearance over time.
For extreme exposure conditions, caps can be produced with additional weather protection. Caps with integral drip edges shed water away from the beam end. Caps with weep holes allow any trapped moisture to drain rather than accumulate. These features are particularly valuable in climates with heavy rainfall or where the beam is installed in a position where water tends to pool.
Installation Best Practices
Proper installation of end cap weather seals is critical to their performance. The installation process involves several steps that must be followed carefully.
The beam end must be clean and dry before the cap is installed. Any debris, dust, or moisture on the beam end can interfere with the seal. A wipe with a clean cloth and isopropyl alcohol is usually sufficient to prepare the surface.
The cap should be test-fitted before any adhesive or sealant is applied. This confirms that the cap fits properly and identifies any alignment issues that need to be corrected. A cap that does not fit properly should not be forced into place. The beam end may need to be trimmed, or the cap may need to be replaced.
For adhesive-bonded caps, the adhesive or sealant should be applied to both the cap surface and the beam end. This ensures complete coverage and a strong bond. The cap is then pressed into place and held with light pressure until the adhesive begins to set.
For screw-retained caps, pilot holes should be drilled before the screws are installed. The pilot holes prevent the foam from splitting and make the screw installation easier. The screws should be stainless steel or other corrosion-resistant material to prevent rust staining on the beam surface.
For compression-fit caps, the gasket or sealing ring should be inspected before installation. Any damage to the gasket can compromise the seal. The cap is pressed into place with even pressure around the perimeter.
Common Installation Mistakes
Several common mistakes can compromise the effectiveness of end cap seals. These mistakes should be avoided to ensure long-term performance.
One common mistake is installing caps on wet or dirty beam ends. Moisture or debris under the cap prevents a proper seal and can lead to early failure. The beam end must be clean and dry before the cap is installed.
Another common mistake is using the wrong adhesive or sealant. Some adhesives and sealants contain solvents that can damage the polyurethane foam. Only adhesives and sealants that are specifically approved for use with polyurethane foam should be used.
A third common mistake is failing to align the cap properly with the beam surface. A misaligned cap creates a visible step or gap that collects water and debris. The cap should be flush with the beam surface on all sides.
A fourth common mistake is over-tightening screws on screw-retained caps. Over-tightening can crack the cap or strip the foam around the screw hole. The screws should be tightened just enough to hold the cap in place without deforming it.
Environmental Factors Affecting Seal Performance
The performance of end cap weather seals is affected by several environmental factors. Understanding these factors helps installers select the right cap type and installation method for each application.
UV exposure degrades some seal materials over time. Caps with UV-resistant finishes last longer in direct sunlight than caps without UV protection. For installations with high UV exposure, caps with integral UV protection should be specified.
Temperature cycling causes expansion and contraction of the beam and the cap. If the cap and the beam expand at different rates, the seal can break over time. Caps made from the same material as the beam handle temperature cycling better than caps made from different materials.
Moisture exposure is the primary challenge for exterior end cap seals. Caps that are directly exposed to rain, snow, or irrigation must be sealed more aggressively than caps in protected locations. Adhesive-bonded caps or compression-fit caps with gaskets are preferred for direct exposure.
Wind exposure can drive rain into small gaps that would otherwise be protected. Caps in windy locations should be sealed with weatherproof adhesive or gasket seals to prevent wind-driven water intrusion.
Climate-Specific Recommendations
Different climates present different challenges for end cap seals. Cold climates with frequent freeze-thaw cycles require caps that can handle the expansion and contraction without cracking. Flexible sealants and compression-fit caps work well in cold climates.
Hot climates with intense sun exposure require caps with maximum UV protection. The caps should be specified with the same UV-resistant finishes as the beam surface, and additional UV inhibitors can be added for extreme climates.
Humid climates with frequent rainfall require caps that seal out water even under direct exposure. Adhesive-bonded caps with weatherproof sealant are the most reliable choice for humid climates.
Coastal climates with salt spray require caps that resist corrosion. Stainless steel fasteners and corrosion-resistant adhesives should be specified for coastal installations.
Inspection and Maintenance
End cap seals should be inspected periodically to confirm that they are performing as expected. Visual inspection from a normal viewing distance is usually sufficient to identify obvious problems. Caps that have shifted, cracked, or pulled away from the beam should be repaired or replaced.
For installations where the beam cavity contains wiring or other service items, periodic inspection of the cap seal is particularly important. A failed seal that allows water into the cavity can damage the wiring and create safety hazards.
Maintenance of end cap seals is minimal but not zero. Caps in direct exposure may need to be re-sealed after several years of service. The frequency depends on the exposure conditions and the seal type. Caps in protected locations may not require any maintenance during the life of the installation.
Quality Indicators for End Cap Products
Several quality indicators help identify end cap products that will provide long-term reliable service. The cap material should be the same formulation as the beam material, with the same UV protection and finish system. The cap should be factory-finished to match the beam, with no on-site finishing required.
The cap design should include features that promote weather resistance. Integral drip edges, properly designed weep holes, and continuous perimeter seals all contribute to long-term performance. The cap should fit precisely into the beam end with no gaps or misalignments.
The supplier should provide installation instructions specific to the cap type and the application. Generic instructions that do not address the specific cap design are a sign that the supplier has not invested in proper documentation.
The Long-Term Value of Quality Seals
End cap weather seals are a small component of a beam installation, but they have an outsized impact on long-term performance. A properly sealed end cap prevents moisture intrusion, pest infestation, and debris accumulation that can degrade the beam or the surrounding structure. The cost of a quality seal is trivial compared to the cost of repairing moisture damage or replacing a failed beam.
For exterior applications in particular, end cap seals are not optional. They are essential components of a complete beam system. Specifiers who include end cap seals in their project documentation demonstrate an understanding of the long-term performance requirements. Specifiers who omit end caps from their specifications may find that the beams perform poorly in exterior service, even if the beams themselves are high quality.
The investment in proper end cap seals pays off in decades of trouble-free service. The beams maintain their appearance, the cavity remains clean and dry, and the surrounding structure is protected from moisture damage. For anyone specifying faux wood beams in exterior applications, end cap weather seals are a detail that should never be overlooked.
Technical References
ASTM standards cited in every specification
Test Data
Lab results from internal testing program
Updated 2026
Reviewed against current product specs


