
A beam that meets a wall at 90 degrees, two beams that meet at a corner, or a beam that returns into a structure all require precise cuts at specific angles. These cuts, called miters, are critical to the finished appearance of the installation. A miter cut that is even slightly wrong leaves a gap at the joint that is impossible to hide, no matter how good the finish is.
Factory pre-mitering solves this problem by making the cuts under controlled conditions with proper equipment. The installer receives beam sections that are cut to exact angles and exact lengths, ready to fit together with minimal on-site adjustment. The result is a tighter joint, a cleaner appearance, and a faster installation.
For exterior applications, where the joints are exposed to weather and movement over time, the quality of the miter cut is even more important. A poorly cut joint allows water to penetrate the foam and accelerates finish failure. A well-cut joint, properly sealed during installation, protects the foam and preserves the finish.
What pre-mitering covers
A pre-mitered beam section includes cuts at one or both ends of the beam, at angles specified by the project. The most common miter is a 45-degree cut for a standard 90-degree corner. Two beams with 45-degree miters meet at the corner to form a tight joint.
Other common miters include 22.5-degree cuts for obtuse corners, 30 or 60-degree cuts for non-standard corners, and square cuts for beams that return into a wall or structure. Each miter has a specific application and a specific visual effect. The factory cuts the beam to the specified angle based on the project's design drawings.
Some projects require compound miters, which are cuts at two angles simultaneously. These are needed when a beam meets another beam at an angle that is not in a single plane. Compound miters are common on complex rooflines, multi-level ceilings, and decorative structural details. Compound miters are significantly more difficult to cut on site, which makes pre-mitering particularly valuable for these applications.
How factory pre-mitering is done
Factory pre-mitering typically uses the same CNC routers used for other pre-cut modifications, but with specialized cutting bits and fixtures. The router is programmed with the cut angle, the cut length, and any compound angles required. The beam is clamped in a fixture that holds it at the correct orientation for the cut.
For long beams, the factory might use a different cutting approach. Long beams cannot always fit through a CNC router, so the factory uses a miter saw or a specialized beam-cutting saw. These saws produce clean cuts at precise angles, with finish quality similar to what the CNC router produces.
The cut edges are usually finished by the factory as part of the pre-mitering service. A raw cut edge on a pre-finished beam looks unfinished, so the factory applies a matching stain or paint to the cut edge before shipping. This hand-finishing is what distinguishes premium pre-mitering from basic pre-mitering. Buyers should specify whether the cut edges should be hand-finished or left raw for on-site touch-up.
Common pre-miter configurations
A standard corner joint uses two 45-degree miters. The two beams meet at the corner with the long points of the miters touching. This is the most common configuration for outside corners on pergolas, porches, and similar structures.
A return joint uses a single miter cut on one end of a beam. The other end of the beam runs into a wall, post, or other structure. The miter cut on the exposed end provides a finished appearance where the beam terminates. Returns are common on entryways, breezeways, and decorative details.
A scarf joint uses opposing angles on two beam ends that meet in the middle of a run. The scarf joint allows a long beam run to be assembled from shorter beam sections, with the joint less visible than a butt joint. Scarf joints are useful when transportation or handling constraints prevent delivery of a single long beam.
A hip joint combines two beams meeting at an angle in a hip roof configuration. Each beam is cut at the angle needed to fit against the other beam, and the joint is reinforced with a hidden bracket. Hip joints are common on outdoor pavilions and gazebos.
Why factory pre-mitering improves the result
The most important reason is accuracy. A CNC router or factory miter saw produces cuts that are accurate to within a fraction of a degree. An on-site cut with a hand-held miter saw is accurate to within a degree or more, depending on the operator's skill and the stability of the setup. Over a long beam, that small inaccuracy translates into a visible gap at the joint.
The second reason is finish consistency. Factory-cut edges receive the same finish as the rest of the beam. On-site cut edges require touch-up, which rarely matches the surrounding finish perfectly. The factory finish is also applied under controlled conditions, while on-site touch-up is applied in variable conditions that affect the final appearance.
The third reason is installation speed. Pre-mitered beams go together faster because the joints fit properly without adjustment. The installer spends time mounting the beam rather than fitting the joint. On complex installations with many corners and returns, the time savings add up significantly.
When pre-mitering is essential
Pre-mitering is essential for any installation with visible corner joints. The miter is a focal area where any imperfection becomes obvious. A gap, misalignment, or finish mismatch at the corner undermines the entire installation, regardless of how good the rest of the beams look.
Pre-mitering is also essential for installations where on-site cutting is impractical. High ceilings, finished interiors, occupied spaces, and historical renovations all favor factory cutting because the disruption of on-site cutting is unacceptable.
Pre-mitering is essential for compound miters. These cuts are extremely difficult to make on site with the accuracy needed for a tight joint. Factory equipment and factory expertise make compound miters routine.
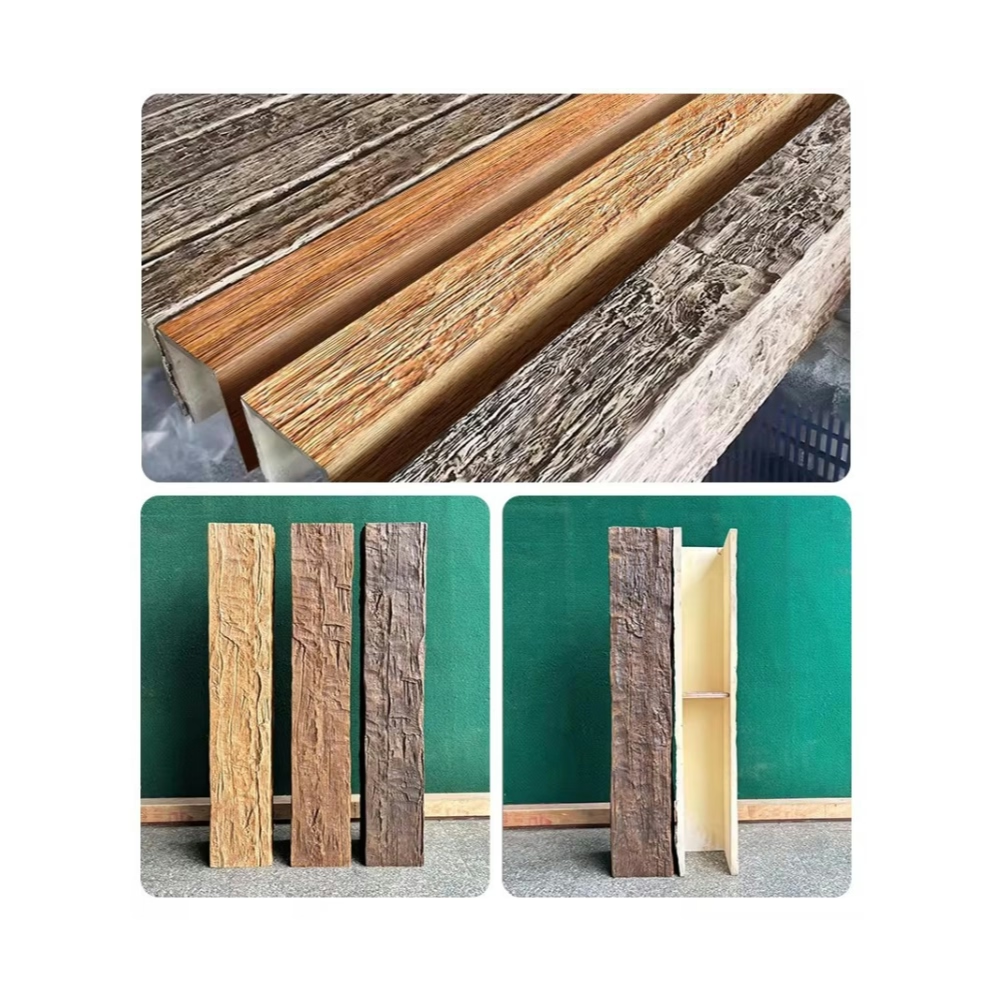
Specifying pre-mitered beam sections
The specification for pre-mitered beams should include the cut angle, the cut length, and the location of the cut on the beam. The cut location matters because it determines how the beam fits into the overall installation. A beam with a miter on one end and a square cut on the other has different handling than a beam with miters on both ends.
The specification should also include the joint type. A butt joint, a miter joint, a scarf joint, and a hip joint each have different geometry and require different cuts. The factory cannot produce the correct cuts without knowing the joint type.
The specification should include finish requirements for the cut edges. Standard pre-mitering leaves the cut edges raw, with the expectation that the installer will apply touch-up finish on site. Premium pre-mitering includes hand-finished edges that match the surrounding beam surface. The cost difference is meaningful but the result is significantly better.
The specification should include any reinforcement requirements. Some joints require hidden brackets, splines, or other reinforcement to handle the structural loads. The factory should know about these requirements so the cuts can be designed to accommodate the reinforcement.
Communicating the project geometry to the factory
The factory needs accurate information about the project geometry to produce correct miters. This information is typically conveyed through drawings that show the beam layout, the joint locations, the joint types, and the cut angles.
A simple sketch with dimensions is often sufficient for straightforward projects. The sketch should show the ceiling or structure from above, with the beam locations marked and the joint types noted. Dimensions should be clear and complete.
A formal CAD drawing is appropriate for complex projects with many joints, compound miters, or non-standard geometry. The CAD drawing should include the beam profiles, the cut angles in degrees, and any relevant details about the structure.
A physical template is sometimes used for unusual situations where drawings cannot capture the geometry accurately. The installer creates a template of the actual joint using scrap material, ships it to the factory, and the factory uses the template to set up the cuts. This approach is expensive but eliminates any uncertainty about the geometry.
Common pre-mitering mistakes
The most common mistake is providing inaccurate measurements or angles. A miter cut that is 45 degrees when the joint actually requires 43 degrees produces a gap that cannot be closed. The factory can only work with the information provided, so accurate information is essential.
The second common mistake is forgetting to specify the joint type. A miter cut for a butt joint looks different from a miter cut for a miter joint, even at the same angle. The factory needs to know how the cut will be used to produce the correct geometry.
The third common mistake is assuming the factory knows the project context. The factory might know how to cut a 45-degree miter, but the factory does not know whether the corner is an outside corner, an inside corner, or something else. The context matters for the cut direction, the cut orientation, and the joint fit.
The fourth common mistake is ignoring finish requirements. A pre-mitered beam with raw cut edges might look unfinished next to a beam with factory-finished edges. The mismatch is visible at the joint, which is the most scrutinized part of the installation. Specifying the finish requirements in advance prevents this issue.


Installation of pre-mitered beam sections
The installation of pre-mitered beams is similar to the installation of standard beams, with additional attention to the joints. The installer should dry-fit each joint before applying any adhesive or sealant. Dry-fitting reveals any fit issues that need to be addressed before the final assembly.
Adhesive or sealant should be applied to the cut faces of the joint before the beams are brought together. Construction adhesive or exterior-grade polyurethane sealant is appropriate for most installations. The adhesive both holds the joint together and seals it against moisture intrusion.
The joint should be reinforced with hidden brackets or fasteners as specified. The reinforcement takes the structural load off the adhesive and provides long-term stability. The reinforcement should be designed to be invisible once the installation is complete.
The finished joint should be inspected for fit, finish, and sealant coverage. Any gaps should be filled with additional sealant or touch-up finish. Any finish imperfections should be addressed with touch-up from the factory-supplied kit.
Lead time and cost considerations
Pre-mitered beams require additional factory time compared to standard beams. The additional time covers the cut programming, the actual cutting, and any hand finishing of the cut edges. Lead times for pre-mitered beams are typically one to three weeks longer than for standard beams, depending on the factory's workload and the complexity of the cuts.
The cost of pre-mitering depends on the number of cuts, the complexity of the cuts, and the finish requirements. Simple 45-degree miters with raw edges add a few dollars per beam end. Compound miters with hand-finished edges add significantly more. Buyers should request pre-mitering as a separate line item on the quote to compare costs accurately.
For projects where the miter cuts are critical to the visual result, the pre-mitering cost is money well spent. The labor savings on site, the reduced fit issues, and the better finished appearance all justify the additional factory cost. For projects with simple, straight runs and no visible joints, pre-mitering adds cost without corresponding benefit.
Working with the factory on complex geometries
Some projects have geometries that are difficult to capture in standard drawings. Curved beams, beams that follow an angled wall, beams that integrate with other architectural elements all require special attention. The factory should be consulted early in the design process for these situations.
Physical templates, photos of the actual installation conditions, and detailed sketches with multiple views all help the factory understand the geometry. A video walk-through of the installation site is sometimes the best way to communicate complex geometry, especially when language barriers might make written descriptions ambiguous.
The factory's engineering team can often suggest solutions to geometry challenges that the installer or designer has not considered. A scarf joint might work better than a miter joint in a specific situation. A return might be cleaner than a hip joint. The factory's experience with similar projects provides design guidance that improves the final result.
Pre-mitered exterior polyurethane beam sections are a service that adds real value to complex installations. The accuracy of factory cuts, the consistency of factory finishes, and the speed of installation all contribute to a better final result. For projects where the joints are visible and the finish quality matters, pre-mitering is the right approach.
Technical References
ASTM standards cited in every specification
Test Data
Lab results from internal testing program
Updated 2026
Reviewed against current product specs


