
A room's character can shift dramatically when ceiling beams are added. The transformation is so significant that it often surprises people who haven't experienced it firsthand. What was previously a flat, anonymous overhead surface becomes an architectural feature that anchors the room, organizes the visual rhythm, and creates a sense of permanence and substance that wasn't there before. The best part is that this transformation doesn't require weeks of construction.
Planning a Fast Beam Installation
The first step in a fast ceiling makeover is accurate planning. Measure the room carefully, determine the beam pattern you want, calculate the number and length of beams needed, and identify any special considerations like light fixtures, ceiling fans, or vent locations that will need to be accommodated.
Beam layout planning affects both the appearance of the finished ceiling and the time required for installation. Parallel beams running perpendicular to the room's longest dimension is the simplest layout to install and produces the most universally appealing result. Cross-beam layouts and custom configurations take longer to install but produce more dramatic effects.
Order beams with appropriate lead time before the planned installation weekend. Standard sizes are typically in stock and ship quickly. Custom sizes or finishes may require additional production time. Having the beams on hand before the installation begins is essential for a true weekend makeover.
Tools and Materials Required
The tools needed for a faux beam installation are basic and commonly available. A stud finder helps locate ceiling joists for secure mounting. A level ensures the beams are installed straight. A drill with appropriate bits handles pilot holes and fastener installation. A measuring tape, pencil, and ladder round out the essential tools.
Mounting hardware typically includes blocking boards cut to fit between ceiling joists, construction adhesive for additional bond strength, and screws long enough to penetrate through the beam and into the blocking. Most beam manufacturers provide specific hardware recommendations or include appropriate hardware with the beam purchase.
Safety equipment matters even for straightforward installations. Safety glasses protect from debris during drilling. Work gloves prevent splinters from blocking boards and rough surfaces. A dust mask is helpful when cutting or drilling produces particles. A helper for lifting and positioning beams prevents strain and improves installation accuracy.
Saturday Installation Timeline
A typical fast ceiling makeover follows a Saturday installation timeline for a standard room with four to six beams. The morning begins with ceiling preparation, including locating joists, marking beam positions, and installing any required blocking. This work takes two to three hours for most rooms.
Mid-morning through early afternoon covers beam preparation and dry fitting. Each beam is measured, cut if necessary, dry-fit to confirm positioning, and adjusted as needed before final installation. This careful preparation prevents mistakes during the actual mounting phase and ensures the finished installation looks correct.
Afternoon is the active installation phase. Beams are mounted one at a time, with adhesive applied to the back surface and screws driven through the beam faces into the blocking above. Each beam takes 30 to 60 minutes to mount properly, including positioning, securing, and confirming alignment.
Sunday Finishing Work
Sunday morning focuses on finishing details. Joints between beams are addressed with manufacturer-supplied filler or color-matched caulk. End caps are installed if they're being used. Any visible fasteners are concealed with matching putty or caps. Touch-up paint or finish is applied where needed.
Lighting and any other ceiling-mounted elements are reinstalled if they were removed for the beam installation. Light fixtures that were temporarily relocated are returned to their original positions or to new positions that work with the beam layout. Vent covers and any other ceiling elements are reinstalled.
The room cleanup happens Sunday afternoon, with protective coverings removed, tools packed away, and the room returned to functional use. By Sunday evening, the room has a dramatically transformed appearance with new architectural character that will last for years.
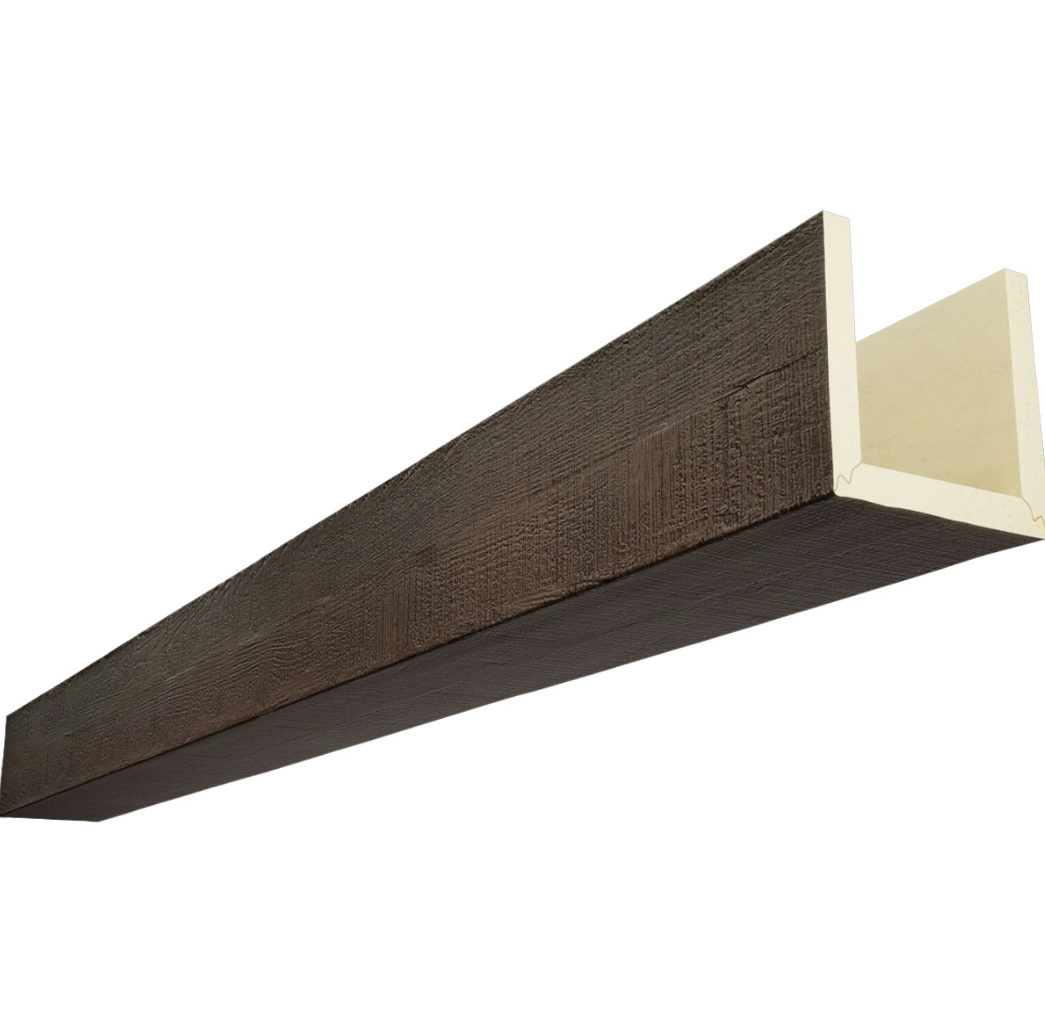
Room Preparation Before Installation
A few preparation steps make the installation smoother and faster. Remove or cover furniture that can't be relocated to other rooms. Protect flooring with drop cloths. Cover any items that need to remain in the room but can't tolerate dust.
Existing light fixtures may need temporary removal to allow beam installation in their areas. If the fixtures are staying in their current positions but the beams will pass nearby, this may not be necessary. If fixtures need to be relocated to accommodate the beam layout, having an electrician handle the disconnection and reconnection may be appropriate for hardwired fixtures.
Window treatments should be considered as well. If the room has large windows, the beam installation may temporarily affect their operation if scaffolding or ladders need to be positioned in front of them. Coordinating the installation with favorable weather can prevent issues with windows that need to remain closed or open during the work.
Working Around Ceiling Obstacles
Most rooms have some ceiling obstacles that need to be worked around during beam installation. Light fixtures, ceiling fans, smoke detectors, and vent covers are the most common. Each requires a decision about whether to work around the obstacle, temporarily remove it, or relocate it permanently.
Light fixtures can usually be worked around by adjusting the beam layout slightly. A beam that would otherwise pass through a fixture location can be shortened on one end or shifted laterally to clear the fixture. The resulting visual adjustment is usually minor and doesn't affect the overall appearance of the finished ceiling.
Smoke detectors should never be covered or obstructed by beams. Building codes typically require smoke detectors to remain visible and operational. If a beam layout would obstruct a smoke detector, the detector may need to be relocated to a position that maintains its effectiveness while accommodating the beam system.
Common Installation Mistakes to Avoid
Several mistakes can compromise a fast beam installation. Inadequate blocking is one of the most common. Beams need to be secured to solid blocking between joists, not just to the drywall ceiling. Mounting beams only to drywall will eventually fail as the fasteners work loose.
Insufficient adhesive is another common issue. Construction adhesive provides the primary bond that holds the beam against the ceiling. Screws alone don't provide adequate long-term holding power, particularly for heavier beams. Both adhesive and screws should be used together for the most secure installation.
Poor alignment creates visible problems that are difficult to correct after installation. Beams that aren't parallel, that don't align with walls or other architectural elements, or that have inconsistent spacing all look amateurish in the finished installation. Taking time to verify alignment at each step prevents these issues.
Technical References
ASTM standards cited in every specification
Test Data
Lab results from internal testing program
Updated 2026
Reviewed against current product specs


