
There is a particular kind of frustration that comes with drilling a pilot hole in a faux beam only to watch the drill bit wander off-center, or push too hard and crack the beam edge, or have the fastener strip out as soon as any weight is applied. Pre-drilled faux timber beams eliminate all of that frustration by moving the drilling step from the job site to the factory, where CNC equipment places pilot holes in exactly the right location, at exactly the right depth, with exactly the right diameter. The result is an installation that goes together faster, with fewer mistakes, and with a finished result that looks like a carpenter did it.
What Pre-Drilled Means
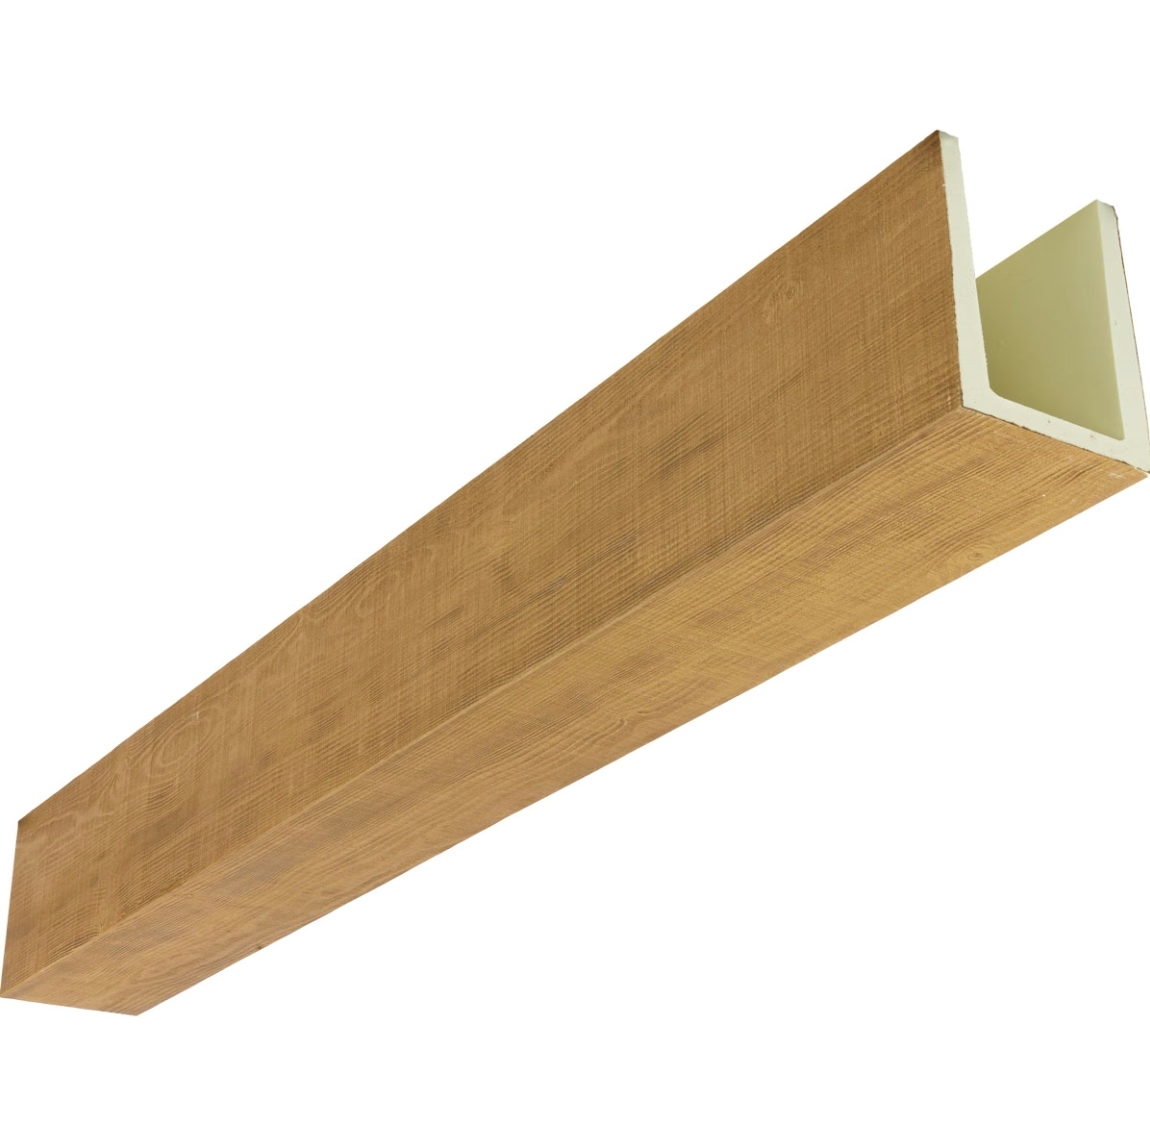
Pre-drilled means the manufacturer has drilled pilot holes into the beam at the factory, before shipment. The holes are positioned along the beam at specified intervals, sized for specific fasteners, and drilled to the correct depth so the fastener can be driven without stripping, splitting, or wandering.
When the beam arrives at the job site, the installer simply positions the beam, marks the mounting locations on the ceiling through the pre-drilled holes, and drives the fasteners through the pre-drilled holes into the ceiling. No drill needed for the beam itself. No risk of cracking or misalignment.
Factory Precision vs. Field Drilling
A hand-held drill on a job site is a precision tool, but it is precision in the hands of a human. The human might be tired. The human might be on a ladder. The human might be holding the drill at an awkward angle. Each of those conditions introduces variability that affects the quality of the hole.
A CNC drill at the factory is precision without the variability. The drill bit is positioned to within a fraction of a millimeter. The hole is drilled to a consistent depth. The angle is exactly perpendicular. Every pre-drilled hole on every beam is essentially identical, which means the installation is predictable.
How Pre-Drilling Is Done at the Factory
The factory uses a CNC drill line that processes beams in batches. Each beam is loaded into the line, the drill pattern is programmed based on the beam dimensions and the fastener specification, and the machine drills all the holes in a single pass.
Programmed Drill Patterns
The drill patterns are stored in a library keyed by beam profile, length, and customer specification. When an order comes in, the production team pulls the appropriate pattern and runs the beam through the drill line. The pattern includes hole location, hole diameter, hole depth, and counterbore specifications (where applicable).
Quality Control at the Drill
Each beam is inspected after drilling. The inspector checks hole location against the specification, confirms the holes are clean and free of debris, and verifies the depth is consistent. Beams with off-location or off-depth holes are pulled from the line and reworked before continuing to finishing.
Specifying Pre-Drilled Holes
Customers can specify pre-drilled holes at the time of order. The specification includes the fastener type, the hole pattern, and any special requirements.
Fastener Type
The most common fastener types for faux beam installations are:
- #8 or #10 wood screws for direct mount to wood framing
- #10 or #12 construction screws for heavier beams or commercial installations
- 16-gauge or 18-gauge brad nails for finish work where holding strength is supplemented by adhesive
The pre-drilled hole is sized for the specific fastener. A pilot hole for a #10 screw is 1/8 inch. A pilot hole for a #12 screw is 9/64 inch. The hole diameter matters because too small causes splitting, too large causes the fastener to strip.
Hole Pattern
The hole pattern is specified as a starting distance from the beam end, a spacing between holes, and a total length of the hole run. A typical pattern is "first hole 2 inches from beam end, then every 12 inches." For a 12-foot beam, that yields 13 holes along the length.
Counterbore or No Counterbore
For installations where the fastener head will be visible, a counterbore allows the head to sit flush with or slightly below the beam surface. The counterbore is typically 1/4 inch or 5/16 inch deep, sized for the specific screw head. After the fastener is driven, the counterbore is filled with a color-matched filler or a decorative plug.
For installations where the fastener head will be hidden — under a beam strap, behind a corbel, or under a decorative trim piece — no counterbore is needed.
Installation Sequence With Pre-Drilled Beams
The installation sequence with pre-drilled beams is faster than with field-drilled beams.
Step 1: Position the Beam
The installer positions the beam against the ceiling at the marked location. A helper holds the beam in place, or the installer uses temporary support like a laser-positioned brace.
Step 2: Mark the Fastener Locations
With the beam held in place, the installer reaches behind the beam with a pencil or marker and marks the ceiling through each pre-drilled hole. The marks show exactly where the ceiling fasteners need to go.
Step 3: Set the Beam Down and Drill the Ceiling
The installer sets the beam down, then drills the ceiling at each marked location. The ceiling holes go into the framing — typically the wood joists or blocking — and are sized for the fastener being used.
Step 4: Apply Adhesive
Adhesive is applied to the back of the beam in a continuous bead. Pre-drilled beams often use adhesive for the primary bond and mechanical fasteners for secondary support.
Step 5: Lift the Beam Into Place
The beam is lifted back into position. The pre-drilled holes in the beam align with the drilled holes in the ceiling.
Step 6: Drive the Fasteners
The installer drives each fastener through the pre-drilled beam hole into the ceiling framing. The fastener threads into the wood cleanly because the hole is the correct size, and the beam pulls tight against the ceiling as the fastener is driven.
Step 7: Fill and Finish
Counterbores are filled with color-matched filler. Visible fastener heads are touched up with matching paint or stain. Decorative beam straps or corbels are installed over the fastener locations to hide them.
Benefits of Pre-Drilled Beams
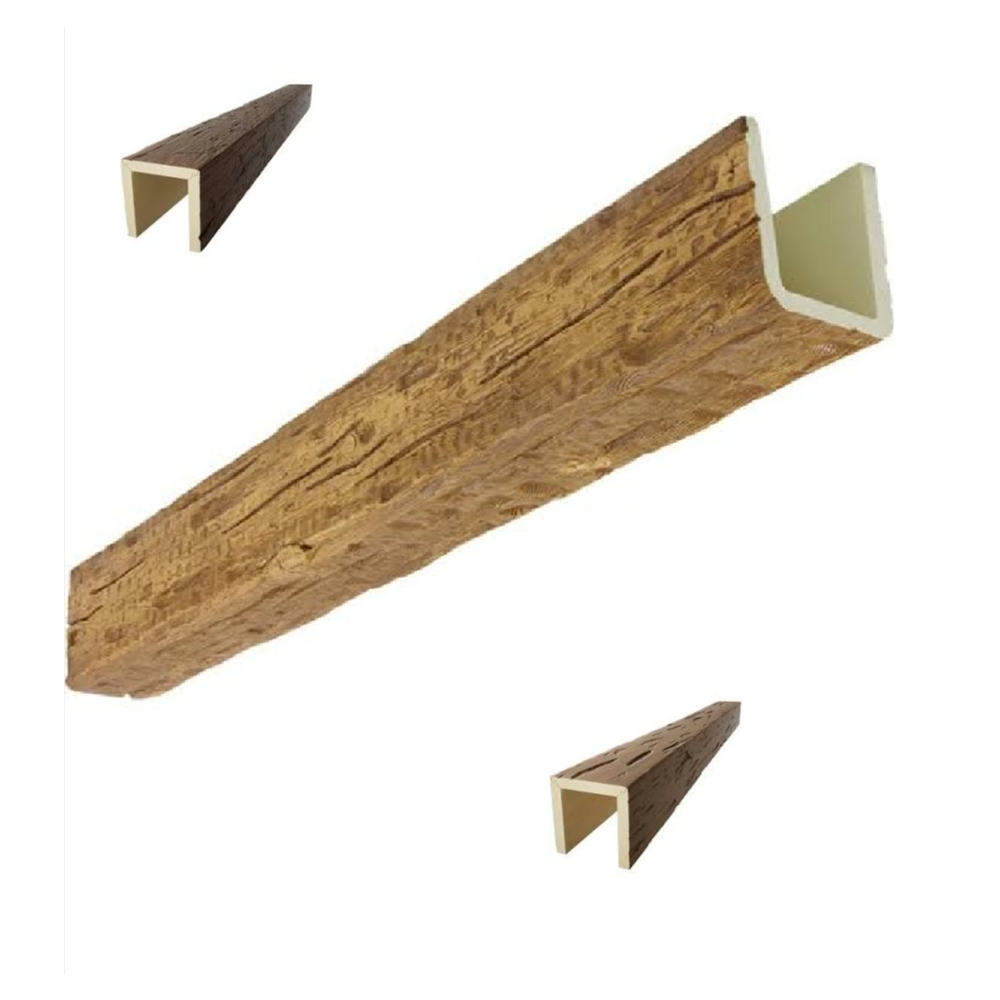
The benefits of pre-drilled beams go beyond just speed. They include consistency, reduced installer fatigue, and better finished results.
Installation Speed
Pre-drilled beams install 30–50% faster than field-drilled beams. The installer is not spending time on a ladder with a drill, fighting gravity, trying to keep the bit straight, and worrying about cracking the beam. The pre-drilled holes accept fasteners cleanly and the installation moves quickly.
Reduced Installer Fatigue
Drilling overhead is one of the most fatiguing installation tasks. The drill has to be held at an awkward angle, the installer has to apply constant pressure, and the dust falls in the installer's face. Pre-drilling moves that fatigue from the job site to the factory, where machines handle the repetitive overhead work without getting tired.
Consistency Across Multiple Beams
For installations that use multiple beams — a coffered ceiling, a series of parallel beams, a room with several accent beams — pre-drilled beams ensure consistent hole placement across all the beams. Every beam has the same hole pattern in the same location. The finished installation looks like a single craftsman built the whole thing.
Less Waste From Mistakes
Field drilling has a learning curve. New installers may crack a beam by drilling too close to the edge, may strip a hole by using the wrong bit size, or may damage the finish by letting the drill chuck rub against the beam surface. Pre-drilling moves that learning curve to the factory, where mistakes are caught during inspection rather than showing up on the job site.
When Pre-Drilling Is Most Valuable
Pre-drilling is not always necessary. Some installations are simple enough that field drilling is fast and easy. But for many common scenarios, pre-drilling is the better choice.
Long Beams
Beams longer than 12 feet require many fasteners. Pre-drilling ensures every fastener is in the right place and avoids the time-consuming field-drilling process that would otherwise be required.
Installations With Multiple Identical Beams
For a coffered ceiling or a room with several parallel beams, pre-drilling ensures consistency across all the beams. The installer does not have to measure and mark each beam separately.
High-End Finished Applications
For high-end applications where the finished appearance matters, pre-drilling with counterbores and color-matched filler produces a cleaner result than field drilling. The fastener locations are essentially invisible in the finished installation.
Commercial Installations With Tight Timelines
Commercial installations often run on tight timelines. Pre-drilled beams reduce the on-site labor hours, which is critical when a contractor is billing against a fixed-price contract.
Pre-Drilling and Adhesive Compatibility
Pre-drilled beams are typically installed with adhesive for the primary bond and mechanical fasteners for secondary support. The combination gives the best of both worlds — the adhesive distributes the load evenly across the surface, and the mechanical fasteners provide positive attachment and immediate holding strength.
When Adhesive Alone Is Sufficient
For short beams in residential applications where the ceiling is solid wood framing, adhesive alone is often sufficient. The bond strength of premium construction adhesive exceeds the weight of a typical lightweight faux beam.
When Mechanical Fasteners Are Required
For long beams, for beams installed parallel to the joists (where adhesive is bonding to drywall), or for commercial installations, mechanical fasteners are required in addition to adhesive.
Coordinating Pre-Drilling With Adhesive Pattern
For installations that use both adhesive and mechanical fasteners, the pre-drilled hole pattern can be coordinated with the adhesive bead pattern. The factory can offset the holes slightly from the centerline to leave a clean channel for the adhesive bead, ensuring the adhesive does not interfere with the fastener locations.

Common Questions About Pre-Drilled Beams
Q: Can I specify my own hole pattern? Yes. We work with the customer to define the pattern that matches their installation requirements. Standard patterns are used for stock beams, and custom patterns are programmed for project-specific orders.
Q: What if my project requires a hole pattern that is not standard? Custom hole patterns are programmed at the factory and may require a small setup fee for the CNC programming. Lead time is typically 3–5 additional business days for custom patterns.
Q: Can pre-drilled beams be cut to length on site? Yes, but cutting the beam on site will remove some of the pre-drilled holes. The remaining holes are still usable, and the cut end can be field-drilled if additional fasteners are needed in the modified location.
Q: Are pre-drilled holes available on curved beams? Yes, but the hole pattern on curved beams is more complex. The factory works with the customer to define a pattern that follows the curve and provides adequate fastener locations at the curve transitions.
Pre-Drilling as a Standard Practice
For most professional installers, pre-drilling has become the standard rather than the exception. The time savings, the consistency, and the reduction in installer fatigue make pre-drilled beams the preferred option for any installation where the customer is willing to pay a small premium for the factory service. The premium typically runs 5–10% above the base beam price, which is easily recovered in reduced labor hours on the job site.
Technical References
ASTM standards cited in every specification
Test Data
Lab results from internal testing program
Updated 2026
Reviewed against current product specs


