
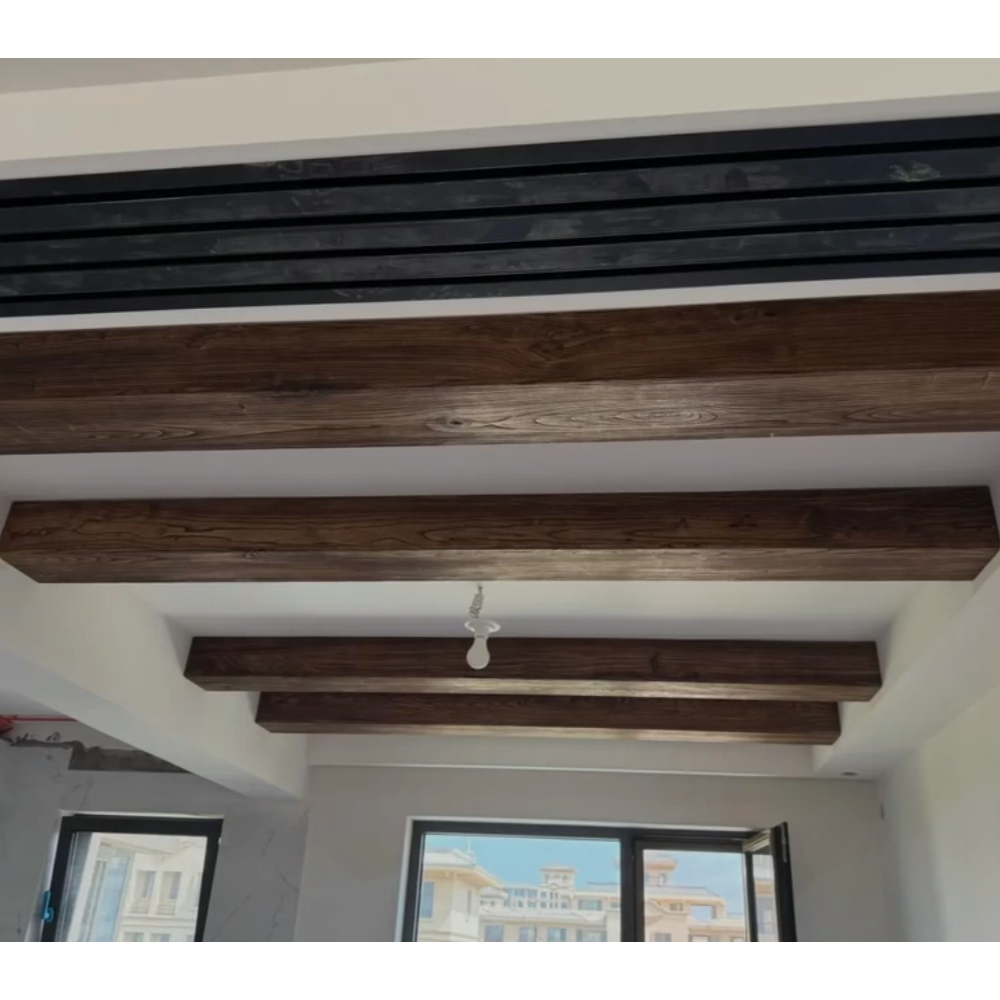
The cleanest ceiling-to-beam transition is one where you cannot tell there is a transition at all. A beam that sits perfectly flush against the ceiling, with the ceiling plane continuing uninterrupted on either side, reads as an integrated architectural feature rather than an applied decoration. Achieving that look requires a beam profile designed specifically for flush mounting, which is exactly what flat-back design faux wood beams provide.
The flat-back profile is one of those small design decisions that has an outsized effect on the finished appearance. A traditional beam that wraps around a structural cleat will always show some gap at the ceiling line, even if the gap is small. That gap catches shadows, collects dust, and breaks the visual continuity between the beam and the ceiling. A flat-back beam eliminates the gap entirely.
Understanding the flat-back profile
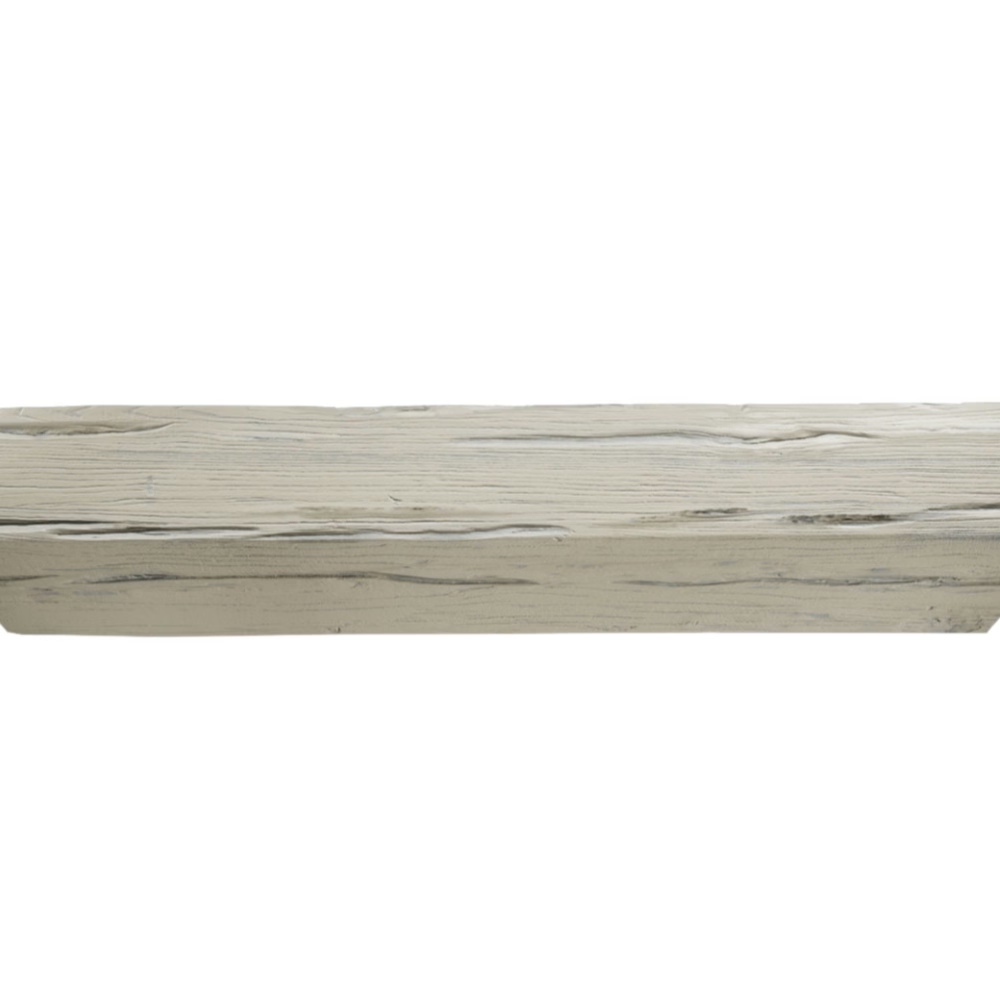
A flat-back beam replaces the open top of a traditional U-shaped or three-sided beam with a flat panel that runs the full width of the beam. The panel sits directly against the ceiling when installed, creating a continuous surface from ceiling to beam face with no opening at the top.
The side faces of the beam still angle or curve upward from the bottom face to meet the flat back panel, just as they would meet the top edge of a traditional U-shape. The difference is in what they meet at the top. Instead of meeting each other at an edge, they meet a continuous flat surface that provides a mounting face for the entire beam.
This design has practical implications beyond the appearance. Wiring can be routed into the beam from the ceiling side without leaving access gaps at the top. The flat back distributes mounting pressure evenly across the full width of the beam, reducing stress concentrations at individual fastener points. And the integrated profile is easier to seal against air leakage and dust infiltration than a U-shape with an open top.
Where flush mount beams work best
Modern and contemporary interiors are the natural home for flat-back beams. The clean lines and integrated appearance match the design language of contemporary architecture, where every transition is considered and every detail is intentional. A great room with floor-to-ceiling windows, polished concrete floors, and white walls benefits from ceiling beams that look like they belong there rather than being stuck on as an afterthought.
Renovation projects with existing flat ceilings are another strong application. The flat back profile accommodates minor variations in ceiling flatness, while the continuous mounting face allows shimming where needed. A U-shape beam in the same situation would show gaps at the ceiling line that vary along the length, calling attention to imperfections that a flat back beam would hide.
Commercial spaces with acoustic tile or other modular ceilings often use flat-back beams to integrate with the ceiling grid. The flat back can sit against the grid framework, and the surrounding tiles can be cut to fit the beam profile cleanly. This creates a more polished appearance than U-shape beams, which tend to disrupt the grid pattern visually.
Kitchens with flush-mounted lighting or minimal ceiling detail benefit from flat-back beams that do not introduce a competing visual element at the ceiling line. The beam reads as a continuation of the ceiling plane that drops down to form a decorative feature, rather than as a separate object hanging below the ceiling.
Limitations of the flat-back design
Flat-back beams are not ideal for every ceiling type. Vaulted, sloped, or strongly uneven ceilings require shimming or scribing to maintain a tight fit with a flat back. For ceilings with more than a quarter inch of variation across the beam length, a U-shape beam that hangs below the ceiling is usually easier to install.
In exposed timber-look designs where the beam is meant to look like a rough-hewn structural element, the U-shape profile is more authentic. The flat back reads as a manufactured surface, not a natural one. For projects where the goal is a rough, hand-crafted aesthetic, traditional U-shape beams are usually a better fit.
Flat-back beams also limit access to the interior of the beam compared to U-shapes. Wiring must enter from the ends or through drilled holes in the back panel, which can be more work for installations with extensive lighting or audio-visual integration.
Mounting methods for flat-back beams
The mounting approach for flat-back beams depends on the weight of the beam, the ceiling structure, and the desired level of permanence. The three common methods are adhesive-only, adhesive with mechanical fasteners, and direct mechanical fastening through a backer board.
Adhesive-only mounting works for lightweight decorative beams where the ceiling is smooth and the loads are minimal. A high-quality polyurethane construction adhesive applied in continuous beads across the back panel provides surprisingly strong holding power once cured. The bond can support several pounds per square foot of contact area when the surfaces are properly prepared.
For most residential and light commercial installations, adhesive combined with a few mechanical fasteners is the standard approach. The adhesive provides continuous bonding while the fasteners provide immediate holding power during the adhesive cure and long-term security against peeling or separation. Screws through the back panel into ceiling joists are the most common fastener.
For heavy beams or commercial installations, mounting through a backer board is the most secure approach. A continuous wood or metal backer is mounted to the ceiling structure first, with the flat-back beam then attached to the backer through its back panel. The backer distributes the load across multiple ceiling joists and provides a consistent mounting surface regardless of the ceiling flatness.
Surface preparation for adhesive mounting
The adhesive bond between the beam and the ceiling depends on proper surface preparation. Both surfaces should be clean, dry, and free of loose material. A quick wipe with a damp cloth removes dust and debris. Any loose paint, wallpaper, or textured finish should be scraped off along the beam line.
For painted ceilings, a light scuff with sandpaper improves adhesive bonding by creating a slightly rough surface. Glossy paints in particular should be scuffed to provide tooth for the adhesive. After scuffing, the surface should be wiped clean to remove sanding dust.
For new construction, the ceiling should be primed and finished before beam installation. The beam adhesive bonds well to primed and painted drywall, plaster, and wood ceilings. Bare drywall or unsealed plaster may absorb adhesive and reduce the bond strength, so sealing these surfaces before beam installation is worthwhile.
Working with uneven ceilings
Most ceilings have some variation in flatness, even in new construction. The variation may come from framing irregularities, drywall installation tolerances, or settling over time. Flat-back beams need to accommodate these variations to maintain a clean appearance.
For minor variations under an eighth of an inch, flexible adhesive and careful pressure during installation can pull the beam into contact with the ceiling across the full length. The adhesive fills small gaps and creates a continuous bond even where the ceiling is not perfectly flat.
For variations between an eighth and a quarter of an inch, shimming may be needed at low spots along the beam line. The shims are thin pieces of material, often plastic or metal, placed between the ceiling and the beam at specific points to bring the beam into contact across its full length. The shims should be positioned so they do not create pressure points that could crack the foam shell.
For variations greater than a quarter of an inch, the ceiling should be corrected before the beams are installed. Furring strips applied to the ceiling framing can create a flat mounting surface, or the drywall can be replaced or refinished to improve flatness. These corrections add time to the project but are usually worthwhile for the improvement in the finished appearance.
Integrating wiring and fixtures
Wiring for light fixtures, speakers, or other devices that mount to or near the beam must be planned before the beam is installed. The wiring is routed from the source to the beam location, with enough slack to make the final connections. The cable is secured to the ceiling structure so it does not interfere with the beam installation.
For flat-back beams, the wiring typically enters the beam through a small hole drilled in the back panel at the fixture location. The hole should be just large enough to pass the cable, and any gap around the cable can be sealed with fire-rated caulk if required by the local code.
Surface-mounted conduit or wire mold is sometimes used for wiring that runs along the beam rather than through it. The conduit can be painted to match the beam finish, making it nearly invisible. This approach is more common in commercial installations where the wiring may need to be accessible for future changes.
Finishing details that complete the installation
The transition between the beam and the ceiling is the most visible detail of a flush mount installation. A small bead of paintable caulk along the top edge of the beam fills any minor gaps and creates a crisp line. The caulk should be flexible enough to accommodate thermal movement of the beam without cracking.
For a truly seamless appearance, some installers add a small cove or quarter-round molding at the beam-to-ceiling transition. The molding is painted to match either the beam or the ceiling, depending on which approach creates the better visual line. A cove molding that matches the ceiling creates the impression of a shadow gap, which is a deliberate architectural detail in contemporary design.
Touch-up paint or stain may be needed at fastener locations and at any field modifications. The manufacturer typically provides a small touch-up kit with the beam. Following the manufacturer's touch-up procedure ensures that the repair blends with the surrounding finish.
Flat-back design faux wood ceiling beams are a practical and aesthetically refined choice for projects where flush mounting is desired. The clean transition between beam and ceiling, the simplified wiring access, and the even distribution of mounting pressure make them well-suited to contemporary residential and commercial interiors. The key to a successful installation is proper surface preparation, careful coordination with other ceiling elements, and attention to the finishing details that complete the look.
Technical References
ASTM standards cited in every specification
Test Data
Lab results from internal testing program
Updated 2026
Reviewed against current product specs


