
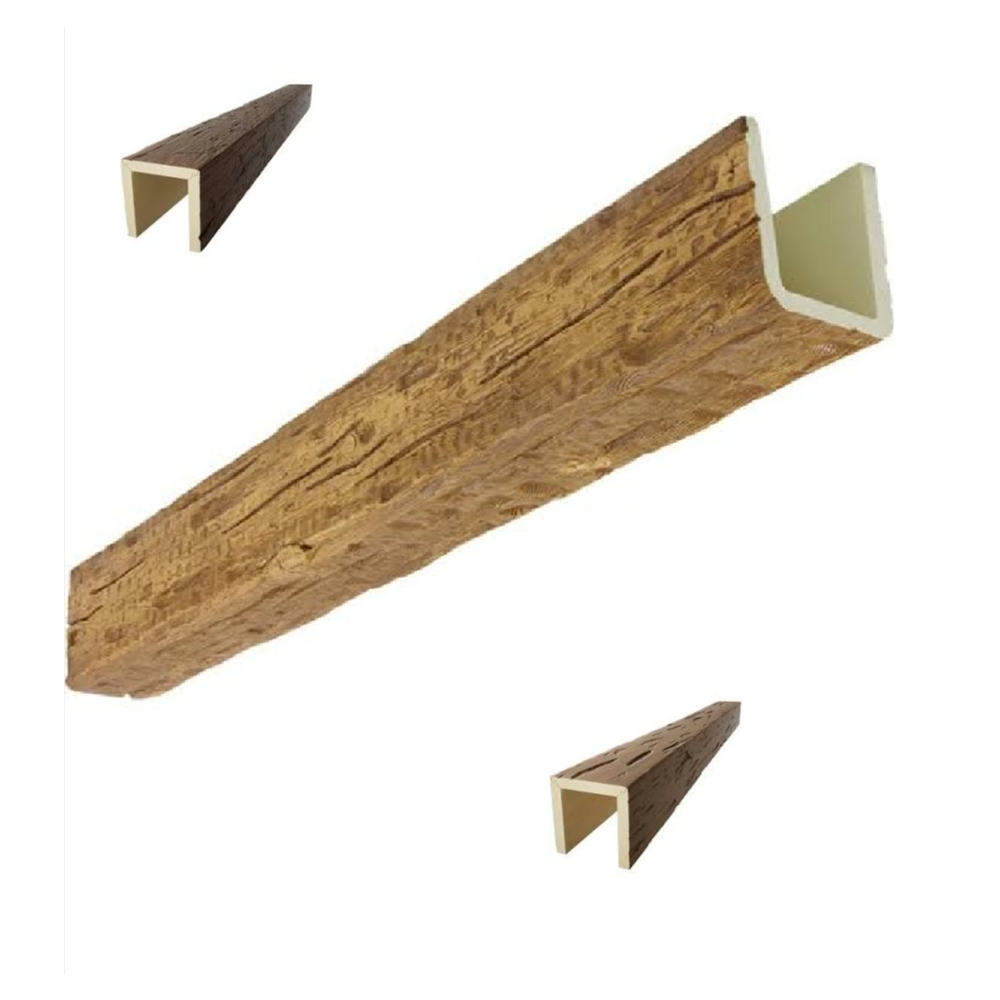
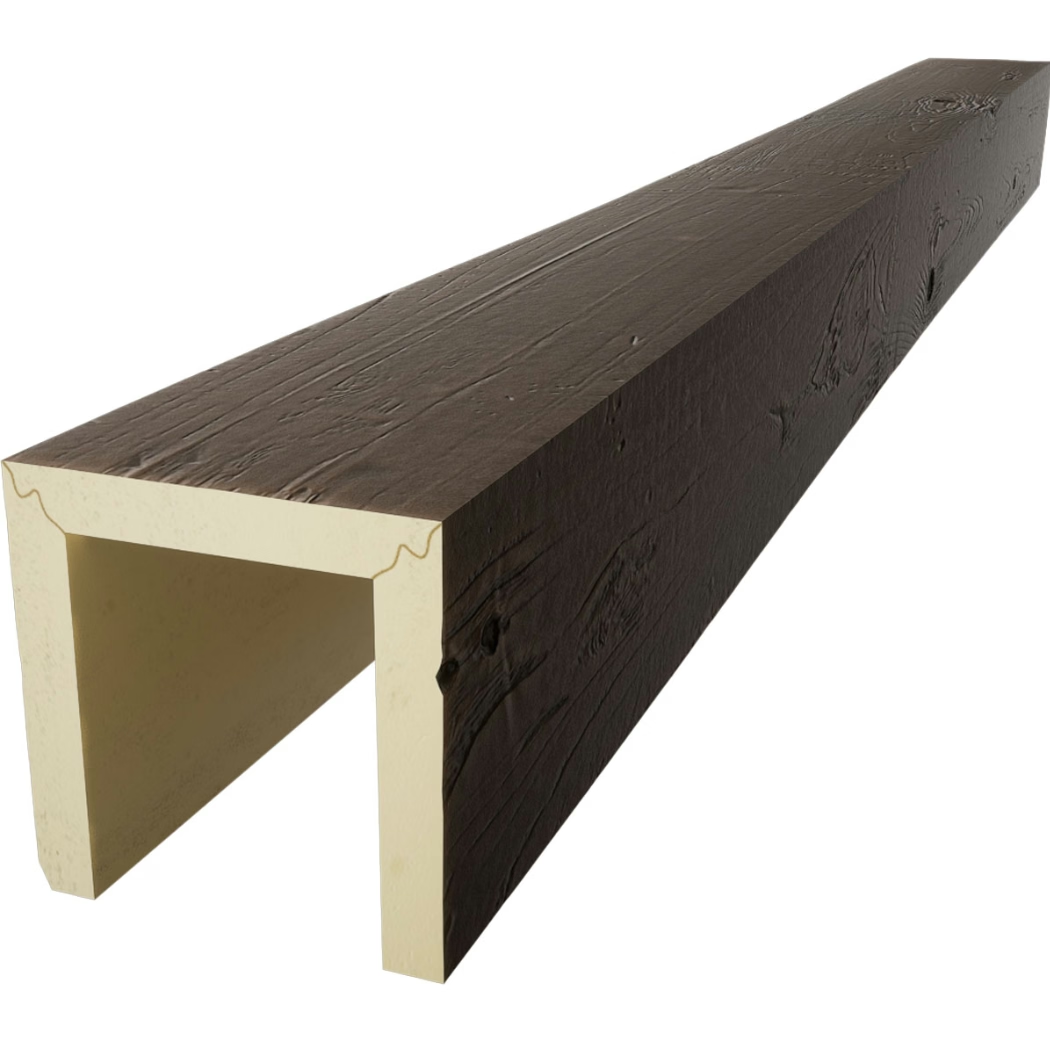
The traditional U-shaped faux wood beam wraps around a structural cleat or existing timber, leaving a gap at the top where the two sides of the U meet the ceiling. For most decorative applications, this gap is acceptable or even invisible once the beam is installed and finished. But for some design situations, particularly where the beam needs to integrate tightly with a flat ceiling plane, that gap becomes a problem.
Flat back design beams solve this problem by replacing the curved or angled back of a traditional U-shape with a flat surface that sits directly against the ceiling. The result is a beam that mounts flush to the ceiling surface, with no visible gap at the top and a clean transition between the beam and the ceiling plane.
This design has practical advantages beyond aesthetics. Wiring can be routed through the beam from the ceiling side without leaving access gaps. The mounting is simpler because the flat back provides a continuous surface for adhesive or mechanical fasteners. And the integration with ceiling fixtures like recessed lights and smoke detectors is cleaner because the beam profile is consistent across its length.
How flat back beams differ from U-shaped designs
A traditional U-shaped beam has three surfaces: the bottom face and two side faces that angle or curve upward to meet at a top edge. The top edge is the most variable part of the design. Some U-beams have a flat top edge of an inch or two. Others have a sharp peak where the two sides meet at a point. The top edge is what creates the gap between the beam and the ceiling.
A flat back beam replaces that variable top edge with a flat surface that runs the full width of the beam. The two side faces still angle or curve upward from the bottom face, but instead of meeting at a top edge, they meet a flat back panel that spans the width of the beam. When mounted against a flat ceiling, this back panel sits flush against the ceiling surface with no gap.
The transition between the side faces and the back panel is typically a soft curve or a small fillet rather than a sharp angle. This makes the beam easier to clean and prevents stress concentrations that could crack the foam under thermal cycling or impact.
When flat back design makes sense
The most obvious application for flat back beams is in rooms with flat ceilings where the design calls for a clean, integrated look. A modern great room with a flat ceiling and contemporary beams overhead looks more refined with flat back profiles than with traditional U-shapes. The ceiling plane reads as a continuous surface interrupted only by the beams, rather than as a ceiling with separate objects mounted below it.
Flat back beams are also useful in renovation projects where the existing ceiling is uneven. The flat back can follow the ceiling plane, with small variations absorbed by the mounting adhesive or shims. A traditional U-shape beam in the same situation would show gaps at the top that vary along the length, calling attention to the unevenness rather than hiding it.
For projects with integrated lighting, flat back beams simplify the wiring. Cable runs can enter the beam from above through the flat back panel, with no need to access the interior from the open top of a U-shape. This is particularly valuable in finished ceilings where accessing the space above the beam is difficult.
In commercial applications with acoustic ceiling tile or other modular ceiling systems, flat back beams can be integrated into the ceiling grid more cleanly than U-shapes. The flat back sits against the grid framework, and the tile edges can be cut to fit around the beam profile without the gaps that U-shapes create.
When flat back design is not the right choice
Flat back beams are not ideal for every application. For exposed timber-look designs where the beam is meant to look like a structural element with visible joinery at the top, the U-shape profile is more authentic. A flat back beam in this application would look like a decorative element stuck to the ceiling rather than a structural beam.
For projects where the ceiling is vaulted or has significant slope, flat back beams become more complicated. The flat back can follow the slope of the ceiling, but shimming or scribing becomes necessary to maintain a tight fit across the full length of the beam. For strongly vaulted ceilings, a traditional U-shape that hangs below the ceiling plane is often simpler to install.
Flat back beams also limit the wiring options compared to U-shapes. With a U-shape, wiring can be routed into the beam from either end or through the open top. With a flat back, wiring enters only from the ends or through drilled holes in the back panel. For projects with extensive wiring needs, the U-shape may be more practical.
Installation process for flat back beams
The installation process for flat back beams starts with a careful inspection of the ceiling. The ceiling should be flat, level, and structurally sound. Any significant variations in flatness should be addressed before the beams are installed, as the flat back will reveal any unevenness.
The ceiling surface needs to be clean and free of loose material. Old paint that is flaking, wallpaper that is peeling, or textured finishes that are crumbling can prevent the mounting adhesive from bonding properly. A quick scrape and wipe-down of the ceiling along the beam line is usually sufficient preparation.
The layout is marked on the ceiling with a chalk line or laser level. The beam positions should be verified against the architectural drawings and any field conditions that might affect the layout, such as junction boxes, HVAC diffusers, or recessed lights that need to be coordinated with the beam positions.
The mounting approach depends on the weight of the beam and the ceiling structure. For lightweight beams in residential applications, construction adhesive combined with a few mechanical fasteners into ceiling joists is typically sufficient. For heavier beams or commercial installations, additional mechanical fasteners through the back panel into the ceiling framing may be required.
Adhesive selection and application
The adhesive used for flat back beam installation should be compatible with both the polyurethane foam substrate and the ceiling material. Polyurethane-based construction adhesives work well on both foam and most ceiling substrates, including drywall, plaster, wood, and concrete. Solvent-based adhesives can damage the foam and should be avoided.
The adhesive is applied in continuous beads along the back panel of the beam, typically in a zigzag or S-pattern that covers most of the surface. For wider beams, multiple beads may be needed to ensure full coverage. The adhesive should be applied within the working time specified by the manufacturer, usually 10 to 20 minutes after application.
Once the adhesive is applied, the beam is pressed firmly against the ceiling and held in place while the adhesive cures. Temporary bracing or propping may be needed for heavy beams or for installations where the ceiling structure cannot be used to support the beam during curing. Most polyurethane adhesives reach handling strength within an hour and full cure within 24 hours.
Mechanical fasteners supplement the adhesive and provide immediate holding power. Screws through the back panel into ceiling joists or blocking are the most common approach. The screws should be long enough to penetrate the ceiling structure by at least an inch but not so long that they protrude through the ceiling above. For installations where the ceiling structure is not accessible, toggle bolts or hollow wall anchors can be used in drywall ceilings.
Coordinating with other ceiling elements
Flat back beams are often part of a larger ceiling design that includes recessed lights, smoke detectors, HVAC diffusers, and other elements. Coordinating the beam layout with these elements before installation prevents conflicts and reduces the need for field modifications.
For recessed lights, the beam positions should be planned to avoid covering fixtures that need to be accessible for bulb replacement. If a beam must pass near a recessed light, a small notch or hole in the beam can provide access, though this should be coordinated with the lighting design from the start.
Smoke detectors and fire sprinklers must remain visible and unobstructed. Building codes typically require a minimum clearance around these devices, and a beam that blocks the spray pattern of a sprinkler or obscures a smoke detector can create a code violation. The beam layout should be designed to maintain the required clearances.
HVAC diffusers and return grilles should also be considered in the beam layout. A beam that passes over a diffuser may restrict airflow or create uneven distribution. Working with the HVAC designer to coordinate beam positions with diffuser locations prevents performance issues.
Finishing the installation
Once the beams are mounted, the joints between the beam and the ceiling should be finished to create a clean transition. A small bead of paintable caulk along the top edge of the beam fills any minor gaps and creates a crisp line between the beam and the ceiling. The caulk should be paintable and flexible enough to accommodate the slight thermal movement of the beam.
Touch-up paint or stain may be needed at the fastener locations and at any field modifications. The manufacturer typically provides a small touch-up kit with the beam, including matched stain and a foam applicator. Following the manufacturer's touch-up procedure ensures that the repair blends with the surrounding finish.
For a truly seamless appearance, some installers add a small trim piece along the top edge of the beam where it meets the ceiling. The trim piece, often a simple quarter-round or cove molding, covers any remaining gap and adds a deliberate architectural detail. The trim is typically painted or stained to match the beam finish.
Flat back design PU faux wood beams offer a clean, integrated look that works particularly well in contemporary interiors and in renovation projects with flat ceilings. The flush mounting simplifies the installation, hides wiring more effectively than traditional U-shapes, and creates a more refined ceiling plane. For projects where these characteristics are valued, flat back beams are a practical and aesthetically pleasing choice.
Technical References
ASTM standards cited in every specification
Test Data
Lab results from internal testing program
Updated 2026
Reviewed against current product specs


