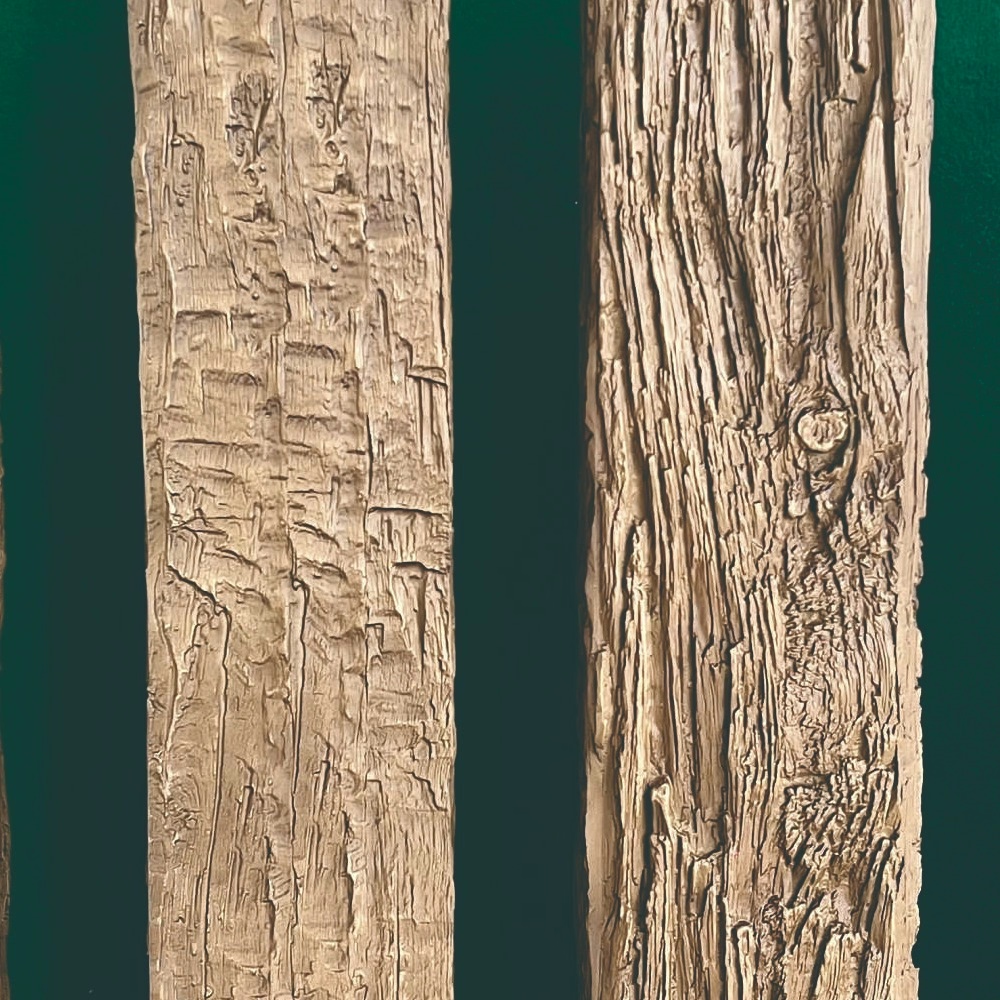
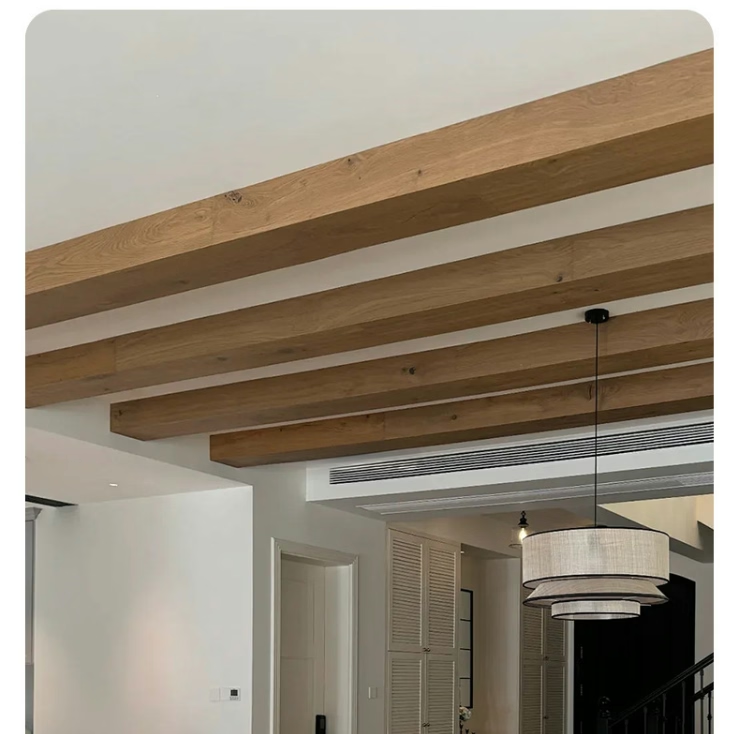
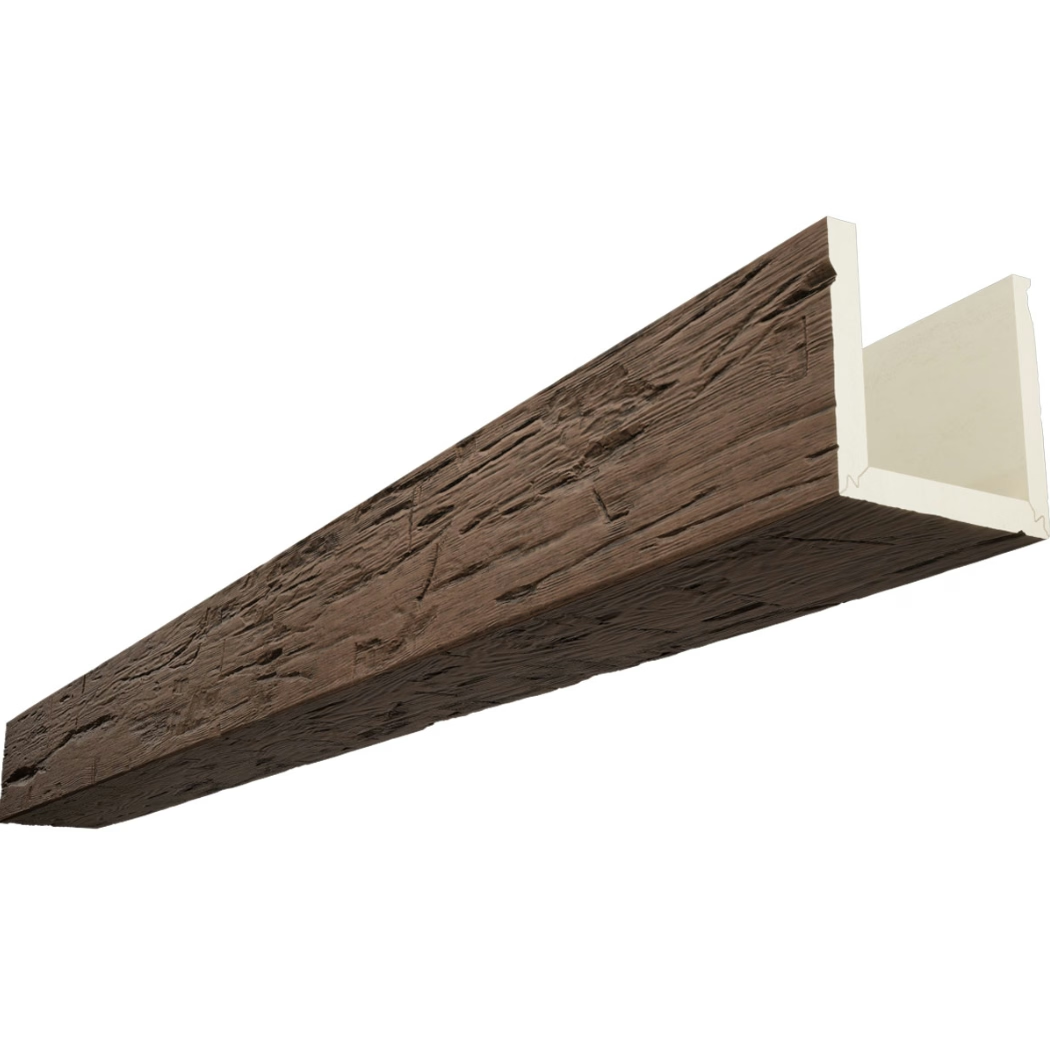
A steel I-beam crossing the middle of a converted loft can make a beautiful room feel like a parking garage. Most clients want it gone — or at least disguised. The traditional answer was to frame a drywall soffit around it, which adds weight, eats headroom, and turns a one-day beam problem into a multi-trade scheduling issue. Polyurethane beam wrap casings were developed for exactly this situation, and the flexible versions have quietly become the go-to product for installers who deal with awkward profiles, spliced steel, or curved ceiling transitions.

What "flexible" actually means here
In the faux-beam world, "flexible" gets used loosely. Some catalogs use it for products that simply come in many curved preformed sections. Genuinely flexible PU wrap casings are made with a higher proportion of low-modulus polymer in the foam core, which lets the panel bend slightly along its long axis without cracking or "telegraphing" the bend on the finished face. The trade-off is a small reduction in dent resistance compared to rigid PU, so flexible wraps are usually specified for ceiling applications rather than wall wainscot or exposed-impact areas.
For structural beam concealment, this flexibility is genuinely useful. Steel beams are rarely dead straight over their full length — fabricators allow mill tolerances, and connections at the columns often introduce a small offset between adjacent spans. A rigid wrap will fight you on every imperfection. A flexible wrap takes up that slack with shims, and the eye never notices.
When flexible casings outperform rigid box beams
Rigid box-beam covers are fine when the structural member is itself straight, plumb, and dimensionally consistent from end to end. Unfortunately, that's a low bar that very few real buildings clear. The cases where installers reach for a flexible wrap instead include:
- Spliced or compound beams where two structural sections meet at a column and the geometry shifts by 20–40 mm across the splice.
- Old timber joists that have sagged over decades and now describe a gentle catenary rather than a flat line.
- Curved or arched structural members in heritage buildings, where the wrap has to follow a radius rather than meet a wall at a right angle.
- Suspended ceiling transitions where the wrap must terminate cleanly into a curved bulkhead or a radius cove.
The common thread is geometry that won't sit still long enough to receive a rigid cover. A flexible wrap can be persuaded into alignment without forcing the underlying structure to be something it isn't.
Profile matching and ordering the right casing
Beam wrap casings come in U-shape, three-sided box, and four-sided "tube" profiles. The right choice depends on whether you want the wrap to touch the bottom flange of the beam (almost always yes, for visual weight) and whether the sides are exposed or butted against a finished ceiling or wall.
Take accurate field measurements at three points along each run: near each end and at the midpoint of the longest span. Steel and LVL beams can vary more than you'd expect. Bring a digital caliper for flange thickness, and photograph the splice or transition zones. Send these to the manufacturer when ordering flexible casings, because the factory can adjust the foam density and skin thickness along the length if it knows the worst deviation points in advance. This avoids the all-too-common site visit where someone realizes the "minor" offset at the splice is actually 35 mm and the wrap that just arrived won't close cleanly.
For load-bearing aesthetics — where the wrap is meant to look like a solid timber beam — the casing should overshoot the structural member by 30–50 mm on each side at the bottom flange. This gives the appearance of mass and lets the wrap read as a structural beam rather than a tidy cover hugging something it shouldn't.
Installation sequence that actually works
Most failed wrap installs trace back to sequencing. The substrate has to be ready before the casing arrives, not the other way around. Here's a sequence that has worked on a number of commercial jobs:
- Confirm the structural beam is fully tightened, fire-stopped if required, and painted with rust-inhibiting primer where exposed steel is present.
- Install any blocking or continuous ledger that the wrap will screw into. This is usually a timber or light-gauge metal track running parallel to the beam, set to the dimension where the wrap's return legs will land.
- Dry-fit the wrap in two halves if it ships split, or as a full U if it's a one-piece wrap. Mark shimming locations with a pencil on the wrap itself.
- Pre-finish any cut ends with the touch-up kit shipped with the order. PU takes standard water-based stains and paints, but the factory skin is more absorbent than field-cut foam, so do a test panel first.
- Lift into final position with temporary braces, then fasten through the return legs into the blocking at 400 mm centers. Flexible wraps tolerate slight ovaling of the fastener holes — drill oversized by 2 mm to let the panel breathe with seasonal movement.
- Caulk the seam between wrap and ceiling with a paintable acrylic latex. Do not use silicone on PU; it prevents any future refinishing.
The whole install for a typical residential or light-commercial wrap is usually under four hours per run, which is the real selling point versus drywall. No mudding, no sanding, no three-day wait for primer to flash off.
Finish options and how to keep them looking right
Flexible PU takes the same finishes as rigid PU: factory-applied wood-grain stain, multi-tone antique finishes, or a flat paint in any RAL or Pantone shade. The wood-grain finishes are the most popular for beam concealment because the visual goal is to make the structural disappear into the architecture as a decorative timber.
Two care tips worth passing to the client. First, avoid placing wrap casings directly under a sprinkler head — the PU will eventually discolor under repeated hot-water dumps, and the wrap itself can warp slightly if the fire-sprinkler activation pattern concentrates heat in one spot. Second, in kitchens, install a small vent hood liner if the wrap runs within 1 m of a cooktop. Cooking vapor deposits a film on PU over time that is more visible on dark grain finishes than on painted ones.
Where flexible wrap casings are not the right answer
Honest advice matters more than a sale here. Flexible PU wrap casings are not the right product when:
- The structural member is actively moving — a cracked or deflecting beam needs engineering remediation before any cosmetic cover goes on.
- The wrap will be in direct line of foot traffic at head height. Even though PU is tougher than people expect, a 30 kg impact from a ladder or a moving cart can dent a flexible wrap more easily than a rigid one.
- The room sees prolonged surface temperatures above 70 °C, such as above a wood-fired oven or a commercial sauna. Flexible PU has a lower heat-distortion threshold than the rigid product.
For most beam-concealment jobs in living rooms, lobbies, restaurants, and offices, though, a flexible PU wrap casing delivers the visual result of a heavy timber beam at a fraction of the weight, the install time, and the cost. It's the rare product that genuinely earned its place in the catalog.
Wrapping up
Beam wrap casings solve a specific problem — hiding a structural member that you don't want to see, without furring out the whole ceiling around it. The flexible versions add tolerance for the imperfect geometry that almost every real job contains. Measure carefully, order to the field conditions, and sequence the substrate work before the wrap arrives. The result is a beam that looks like it was always meant to be there.

Common questions installers ask
How much extra lead time does a flexible wrap need? Usually one to two weeks beyond a rigid wrap of the same profile, because the foam is poured to a different density curve. Plan accordingly.
Can flexible wraps be field-cut for length? Yes, with a fine-tooth handsaw or a jigsaw with a plastic-cutting blade. Avoid high-RPM cutting tools that melt the foam at the cut edge.
Do they need a clear top coat? Factory finishes are UV-stable for interior use. If the wrap sits under a skylight, specify the UV-inhibitor top coat option at order time.
What's the fire rating? Most flexible wraps carry a Class C interior rating as shipped. For commercial corridors and egress paths, order the intumescent-coated version, which upgrades the assembly to Class B without changing the install method.
Technical References
ASTM standards cited in every specification
Test Data
Lab results from internal testing program
Updated 2026
Reviewed against current product specs