Specifying a curved beam system for a hotel lobby, banquet hall, restaurant, or retail atrium looks straightforward on paper, but the realities of curve geometry, mold flexibility, and finish continuity often reveal themselves only when a physical sample lands on the designer's desk. Commercial project teams working on tight schedules and tighter budgets cannot afford to discover material limitations after production has begun. That is why most established faux beam manufacturers offer complimentary sample sections specifically tailored for curve verification.
Sample evaluation is the bridge between a digital rendering and a finished ceiling. The render shows what the architect envisioned. The sample shows what the factory can actually produce.
Why Curve Samples Matter More Than Straight Samples
Straight beam samples communicate color and texture well, but they tell designers very little about how a curved member will behave in real installation conditions. A curve introduces several variables that do not exist in a straight run. The mold must flex or segment along the desired arc. The grain pattern must remain continuous through the bend. The thickness of the wall must stay consistent on both the inner and outer radii. The finish must accept the same stain or paint color across the curve without showing visible seams at the segmented joints.
A dedicated curve sample section, typically 12 to 24 inches along the arc, lets the project team observe these characteristics firsthand. Designers can hold the sample against the actual ceiling plan, compare the radius against the planned arc dimensions, and confirm that the visual texture flows naturally through the curve. Contractors can test how the segment joints align when two sections are placed end to end, which directly affects how clean the finished installation will look.
For projects with multiple curves of varying radii, requesting samples of each radius is sometimes advisable. The mold setup for a tight 12-inch radius curve is different from the setup for a generous 6-foot arch, and the visual character of the grain can change subtly between them. Confirming each radius before fabrication prevents the awkward situation of one section of the ceiling looking slightly different from another.
What a Commercial Sample Kit Typically Includes
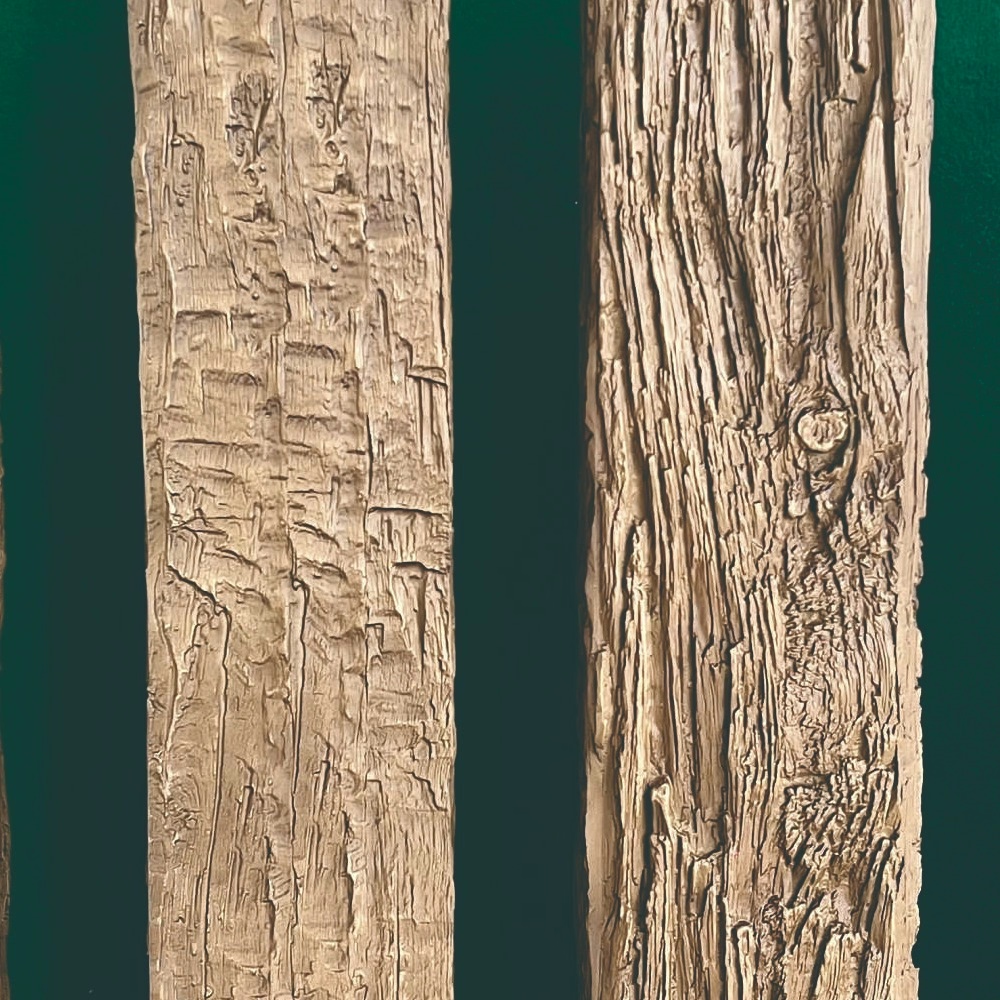
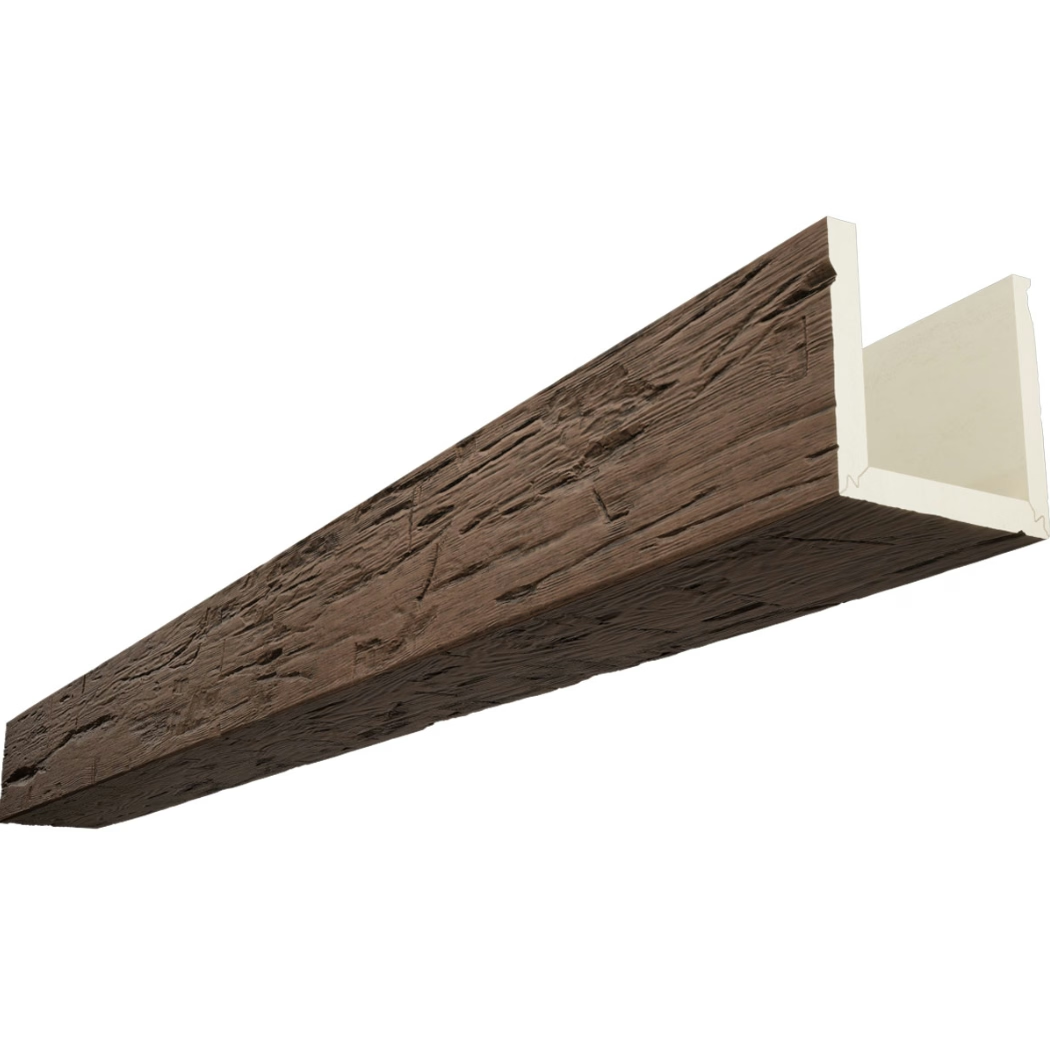
A typical sample kit for commercial curve evaluation contains several components arranged in a way that supports systematic review. The centerpiece is usually one or two curved sections representing the standard radii used in the project, cut from the same mold that production will use. These sections show the actual profile depth, the wall thickness, the texture density, and the grain orientation that will appear on the finished installation.
The kit often includes a small straight reference piece in the same texture and finish, allowing designers to compare the curve behavior against the simpler geometry. Color chips or small stained swatches are sometimes added so the team can evaluate how the proposed finish will appear against the project's specified wall colors and lighting. Documentation packets frequently accompany the samples, listing dimensions, fire ratings, weight per linear foot, and recommended installation hardware.
For projects that specify a custom finish, the sample kit can include a pre-finished version of the curve in the requested color, which removes the guesswork from stain matching. Custom finish samples usually take a few extra days to produce because they require hand application, but they provide a much higher level of confidence for the design team than uncolored samples do.
The Evaluation Process on the Designer's Side
Receiving the samples is only the first step. The evaluation process that follows determines whether the product truly fits the project. Most design firms schedule a sample review meeting that brings together the architect, the interior designer, the contractor, and sometimes the client. The samples are placed on a large table or against a wall surface under lighting conditions that approximate the final space.
The team works through a checklist of evaluation points. First, the curve radius is verified against the architectural drawings using a simple template or by laying the sample against the printed plan. Second, the texture depth and grain pattern are examined at close range and from a normal viewing distance to ensure the surface looks convincing from where guests will actually see it. Third, the color and finish are compared against other material samples in the project, such as flooring, cabinetry, and wall paint.
Weight is another factor that often surprises first-time specifiers. Polyurethane faux beams look like heavy timber but feel surprisingly light when lifted. For commercial projects, the weight per linear foot has direct implications for ceiling structure, mounting hardware, and labor planning. The sample review meeting is a good time to weigh the sample on a scale and calculate the projected weight per ceiling run.
Finally, the team examines the joint system between sample sections. Most curved beams ship in segments that join on site, and the seam visibility depends on the precision of the molded ends and the skill of the installer. By butting two sample segments together, the team can preview what the joints will look like and decide whether additional seam-hiding products will be needed.
Common Issues Caught Early Through Sampling
The value of the sample process lies in catching problems before they become expensive. Several recurring issues surface during sample reviews, and addressing them at the sample stage costs a fraction of what a mid-production correction would cost.
One common issue is texture inconsistency between the curved and straight sections. Some manufacturers use the same mold family for both geometries, while others produce them on separate tooling. When the texture varies between the two, the finished ceiling shows an obvious break at the transition. Sample evaluation catches this immediately, allowing the team to either accept the difference or request a texture match before production proceeds.
Color matching across batches is another frequent concern. Polyurethane accepts stains and paints slightly differently depending on the exact material batch and the ambient conditions during application. Samples produced from the same production batch as the order eliminate this concern, but samples produced from a different batch can introduce doubt. Reputable suppliers address this by offering batch-traceable samples whenever possible, especially for projects with strict color specifications.
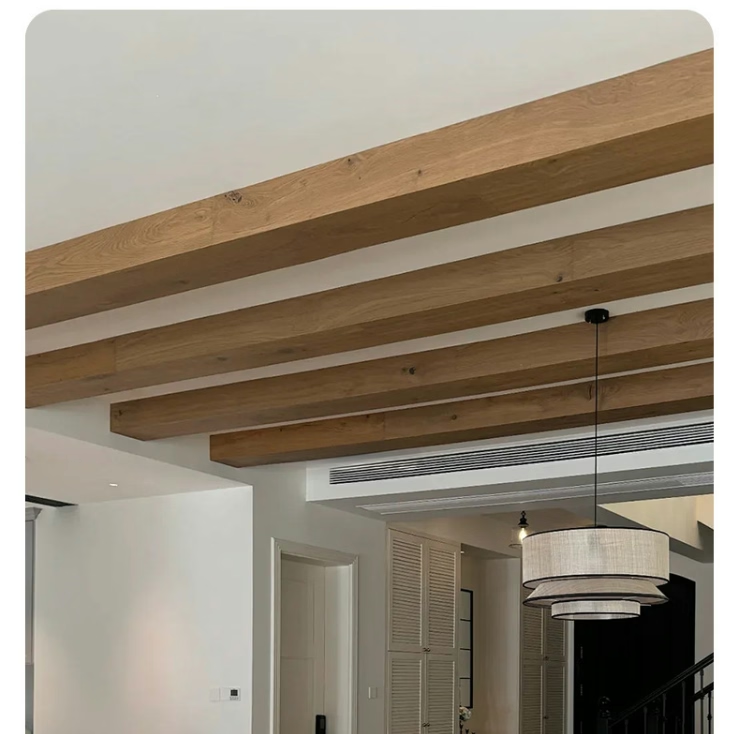
Profile depth is sometimes misjudged on drawings. A beam that looks proportional in elevation may appear undersized when installed at full ceiling height, or it may dominate the space if it is too deep. A sample section placed in the actual room helps the team judge proportion accurately, something that even detailed 3D renderings cannot replicate perfectly.
How to Submit a Commercial Sample Request
Submitting a request for free commercial samples is usually a straightforward process. Most manufacturers maintain a sample request form on their website that asks for basic project information, including the project name, location, intended installation date, and the specific beam profiles being considered. The form typically includes fields for the desired curve radii, finish color, and quantity of samples needed.
For larger commercial projects, a direct conversation with the manufacturer's specification team often produces better results than a generic online form. The specification team can advise on which samples are most useful for the specific project, identify any custom tooling requirements, and flag potential issues before they arise. Many manufacturers assign a dedicated sample coordinator to commercial projects above a certain size, and this coordinator becomes the consistent point of contact throughout the sample and quoting process.
Turnaround time for sample requests varies depending on whether the requested curve is a standard radius or a custom profile. Standard radius samples often ship within three to five business days. Custom radius samples, which require mold setup or adjustment, can take two to four weeks. Planning the sample request early in the project timeline, well before the final order needs to be placed, gives the team time to evaluate thoroughly without compressing the schedule.
Using Sample Insights to Finalize Specifications
Once the samples have been evaluated and the team is satisfied, the next step is translating the observations into final specifications. This translation typically happens through a series of specification notes added to the project drawings or written into the purchase order.
Notes might specify that all curved sections must come from the same production batch to ensure color consistency. They might require mock-up installation of one full curve segment in the actual space before the remaining production proceeds. They might call for additional seam treatment products to be supplied alongside the beams. Each note reflects an observation from the sample review and turns that observation into a binding requirement.
The sample-driven specification process protects both the buyer and the manufacturer. The buyer gains confidence that the finished product will match the approved appearance. The manufacturer receives clear, specific requirements that prevent misunderstandings during production. The result is a smoother order process, fewer change orders during installation, and a ceiling that looks the way the design team envisioned it.

Technical References
ASTM standards cited in every specification
Test Data
Lab results from internal testing program
Updated 2026
Reviewed against current product specs