A contractor on a tight vaulted-ceiling schedule does not want to discover, halfway through a Friday, that a beam needs to go back to the warehouse because the wall was an inch out of plumb. That is the kind of problem that turned polyurethane faux timber into a mainstream product over the last decade. When the manufacturer gets the formulation right, a PU beam cuts almost like medium-density softwood, accepts a finishing nail without cracking, and still looks like rough-sawn oak under paint.
This article looks at what "freely saw-cuttable" actually means in the spec sheet and on the floor, and how installers and procurement teams can plan around it.

What "freely saw-cuttable" really means
The phrase gets used loosely. Some manufacturers mean the beam can be trimmed with a hand saw if you have patience. Better products mean you can pull out a cordless circular saw or a miter saw, run the beam through with a fine-tooth blade, and get a clean edge that needs almost no sanding. The difference comes down to three things: foam density, skin integrity, and core uniformity.
A high-density closed-cell polyurethane core around 320 to 480 kg/m³ behaves predictably under a blade. Lower-density foam tends to chip at the edges or compress against the fence, leaving a slightly rounded cut. Premium faux timber beams use a co-extruded skin that is rigid enough to keep the cut edge crisp but flexible enough not to shatter when a saw tooth exits the material.
In practice, this means a contractor can rip a 6-meter beam down to 4.7 meters on site, take 5 mm off one end to square it against an out-of-true wall, and finish the install in the same afternoon.
Blade choice and cutting technique
The right blade matters more than the brand of beam. A standard 24-tooth framing blade will work, but it leaves a slightly fuzzy edge on the skin. For cleaner cuts, installers usually switch to a 60-tooth or 80-tooth carbide-tipped blade used for trim work. The cut is slower but the edge is sharp enough that a light pass with 220-grit sandpaper is optional rather than required.
Miter saws are the easiest option for crosscuts. For long rips, a track saw or a guide clamped to the beam gives the straightest result. Jigsaws work for notches around junction boxes or for cutting the bird's-mouth where a beam meets a corbel, though the operator should support the skin from underneath to avoid tear-out on the bottom face.
Dust is minimal compared to real timber. The shavings are light, slightly tacky, and easy to vacuum. There is no risk of embedded grit wrecking a saw blade the way some hardwoods can.

Tolerance, squareness, and on-site adjustment
Real reclaimed timber can vary 5 to 10 mm across its length. Good PU beams hold tighter tolerances, typically within 2 to 3 mm on length and under 1.5 mm on the cross-section. That said, no building is perfectly square, and the installer still needs to scribe the ends in some cases.
The advantage of polyurethane is that it responds well to incremental trimming. If the first cut is 2 mm shy, the contractor can shave a touch more without splitting or chipping the skin. With real wood, that second cut usually means recutting from scratch because the saw kerf wandered.
For long runs where two beams meet over a support, a scarf joint cut at 45 degrees on site hides the seam better than a butt joint. The cut is straightforward with a miter saw and the joint can be glued with a two-part polyurethane adhesive or simply butted tight and finished with a color-matched filler.
Fastening and structural honesty
It is worth saying clearly: PU faux timber beams are decorative. Even the most robust product on the market is not a structural beam in the engineering sense. The 1.5 mm steel-reinforced options can carry limited load, but the standard product line is meant to wrap around an existing structural member or to be screwed into blocking.
For a typical ceiling install, installers run a row of timber blocking or a steel angle between joists, then screw through the beam into that blocking using long drywall or wood screws. Countersinking and filling the screw head with a color-matched putty keeps the surface clean.
For walls where the beam is purely decorative and weight is a concern, a cleat system works well. A length of painted timber is screwed to the wall at the right height, and the hollow PU beam slides over it and is glued or screwed through the side. Total hanging weight is usually under 4 kg per meter for a 200×200 mm beam, which is well within the capacity of a standard plasterboard wall when fixed into studs.
Finishing after cutting
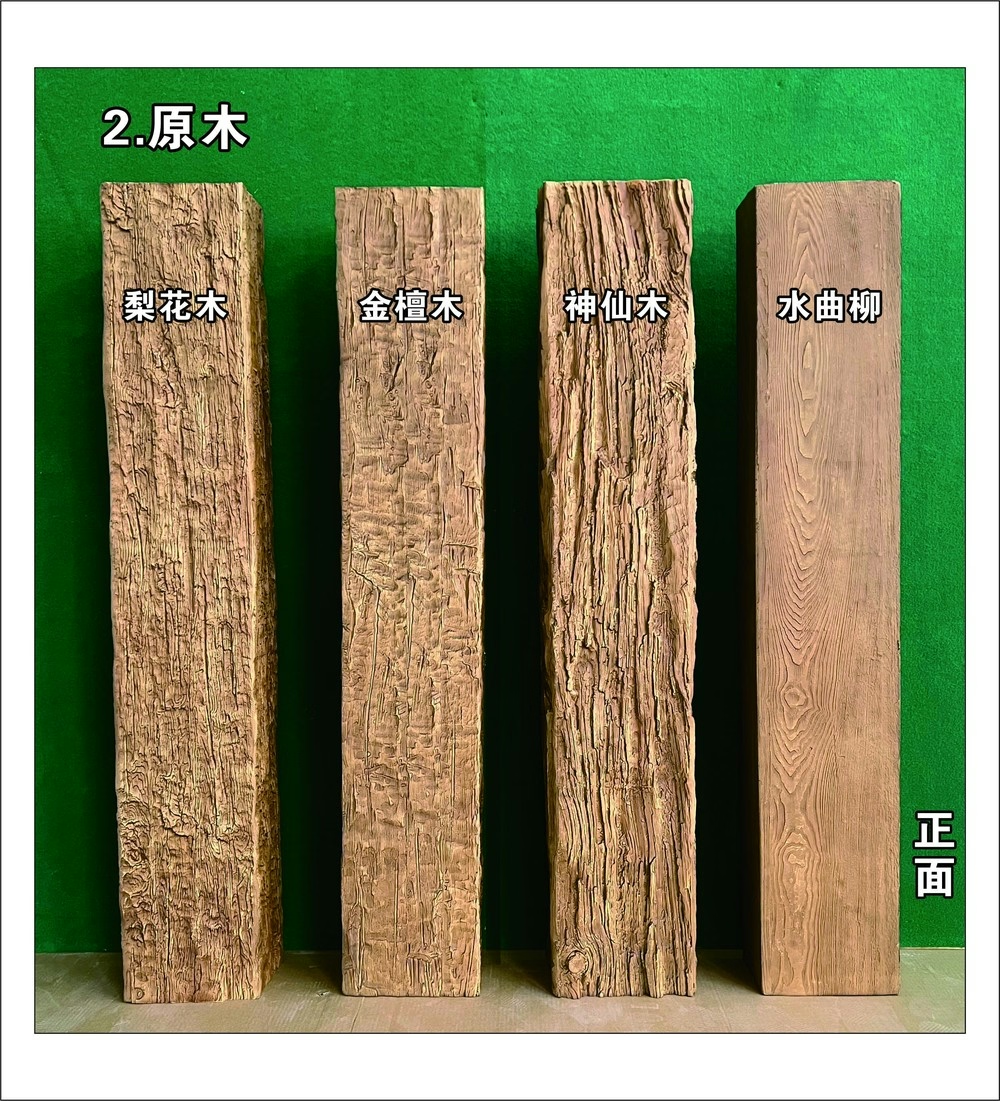
Cut edges expose the foam core, which usually has a slightly different color and texture than the outer skin. There are three ways to handle this.
The first is to leave the cut edge hidden inside a joint, a corbel, or against a wall. Most installs work this way and no one ever sees the raw foam.
The second is to apply a color-matched edge coat. Reputable manufacturers sell touch-up kits in every finish they produce. The cut edge gets a light sanding, a coat of primer if needed, then the base coat and any grain detail layered back on.
The third is to cut the beam slightly long and trim it after it is mounted. The installer butts the beam into place, marks the cut line with a pencil and a straight edge, pulls the beam down, makes the cut, and remounts. This gives the tightest fit on walls that are genuinely out of square.
Where field-cuttable beams make the biggest difference
Vaulted ceilings with multiple ridge beams are the classic case. Pre-cut beams from a workshop rarely match a real ridge because the ridge angle depends on the roof pitch, which is rarely exactly what the drawings say. Being able to trim and re-trim on site saves hours.
Second-story great rooms with a chimney or a feature window create odd intersection points. Custom corbels and half-beams are much easier when the base product can be cut to the actual field dimension rather than a theoretical one.
Open-plan commercial fit-outs, where partitions move between tenants, also benefit. The same beam profile can be trimmed to suit new ceiling layouts years after the original install.
Procurement notes for buyers
For wholesale buyers and project managers, the field-cuttable spec has procurement implications worth flagging. Stock lengths of 3, 4, 5, and 6 meters cover most residential jobs. Commercial jobs sometimes need 7- or 8-meter lengths, which can be container-packed flat and assembled on site using a spline joint.
When comparing suppliers, ask for the foam density in writing, not just a brochure description. Ask for a sample and try to cut it yourself before placing a 1,000-unit order. A five-minute test cut tells you more than a fifty-page product catalog.
A short checklist before install day
Confirm blade availability on site. Pre-mark any beam that needs a non-standard length. Stage a track saw or a reliable miter saw with a fresh fine-tooth blade. Have color-matched filler ready for any exposed end grain. And verify that blocking or cleats are installed at the correct centers before the beam goes up.
A saw-cuttable PU beam is only as good as the installer's preparation. Get those steps right and the customization that happens on site feels less like improvisation and more like a planned finish.

Technical References
ASTM standards cited in every specification
Test Data
Lab results from internal testing program
Updated 2026
Reviewed against current product specs


