
DIY finishing projects appeal to homeowners who want personal involvement in their home improvements. Beams present a satisfying project because the results are visually dramatic and the installation process is achievable for homeowners with basic carpentry skills. The right beam product makes the difference between a satisfying project and a frustrating struggle.
Customizable polyurethane faux wood beams support DIY finishing in several ways. The material cuts easily with common tools, accepts paint and stain like wood, and weighs far less than solid timber. The customizable nature of the products allows homeowners to specify dimensions and finishes that match their specific project requirements.
DIY does not mean doing everything alone. Most DIY projects involve some help from family or friends, particularly for lifting and positioning beams during installation. Customizable beam products reduce the complexity of the work but do not eliminate the need for occasional assistance.
Why DIY homeowners choose customizable beams
Cost savings compared to hiring a contractor motivate many DIY projects. The labor savings on beam installation can be significant, especially for whole-room or whole-house projects. The savings justify the time investment that DIY requires.
Personalization through DIY finishing allows homeowners to achieve exactly the look they want. They can adjust colors, add distressing, or apply special effects that match their personal taste. Contractor-installed projects sometimes compromise on details that matter to the homeowner.
Schedule flexibility that comes from DIY work appeals to homeowners with busy lives. Projects can be done on weekends or evenings without coordinating with contractor schedules. Delays in the project do not affect anyone else's business.
Satisfaction from completing a project with one's own hands is a significant motivator. Beam installations produce visible, dramatic results that homeowners can point to with pride. The sense of accomplishment adds value beyond the practical outcome of the project.
Learning new skills through DIY projects builds capability for future home improvements. Beam installation involves skills that transfer to other projects around the house. The learning investment pays dividends over years of subsequent projects.
Customizable features that matter for DIY
Length customization eliminates the need for cutting during installation. Beams arrive cut to the exact dimensions the project requires. DIY installers without extensive cutting experience benefit from beams that fit without modification.
Finish customization provides beams that arrive in a finished state or in a primed state ready for finishing. Pre-finished beams require only installation. Pre-primed beams allow the DIY installer to apply the specific finish they want.
Hardware inclusion with the beam order eliminates trips to the hardware store. Brackets, screws, anchors, and any specialty fasteners should be included in the shipment. Comprehensive hardware kits simplify the installation process.
Installation guide inclusion supports DIY installers through the process. Clear instructions with diagrams help installers who may not have experience with beam installation. Phone or video support from the manufacturer supplements written instructions.
Sample availability before ordering allows DIY installers to verify that the product matches their expectations. Ordering samples for color, texture, and finish verification prevents disappointment with the full order.

Common DIY finishing approaches
Painting beams in custom colors allows perfect coordination with other room elements. DIY installers can match trim colors, accent colors, or completely custom colors. Paint application on polyurethane is straightforward with proper priming.
Staining beams to match existing woodwork requires compatible stain products. Some stains work better on polyurethane than others. Testing the stain on an inconspicuous area or on a sample verifies compatibility before committing to the full project.
Distressing techniques create aged or weathered appearances. DIY installers can apply distressing with common tools, sandpaper, hammers, and other items. The level of distressing can be controlled to match personal taste.
Multi-color finishes produce depth and visual interest. Base color, glaze color, and highlight color combine for sophisticated finishes. DIY installers can achieve professional-looking results with patient application and quality materials.
Protective topcoats preserve the finish over time. Polyurethane topcoats, wax finishes, or specialty sealers protect the underlying finish from wear and damage. The right topcoat depends on the installation environment and expected wear.
Tools and materials for DIY beam projects
Basic measuring tools including tape measure, level, and chalk line. Accurate measurement is essential for proper beam placement. A good quality level ensures beams are installed straight.
Cutting tools for any minor trimming required. Even custom length beams occasionally need slight adjustments during installation. A fine-tooth saw or specialized cutting tool handles these adjustments cleanly.
Drilling tools for bracket installation and any wire routing. A cordless drill with appropriate bits handles most beam installation drilling. Hammer drills may be needed for concrete or masonry ceilings.
Fastening tools for driving screws and anchors. The same cordless drill typically handles fastening. Impact drivers provide more power for long screws or hard materials.
Safety equipment including safety glasses, dust mask, and gloves. Beam installation involves cutting, drilling, and working overhead. Proper safety equipment prevents injuries.
Finishing supplies including primer, paint or stain, brushes, rollers, and drop cloths. Pre-finished beams require only touch-up supplies. Beams finished on site require the full range of finishing supplies.
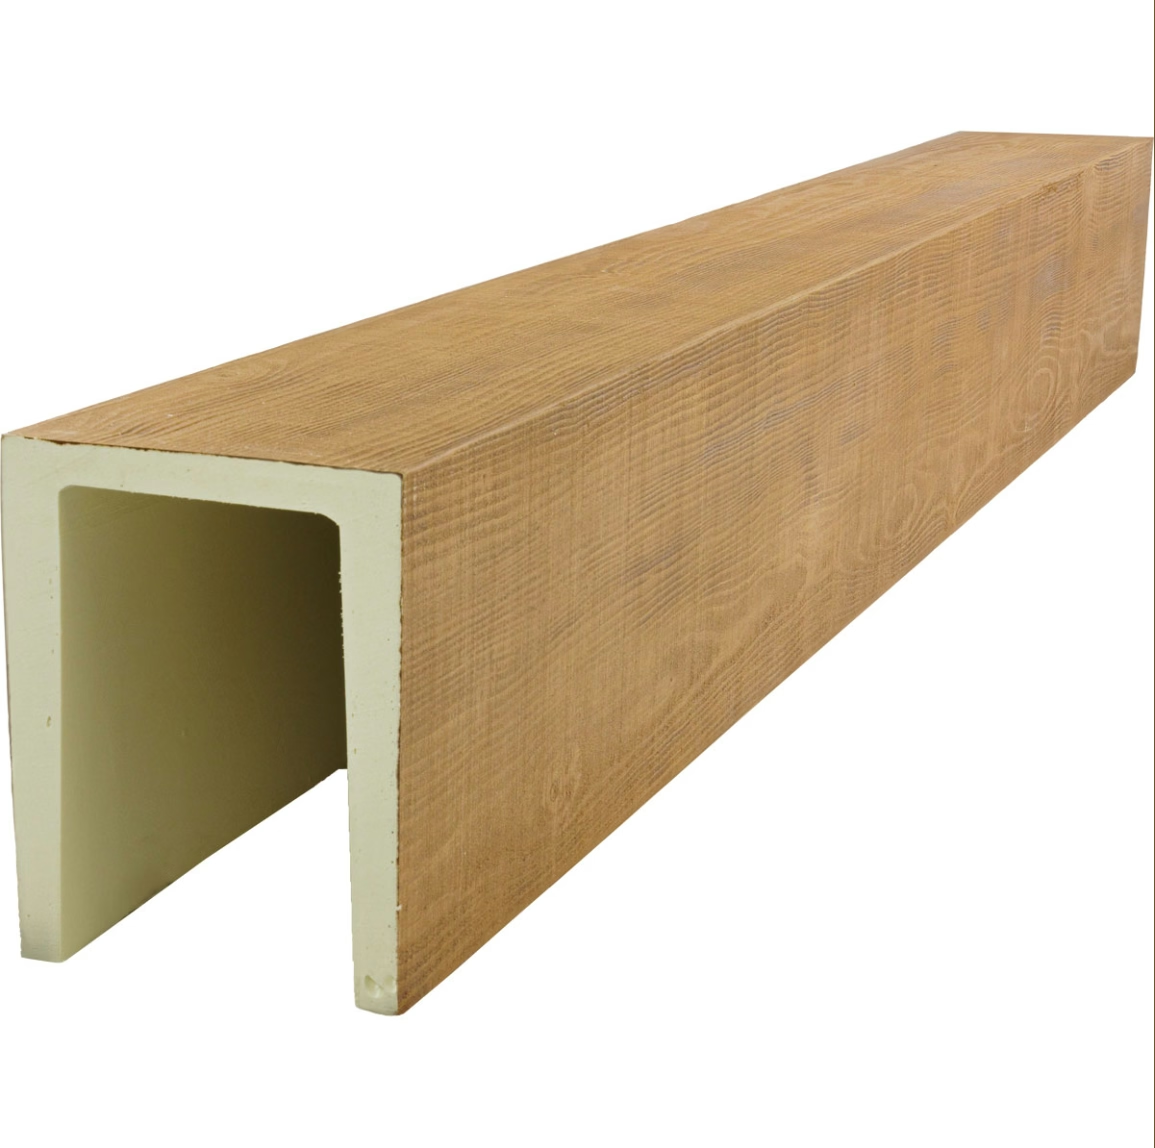
Planning a DIY beam project
Project scope definition clarifies what will be done. The scope should include beam quantities, locations, finishes, and installation sequence. Clear scope prevents mid-project decisions that can derail the project.
Budget establishment sets realistic expectations for spending. Beam materials, hardware, finishing supplies, tools, and contingency should all be included in the budget. Tracking actual spending against budget reveals when adjustments are needed.
Timeline development provides realistic expectations for project duration. DIY projects typically take longer than contractor estimates. Building buffer time into the timeline accommodates unexpected complications.
Skill assessment determines whether the project is within the homeowner's capability. Most beam installations are achievable for homeowners with basic carpentry skills. Complex installations may require professional assistance even if the homeowner does most of the work.
Helper arrangement identifies who will assist with the project. Beam lifting and positioning typically requires at least two people. Arranging help in advance prevents mid-project scrambling for assistance.
Step-by-step DIY installation overview
Pre-installation preparation includes gathering tools, organizing materials, and reviewing instructions. The installation site should be cleared of obstacles that would interfere with the work. Drop cloths protect floors and furniture from damage.
Layout marking on the ceiling indicates where each beam will be installed. Accurate layout marking guides the rest of the installation. Double-checking measurements at this stage prevents errors later.
Bracket installation provides the structural support for the beams. Brackets must be secured to structural framing, not just to drywall or plaster. Locating joists or adding blocking where needed ensures adequate support.
Beam fitting verifies that beams fit the brackets and the ceiling dimensions. Any minor adjustments needed for proper fit are made at this stage. Pre-fitting catches problems before final fastening.
Beam fastening secures the beams to the brackets. The fastening method depends on the bracket design and beam material. Following the manufacturer's recommendations ensures secure installation.
Finishing work addresses any touch-up needed after installation. Screw holes are filled, joints are sealed, and any installation marks are addressed. Final inspection confirms that everything is properly installed and finished.

Common DIY challenges and solutions
Bracket alignment errors create problems that are difficult to correct after beams are installed. Solution: mark bracket locations carefully and verify alignment before fastening.
Beam length errors discovered during installation require correction before proceeding. Solution: confirm measurements before ordering and verify beam lengths when they arrive.
Hollow beam detection during fastening requires care to avoid crushing or cracking. Solution: use appropriate fasteners and avoid over-driving screws into beam surfaces.
Joint visibility at beam connections detracts from the finished appearance. Solution: use joint blocks or careful alignment to minimize visible joints.
Paint or stain matching between beams and adjacent materials requires attention to detail. Solution: apply finish to samples and verify match before applying to installed beams.
When to call a professional
Structural concerns about ceiling load-bearing capacity warrant professional assessment. Beams add weight to ceilings, and the structure must be able to support that weight. Engineers or experienced contractors can verify structural adequacy.
Electrical work involving wiring through or to beams typically requires a licensed electrician. Even DIY-savvy homeowners often need electrical work done by professionals for safety and code compliance.
Plumbing modifications related to beam installation may require professional help. Pipes or fixtures that conflict with beam locations may need to be relocated by a plumber.
Complex ceiling geometries or unusual installation situations may exceed DIY capability. Vaulted ceilings, curved beams, or integrated lighting may be better handled by experienced installers.
Commercial or rental property installations may have code requirements that require professional installation. Permits, inspections, and insurance requirements often specify licensed contractors for these installations.
Building DIY confidence through smaller projects
Starting with a smaller project builds skills and confidence before tackling major installations. A single accent beam in a small room provides experience with the full process without the pressure of a large project.
Practice finishing on samples or scrap pieces develops finishing skills without risk. Testing techniques on samples allows DIY installers to develop their approach before applying it to installed beams.
Research and learning through books, videos, and manufacturer resources builds knowledge before the project begins. Understanding the process thoroughly before starting reduces mid-project surprises.
Mentorship from experienced DIYers or contractors provides practical guidance. Watching experienced installers work or having them available for questions accelerates skill development.
Tool investment that builds capability over time supports increasingly ambitious projects. Quality tools last for many projects and produce better results than budget tools used once.
Technical References
ASTM standards cited in every specification
Test Data
Lab results from internal testing program
Updated 2026
Reviewed against current product specs


