The beam needs to run 22 feet. The longest available section is 16 feet. The joint falls in the middle of the run, over the dining table where every guest will look up at the ceiling.
This is the moment when connector strap hardware earns its place in the toolbox. The right strap hides the splice, makes the joint stronger than the surrounding beam, and adds visual interest where the eye expects a feature. The wrong strap is loose, ugly, or fails within a few seasons.
Heavy-duty connector straps are not just decorative trim. They are the structural element that holds two beam sections together. The decorative appearance is a secondary benefit. The primary function is load transfer across the splice.
Types of connector straps
Several connector strap styles serve different applications and design aesthetics.
Flat strap plates. A flat metal plate, typically 2 to 4 inches wide and 18 to 30 inches long, runs across the splice perpendicular to the beam. The strap is secured with screws or bolts through the beam into the underlying hardware. Flat straps are the most common connector type.
U-shaped straps. A U-strap wraps around three sides of the beam at the splice point. The strap is more substantial visually and provides better load transfer because it engages three faces of the beam rather than one. U-straps are common in heavy timber applications.
Wraparound corner straps. Where two beams meet at a corner, a wraparound strap covers the outside corner and extends 12 to 18 inches along each beam. These are decorative as well as structural.
T-straps. A T-shaped connector joins a main beam to a perpendicular beam. The T-strap is used where one beam butts into another at a 90-degree angle.
Cross straps. Where two beams cross at the same elevation, a cross strap ties them together at the intersection. Cross straps are common in coffered ceilings and beam grids.
H-straps. Where three or more beams meet at a single point, an H-strap or specialized multi-beam connector provides the joint. These are custom-fabricated for the specific application.
The strap style should match the beam aesthetic and the design intent. A rustic heavy timber beam calls for a substantial U-strap or wraparound strap. A modern clean beam calls for a flat strap with minimal visual weight.
Materials and finishes
The strap material and finish must coordinate with both the beam and the surrounding hardware.
Black iron. The default finish for rustic, craftsman, and Old World designs. Black iron has a slightly textured, matte surface that looks like forged metal. The finish may have slight variations and minor surface imperfections that add character.
Oil-rubbed bronze. A warmer finish that coordinates well with dark walnut and mahogany beam tones. Oil-rubbed bronze has a slightly polished sheen with darker recesses. Quality varies significantly between manufacturers — better finishes have richer color depth.
Antique copper. A reddish-brown finish with darker patina in the recessed areas. Works well with rustic and farmhouse designs. Less common than black iron or bronze.
Hammered pewter. A textured silver-grey finish. Works in coastal and craftsman designs. The hammered texture catches light and adds visual interest.
Stainless steel. The standard for modern, contemporary, and coastal designs. Stainless steel has a clean, bright appearance that coordinates with other modern hardware. For humid or exterior environments, 316-grade stainless is required.
Powder-coated steel. A factory-applied finish over standard steel. Powder coating is durable and available in many colors. The texture is uniform and may not have the character of a hand-finished metal.
Solid bronze or brass. Premium applications where the metal itself is the design feature. Solid bronze ages beautifully over time and is appropriate for high-end residential or commercial installations. Significantly more expensive than plated or coated alternatives.

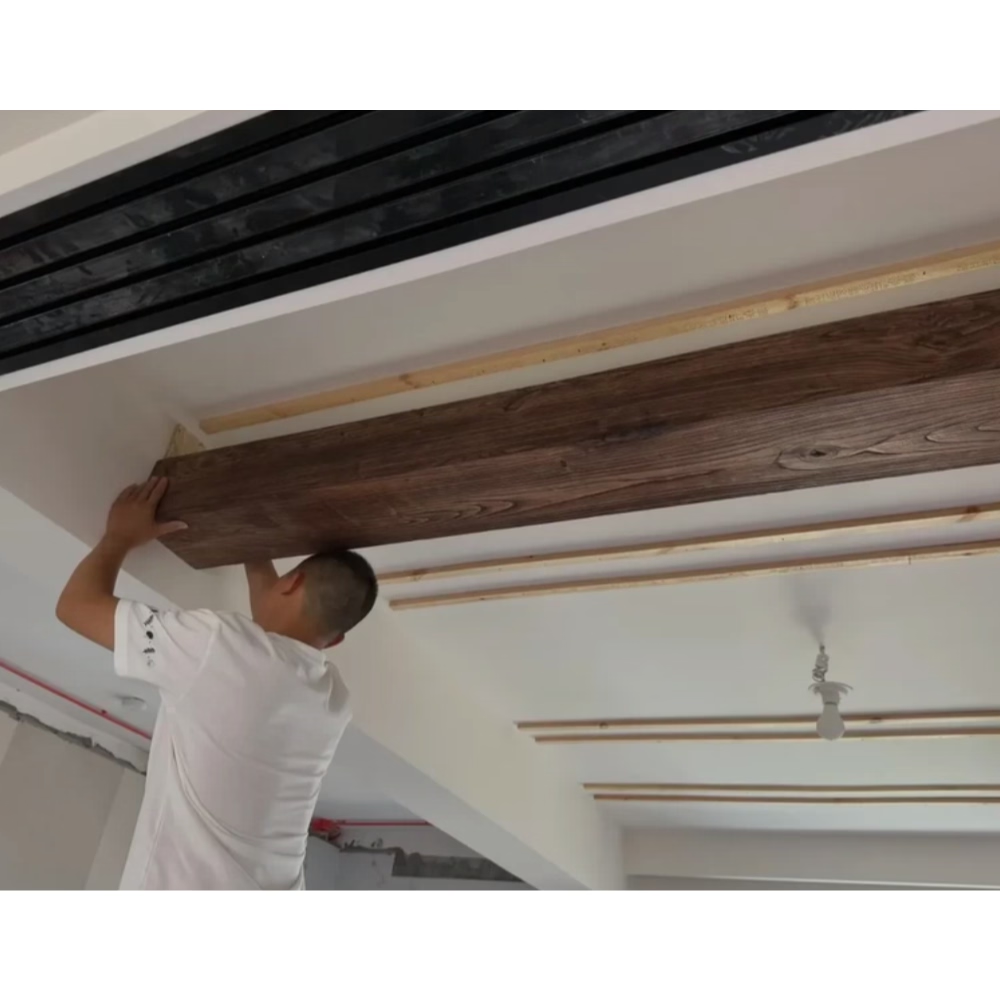
Sizing and structural capacity
The strap must be sized for the beam dimensions and the load requirement.
Strap width. A common rule is 1/3 to 1/2 the beam depth. A 10-inch-deep beam calls for a 3 to 5 inch wide strap. Wider straps distribute load better but look heavier.
Strap length. The strap should extend at least 12 inches along each beam from the splice centerline. Longer straps (18 to 24 inches) provide better load transfer. Very long straps (30 inches or more) are typical for heavy timber applications.
Strap thickness. Standard residential straps are 1/8 inch thick steel. Commercial and heavy timber applications use 3/16 or 1/4 inch thick steel. The thicker material is harder to bend and looks more substantial.
Fastener pattern. The strap should have a consistent fastener pattern — typically two rows of bolts or screws along each beam section. The fasteners are usually decorative bolts with hexagonal or hammered heads, even when the fastener is functionally a screw.
Load rating. Quality strap manufacturers provide load ratings for their products. The rating should exceed the calculated load at the splice by a 4:1 safety factor for commercial applications or 2:1 for residential applications.
The strap is sized to handle the weight of the beam, any loads applied to the beam, and a safety margin. Undersized straps are a common failure mode.
Hidden versus visible strap installation
The strap can be installed as a visible decorative element or as a hidden structural component.
Visible decorative installation. The strap is mounted to the outside of the beam, with the decorative bolts or screws exposed. The installation is straightforward — the strap is positioned, holes are drilled through the strap and into the beam, and the fasteners are installed.
Hidden installation. The strap is installed inside the hollow beam at the splice. The beam face shows no visible hardware. The splice is held by the internal strap plus any adhesive or mechanical connection between the beam ends. This is the cleanest aesthetic but requires more sophisticated installation.
Combination. Some installations use a visible decorative strap plus an internal structural strap. The combination provides both the visible design element and the structural redundancy.
The choice depends on the design intent. Modern and contemporary designs often prefer hidden straps. Rustic and traditional designs often prefer visible straps as a design feature.
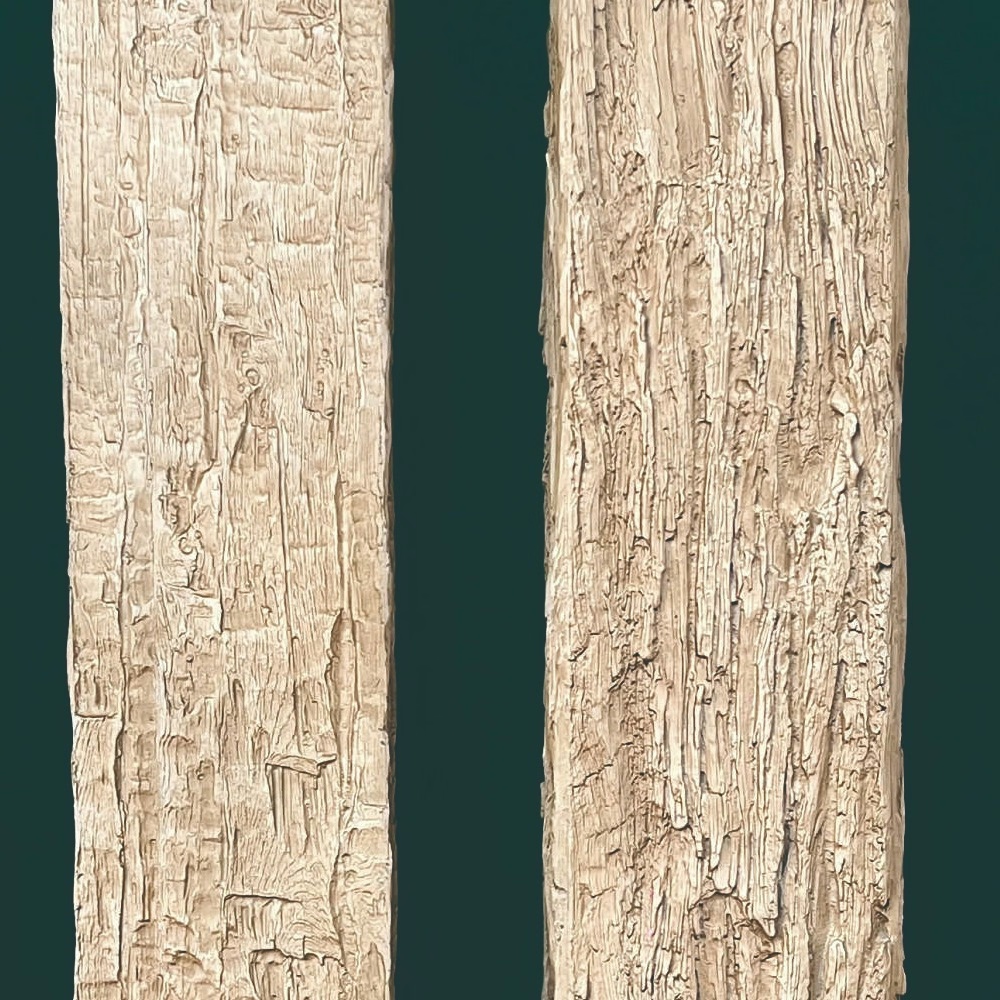
Installation steps for visible strap splices
A properly executed visible strap splice follows a consistent sequence.
Step 1 — Position the beams. The two beam sections are positioned end-to-end with a tight joint. The joint should be tight enough that no light is visible between the two beam ends. If the beam ends are not perfectly square, they should be trimmed before splicing.
Step 2 — Install the internal splice plate. Before the strap is applied, a hidden splice plate is installed inside the beam to transfer the structural load. This is the connection that actually holds the two beam sections together.
Step 3 — Position the strap. The strap is centered over the splice and held in place temporarily. The position should be straight and aligned with the beam axis.
Step 4 — Drill pilot holes. Pilot holes are drilled through the strap and into the beam at each fastener location. The pilot hole depth should be specified to avoid drilling through the opposite side of the beam.
Step 5 — Install the fasteners. The decorative bolts or screws are installed through the strap into the beam. The fasteners should be tightened to a consistent torque — snug but not over-tightened.
Step 6 — Touch up the finish. Any minor damage to the beam finish during installation is touched up. The strap itself may need a wipe-down to remove fingerprints.
A sloppy installation shows. An aligned, tightly fastened, properly positioned strap is part of the design.
Common installation mistakes
Several mistakes appear in strap installations.
Strap not aligned with beam axis. The strap is installed at a slight angle to the beam. This looks unprofessional and may indicate that the splice itself is misaligned.
Inconsistent fastener torque. Some fasteners are over-tightened (deforming the beam face) while others are loose. Consistent torque is important for both appearance and structural performance.
Pilot holes too deep. The drill goes through the opposite face of the beam, leaving a visible hole on the other side. Pilot hole depth should be specified and controlled.
Strap too short. A short strap does not transfer load effectively. The strap should extend far enough along each beam to distribute the load.
Strap on top of dirt or debris. The beam surface is not cleaned before the strap is installed. The strap does not sit flat and the connection is compromised.
No internal splice plate. The decorative strap is installed but the structural connection between the two beam sections is missing. The strap becomes the only connection — which it is not designed to be.
Wrong fasteners. Standard wood screws are used instead of structural bolts. The screws may fail under load or over time.
A careful installation avoids all of these issues. The contractor should know the strap manufacturer's recommended installation procedure and follow it exactly.
Aesthetic integration with the beam
The strap should look like it belongs with the beam, not like an afterthought bolted onto the side.
Color match. The strap finish should coordinate with the beam stain tone. Warm bronze with warm walnut, black iron with dark oak, stainless steel with weathered grey. The color combination should be specified together.
Texture coordination. A heavily textured beam calls for a strap with similar visual weight. A smooth modern beam calls for a clean, smooth strap. Mixing textures (a heavily textured strap on a smooth beam, or vice versa) looks confused.
Proportion. The strap should be proportional to the beam. An oversized strap on a small beam looks heavy. An undersized strap on a large beam looks inadequate.
Bolt spacing. The bolt spacing should be consistent and proportional to the bolt size. Larger bolts call for wider spacing; smaller bolts call for closer spacing.
Placement consistency. Multiple straps on the same beam should be installed with consistent placement and orientation. Inconsistent placement looks unprofessional.
The strap is part of the design. It should be specified and detailed with the same care as the beam itself.
Long-term performance and maintenance
A properly installed heavy-duty strap performs for decades with minimal maintenance.
Periodic inspection. The strap should be inspected annually for loose fasteners, finish deterioration, or signs of movement. The inspection can be done visually without disturbing the installation.
Fastener tightening. If fasteners have loosened over time (typically due to building movement or thermal cycling), they should be retightened. Wood-threaded fasteners may need replacement if the threads have stripped.
Finish touch-up. The strap finish may show wear or scratches in high-touch areas. Touch-up paint or finish is available from most strap manufacturers.
Replacement. In rare cases, a strap may need replacement due to damage or corrosion. The replacement process is straightforward — remove the old strap, install a new strap in the same position.
A strap installation that is properly specified and properly installed provides decades of service with minimal maintenance. The hardware is reliable when the right product is selected and the installation is executed correctly.
Technical References
ASTM standards cited in every specification
Test Data
Lab results from internal testing program
Updated 2026
Reviewed against current product specs


