Irregular ceiling layouts present some of the most challenging scenarios for interior beam installation. Buildings with non-standard angles, curved surfaces, asymmetrical designs, or modifications from original plans often resist the clean, predictable installations that straight runs accommodate. On-site miter-cut capability becomes essential in these situations, allowing installers to create precise custom joints that transform challenging conditions into elegant architectural features.
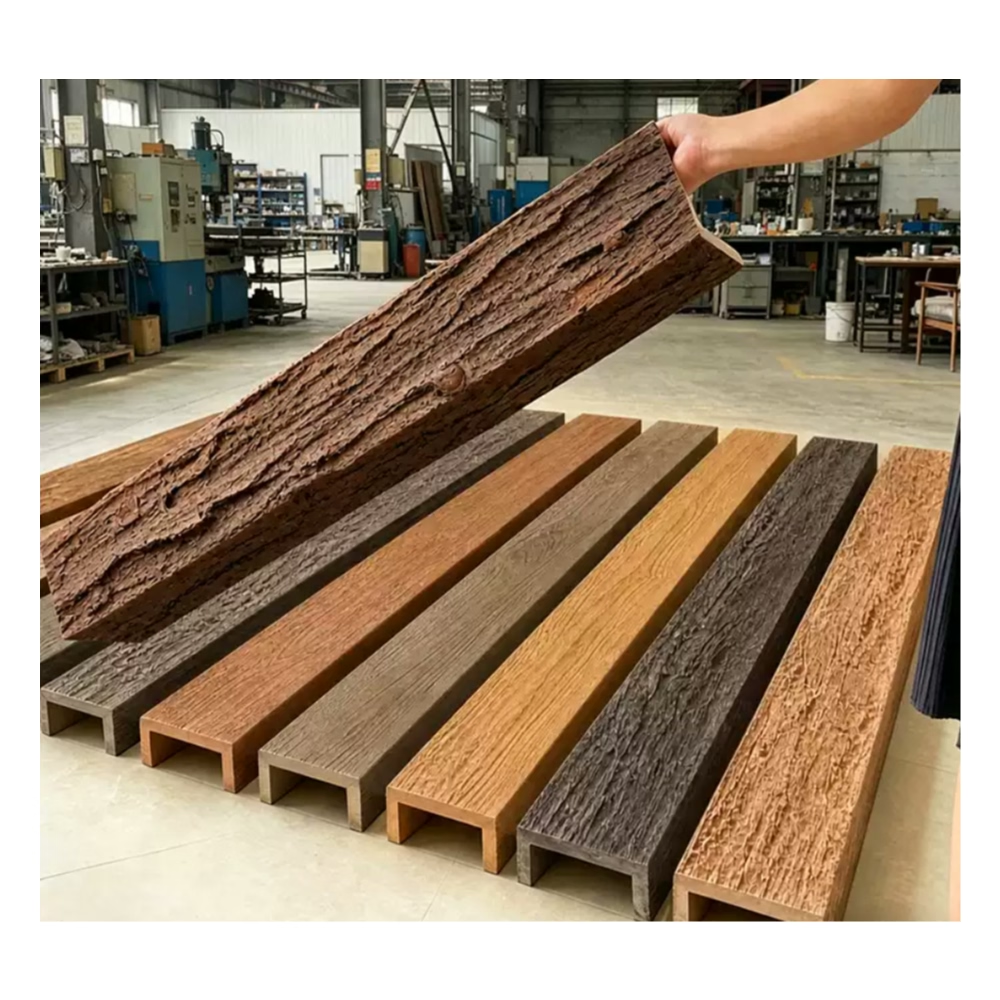
The workability of modern high-rigidity PU faux beams enables skilled installers to produce results that rival custom millwork in precision while dramatically reducing cost and complexity. Standard woodworking tools handle these materials effectively, meaning that carpenters familiar with timber can apply their existing skills to polyurethane beams without extensive retraining. This accessibility has expanded the range of projects where decorative beams prove practical.
Architects designing spaces with unusual geometries increasingly specify PU beams specifically for their adaptability. Rather than constraining design to what natural materials or rigid prefabricated elements can accomplish, these projects can pursue ambitious forms because the material can accommodate whatever the design requires. This creative freedom represents significant value for projects seeking distinctive identities.
Understanding the techniques and considerations for on-site mitering helps professionals achieve optimal results on irregular ceiling installations. The combination of proper planning, appropriate techniques, and quality materials produces installations that look intentional and refined rather than improvised and approximate.
Preparing for Custom Cuts on Unconventional Layouts
Successful custom beam installation begins long before the first cut. Detailed site measurement establishes the actual dimensions and angles that exist, which often differ from design drawings due to construction tolerances, settlement, or modifications. Professional installers treat these site measurements as essential rather than optional, building accurate templates that guide fabrication.
Recording angles precisely requires appropriate measuring tools and techniques. Digital angle finders, bevel gauges, and precise measurement of both length and angular relationships all contribute to accurate templates. Taking multiple measurements of the same angle and comparing them catches errors before they propagate into fabricated pieces that won't fit.
Creating full-scale patterns on cardboard or paper allows visualization before committing to expensive materials. These patterns reveal interference points, clearance issues, and assembly sequences that might not be apparent from drawings or calculations alone. The investment in pattern-making pays dividends by preventing costly mistakes on actual beams.
Dry fitting pattern pieces before cutting actual beams confirms accuracy and identifies any needed adjustments. Some installers create full mockups using inexpensive materials before proceeding with finished product, allowing experimentation with techniques and sequence without risk. This preparation step separates professional installations from amateur attempts.

Miter Cutting Techniques for Quality Results
Standard miter saws handle polyurethane beams effectively for most cuts. The material cuts cleanly without tear-out or burning when proper blade selection and technique are applied. Carbide-tipped blades designed for composite materials produce the best results, maintaining sharpness through extended cutting sessions and producing smooth surfaces that require minimal finishing.
Blade selection significantly affects cut quality. Fine-tooth blades minimize chip-out and produce smoother surfaces, particularly important for visible joint areas. Variable tooth configurations help control vibration and resonance during cutting. Many installers find that blades marketed for aluminum or plastic cutting perform well on polyurethane, suggesting that non-ferrous metal blade geometry transfers effectively.
Support during cutting prevents binding and ensures accurate results. The beam must be held securely without creating pressure that deflects the piece during the cut. Saw horses with padded supports, clamping jigs, and stable work surfaces all contribute to controlled cutting conditions. Rushing this aspect invites imprecise results and potential safety hazards.
Compound miter cuts for complex angles require careful calculation and setup. The intersection of two non-perpendicular planes creates angles that challenge intuition and simple techniques. Digital protractors, angle calculators, and careful attention to cut sequence all contribute to successful compound mitering. Some installers use temporary test cuts on scrap material to verify settings before cutting finished pieces.
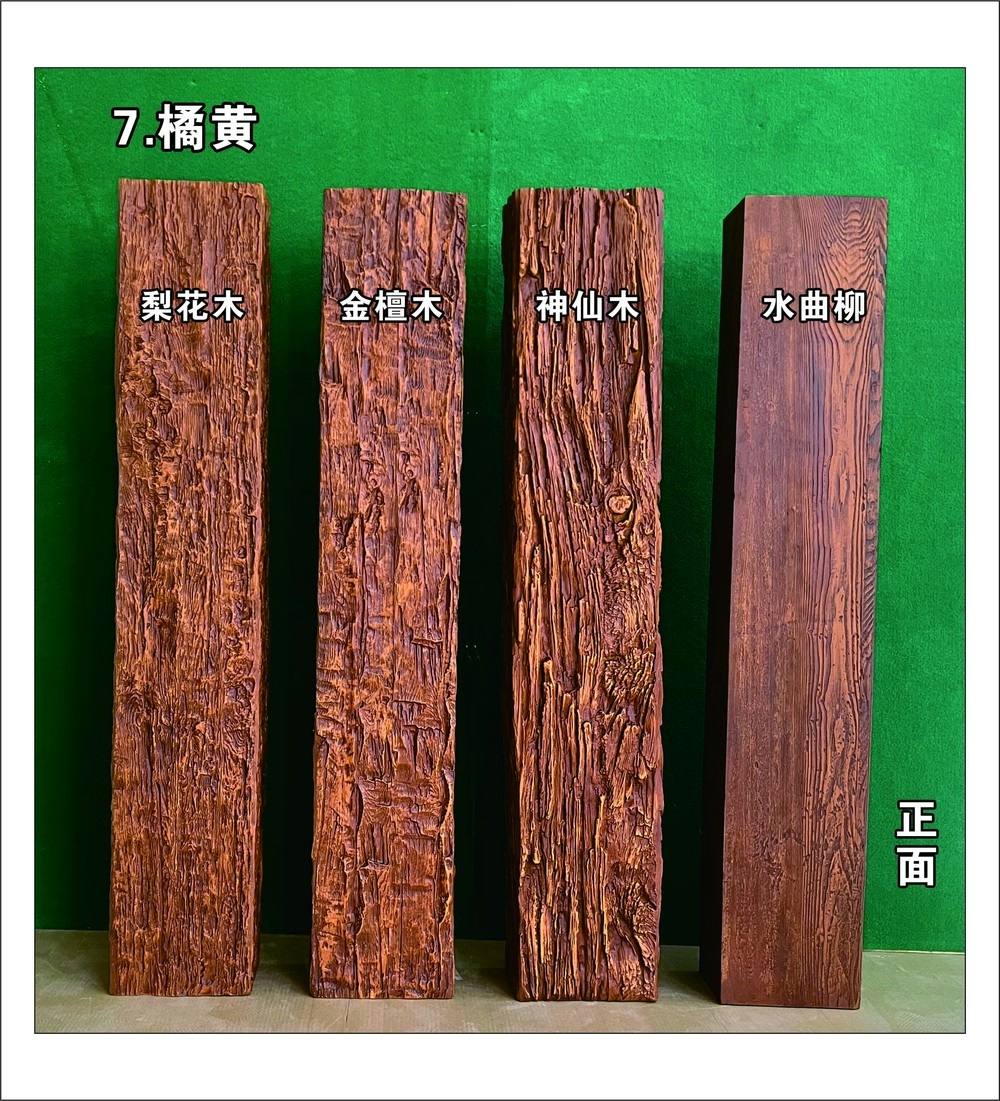
Managing Joint Appearance and Structural Integrity
The appearance of mitered joints determines whether an installation looks professionally crafted or homemade. Visible joints at corners and transitions demand tight fits, smooth surfaces, and consistent alignment. Any gaps, misalignment, or surface irregularities become immediately apparent once the installation is complete, making joint quality critical to overall success.
Filling minor gaps requires materials compatible with polyurethane substrates. Flexible polyurethane fillers designed for this purpose accept paint and finish while remaining slightly elastic to accommodate movement. Epoxy-based fillers provide harder, more durable repairs for larger gaps. Selecting appropriate filling materials and applying them skillfully maintains the appearance of continuous grain across joints.
Reinforcement of mitered joints adds structural security that pure appearance might not require. Internal brackets, splines, or adhesive bonds between mating surfaces create connections that resist the separation forces that might otherwise develop over time. This reinforcement proves particularly valuable for long runs or complex assemblies where cumulative stresses could eventually affect joint integrity.
Sanding and finishing of cut surfaces brings them to match the original beam finish. Cut ends often present slightly different surface characteristics than molded surfaces, requiring light sanding to achieve consistent appearance. Fine sandpaper followed by wiping with a compatible solvent removes sanding residue and prepares the surface for finishing if needed.
Adapting to Site Conditions and Unexpected Challenges
Even careful planning cannot anticipate every condition encountered during actual installation. Professional installers develop techniques for handling surprises without compromising results. Having backup options, additional material, and flexible approaches prevents small issues from becoming major problems.
When measurements don't quite match expectations, experienced installers identify the root cause before deciding on corrective action. Sometimes the beam was fabricated incorrectly; sometimes the site conditions differ from recorded measurements. Determining which situation applies guides appropriate response and prevents wasted effort on the wrong correction.
Adjusting designs mid-installation occasionally proves necessary when conditions warrant. Perhaps a run needs to shorten by a few inches, or an angle needs subtle modification to work with existing conditions. These adjustments require quick decision-making and confident execution. Installers who understand the material and the design intent can make appropriate modifications that maintain overall quality.
Documentation of actual conditions encountered provides valuable information for future projects. Recording what worked, what didn't, and what conditions created challenges builds institutional knowledge that improves future installations. This learning approach distinguishes continuously improving professional practices from static approaches that repeat mistakes.
Achieving Professional Results on Challenging Projects
Irregular ceiling layouts no longer need to limit the use of decorative beams in interior design. The combination of high-rigidity PU faux beams and skilled on-site fabrication techniques enables professionals to create elegant beam installations across a vast range of architectural conditions. The key lies in proper preparation, quality execution, and adaptive problem-solving.
Investing in measurement and template accuracy returns dividends throughout the project. Time spent verifying conditions before cutting saves far more time spent on corrections, replacements, and repairs. This patient approach characterizes professional installation practices that prioritize first-quality results over accelerated timelines.
Maintaining communication with designers and clients throughout custom installations manages expectations appropriately. Photographs and descriptions of in-progress work allow for input before situations become irreversible. This collaboration ensures that the final result matches the vision that motivated the original design.
The satisfaction of successfully installing beams in challenging conditions creates professional pride and generates referrals for similar projects. Spaces that seemed impossible to treat with beams often become the most memorable and admired aspects of completed interiors, demonstrating what's achievable when skilled professionals work with appropriate materials.
Technical References
ASTM standards cited in every specification
Test Data
Lab results from internal testing program
Updated 2026
Reviewed against current product specs


