Every contractor who has installed significant numbers of ceiling beams has stories about installations that went wrong—beams that sagged within weeks, brackets that pulled loose, joints that opened unexpectedly. These failures rarely result from product defects; instead, they typically trace to installation mistakes that proper knowledge and technique would have prevented.
Understanding the most common mounting errors helps installers—whether professionals or ambitious homeowners—avoid the problems that compromise otherwise successful projects. This guide addresses the mistakes that occur most frequently, explaining why they cause problems and how to prevent them through proper technique.
Insufficient Support Spacing
The single most common mounting mistake involves spacing supports too far apart, creating spans that exceed beam capacity or mounting hardware ratings. Beams spanning greater distances experience cumulative stress that eventually manifests as visible sagging, bracket failure, or both. Preventing this requires understanding load implications and respecting spacing recommendations.
Manufacturer specifications typically identify maximum bracket spacing for each beam product, usually ranging from thirty-six to forty-eight inches for standard residential applications. These specifications derive from testing that verifies adequate performance under expected loads, including beam weight and any incidental loads from fixtures or impacts. Exceeding these spacings invalidates warranty coverage while creating failure risk.
Load conditions affect appropriate spacing requirements. Beams supporting additional weight—light fixtures, ceiling fans, decorations—require closer bracket spacing than empty beams. Calculating total load and adjusting spacing accordingly ensures adequate support for actual conditions rather than assumptions that might not reflect reality.
Supporting beams at ends only, without intermediate support, creates cantilever conditions that stress both beams and mounting hardware. Even substantial beams intended for long spans typically require support at regular intervals rather than relying on end-bearing alone. Understanding this requirement prevents installations that appear adequate but will fail under sustained loads.
Improper Fastener Selection
Fastener mistakes take multiple forms, all potentially compromising installation integrity. The right fasteners for polyurethane beams share characteristics—coarse threads, appropriate diameter, adequate length—that ensure holding power without material damage.
Oversized fasteners crack or split polyurethane material, creating structural weakness and visible damage. The foam material, while durable, lacks the fiber strength of wood that allows larger fasteners. Selecting fasteners with diameter no greater than manufacturer recommendations prevents this damage while providing adequate holding power.
Insufficient fastener length fails to engage adequate material depth, resulting in pullout when loads stress the connection. Fasteners must penetrate through the beam into structural backing by at least one inch, preferably more. This depth requirement means that beam thickness and backing depth must accommodate appropriate fastener length.
Wrong fastener type creates holding problems. Fine-threaded screws designed for metal applications lack the gripping power that coarse threads provide in foam materials. Selecting screws specifically recommended for polyurethane, or general-purpose coarse-thread wood screws, ensures proper engagement with material structure.
Missing washers concentrates load at fastener heads, potentially creating pullthrough failures where the fastener head pulls through beam surface. Flat washers distribute load across larger surface areas, reducing stress concentration and improving connection reliability. This inexpensive addition prevents a common failure mode.

Alignment and Level Errors
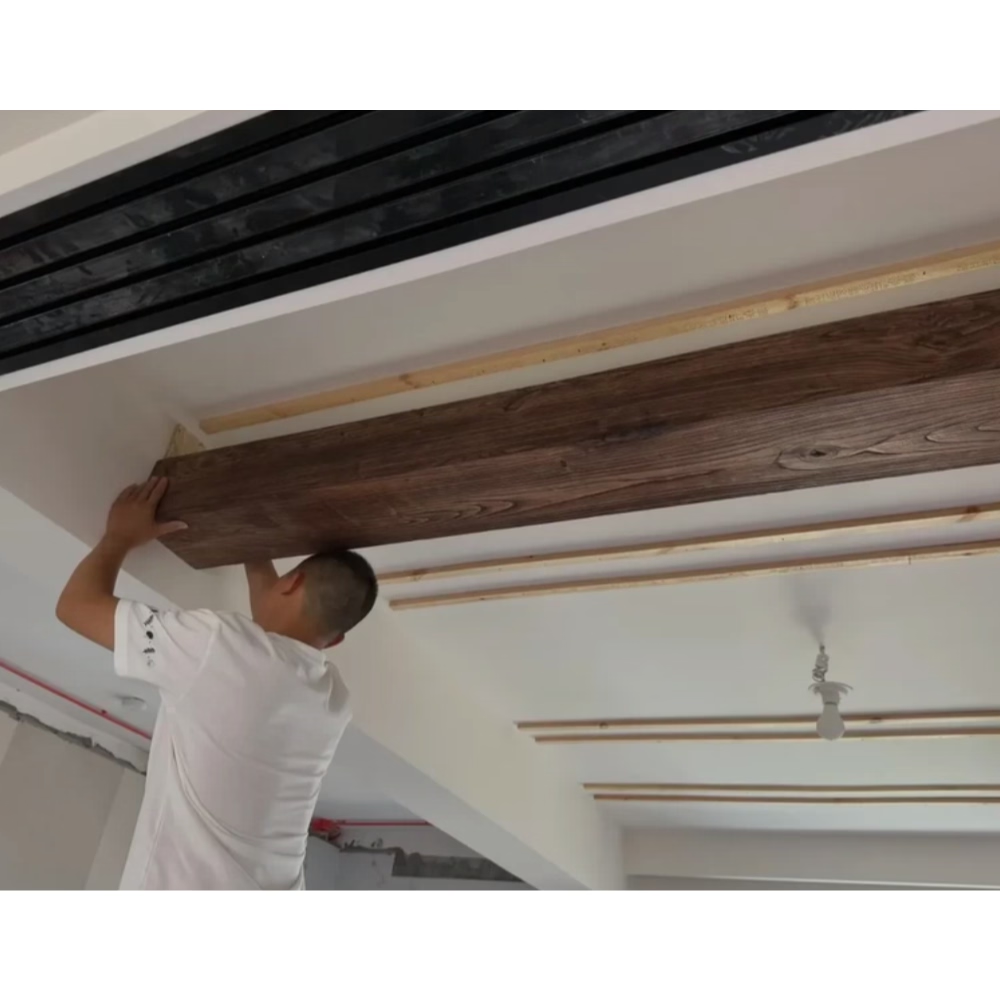
Visual alignment errors create installations that look unprofessional even when structural performance is adequate. Since beams occupy prominent positions in interior spaces, any crookedness or inconsistency becomes immediately apparent, undermining the design intent that motivated the installation.
Failing to establish reference lines before mounting allows cumulative positioning errors that create visibly crooked installations. A single beam positioned two degrees off-axis might go unnoticed, but when subsequent beams reference that incorrect position, the drift becomes obvious. Establishing true reference lines at project start prevents this cascading error.
Neglecting to check level in multiple directions misses alignment problems that manifest only from certain viewing angles. Beams might appear level when viewed from one direction while showing significant tilt from another. Checking level both perpendicular to and along beam runs catches these issues before they become permanent.
Assuming that ceiling planes are level leads to incorrect positioning when ceilings deviate from true level. Older homes in particular often have ceilings that slope noticeably, and matching this slope rather than correcting it creates alignment that appears wrong relative to room geometry. Measuring ceiling conditions before establishing reference lines ensures that final positioning looks appropriate.
Ignoring wall intersections when beams terminate at walls creates alignment problems where beams meet wall surfaces. The beam end might be level and properly positioned relative to ceiling, but if the angle to the wall is wrong, the termination will appear awkward. Considering how beam ends will interact with wall surfaces during positioning prevents these finish problems.
Inadequate Surface Preparation
Surface preparation failures create problems that manifest after installation, when correction becomes difficult and expensive. The surfaces to which beams attach must provide adequate bonding and support, which preparation determines.
Failing to clean mounting surfaces removes debris, dust, and contamination that prevent proper adhesion and fastener engagement. A seemingly clean ceiling may carry accumulated dust that compromises adhesive bonds, while greasy or contaminated surfaces prevent fastener holding power. Proper cleaning with appropriate cleaners ensures that mounting surfaces provide the grip that installations require.
Overlooking ceiling irregularities means that beams mount to uneven surfaces, creating gaps or stress concentrations. Even minor irregularities become apparent when beams—straight, uniform products— conform to uneven substrates. Addressing surface irregularities through sanding, filling, or shimming creates uniform mounting conditions.
Skipping primer on porous surfaces reduces adhesive bond strength significantly. The porous surfaces of drywall, plaster, or unfinished wood benefit from primer that seals pores and provides consistent surface energy for adhesive bonding. This preparation step, while adding time to the process, ensures adhesive performance that unpimed surfaces cannot achieve.
Forgetting to address moisture issues creates conditions for mold growth and material degradation. Beams mounted over damp substrates will eventually show staining or damage that appears despite proper beam installation. Identifying and correcting moisture sources before beam mounting prevents problems that would require beam removal to address.
Joint and Connection Problems
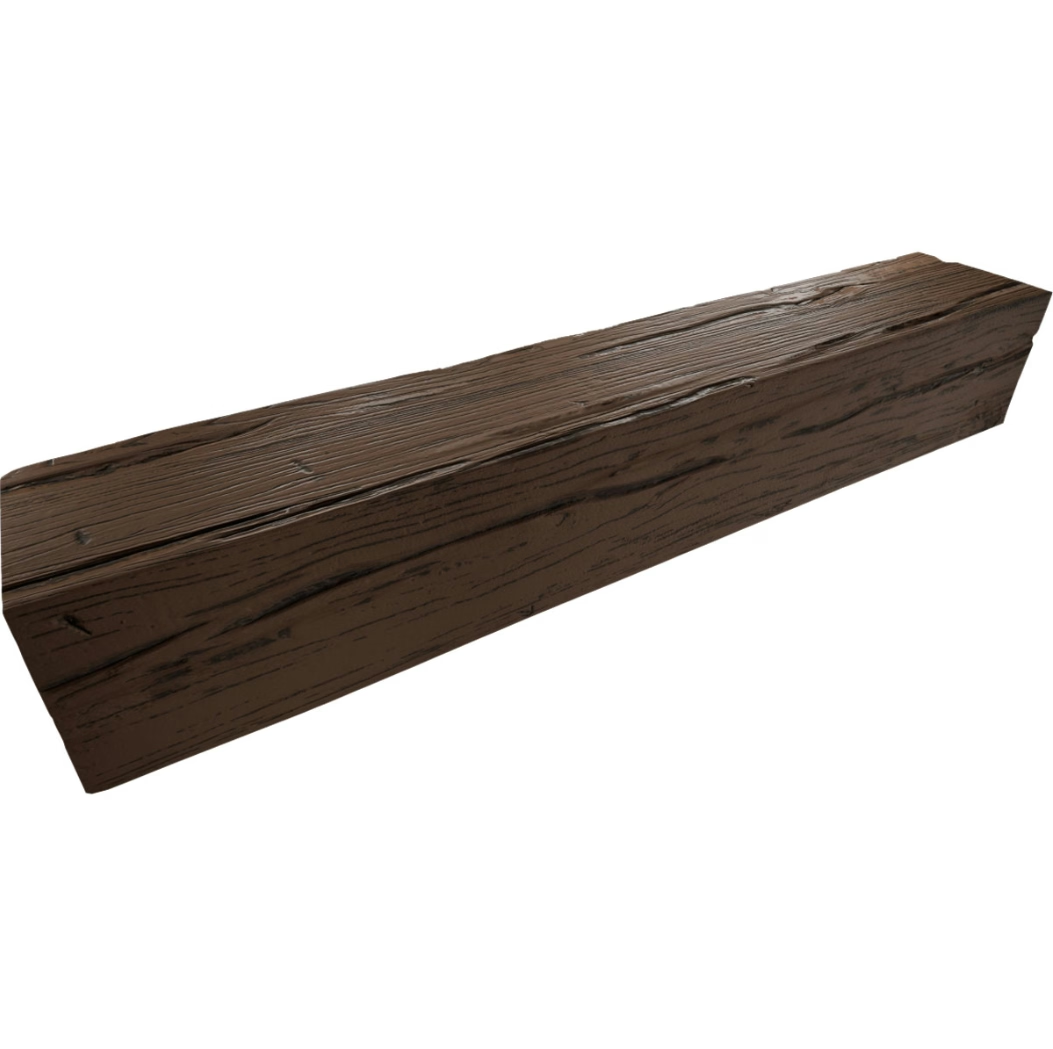
Beam joints represent the locations where installation quality becomes most apparent. Joint problems—visible gaps, misalignment, inconsistent appearance—detract from installations that are otherwise well-executed. Proper technique at these critical locations ensures continuity that enhances overall quality.
Mismatched joint alignment occurs when installers rush the measurement and cutting process. Each joint requires individual measurement rather than assumption that dimensions repeat exactly. The slight variations that exist in most construction make individual measurement essential for joints that fit properly.
Insufficient adhesive at joints creates gaps that become apparent over time as materials settle or shift. Applying adhesive generously to both mating surfaces ensures complete coverage without voids. The squeeze-out that results from generous application proves easier to clean than the gaps that meager application leaves.
Rushing adhesive cure time compromises bonds before they develop full strength. While polyurethane adhesives cure relatively quickly, forcing the process by moving beams before adequate cure allows bonds to develop creates weak joints prone to failure. Following manufacturer cure time recommendations ensures that adhesive reaches full strength.
Failing to use reinforcement at long-span joints leaves these critical locations vulnerable to stress concentrations. Adding backing blocks, metal plates, or other reinforcement distributes loads that would otherwise concentrate at joint interfaces. This reinforcement proves particularly important at spans approaching maximum recommended lengths.

Ignoring Environmental Conditions
Environmental factors affect both installation process and long-term performance. Ignoring these factors creates problems that proper planning would prevent.
Temperature extremes during installation affect adhesive cure and material handling. Extremely cold temperatures slow adhesive curing, while extremely hot temperatures accelerate it beyond proper working time. Installing in moderate temperature conditions, typically between sixty and eighty degrees Fahrenheit, provides optimal working conditions for most adhesive products.
Humidity variations create dimensional changes that affect fit and appearance. While polyurethane is more stable than natural wood, significant humidity swings can create minor dimensional changes. Allowing beams to acclimate to installation conditions before mounting ensures dimensional stability during and after installation.
UV exposure affects some beam finishes, particularly at windows or in rooms with significant sunlight. Selecting beams with appropriate UV resistance for exposure conditions prevents the yellowing and surface degradation that unprotected materials experience. This consideration applies both to installation planning and to selection of beam products for specific applications.
Thermal expansion and contraction, while modest in polyurethane compared to other materials, can stress joints and connections over time. Designing installations that accommodate this movement—using flexible sealants, allowing expansion clearance, selecting appropriate adhesive flexibility—ensures that thermal cycling does not create joint failures or surface damage.
Technical References
ASTM standards cited in every specification
Test Data
Lab results from internal testing program
Updated 2026
Reviewed against current product specs


