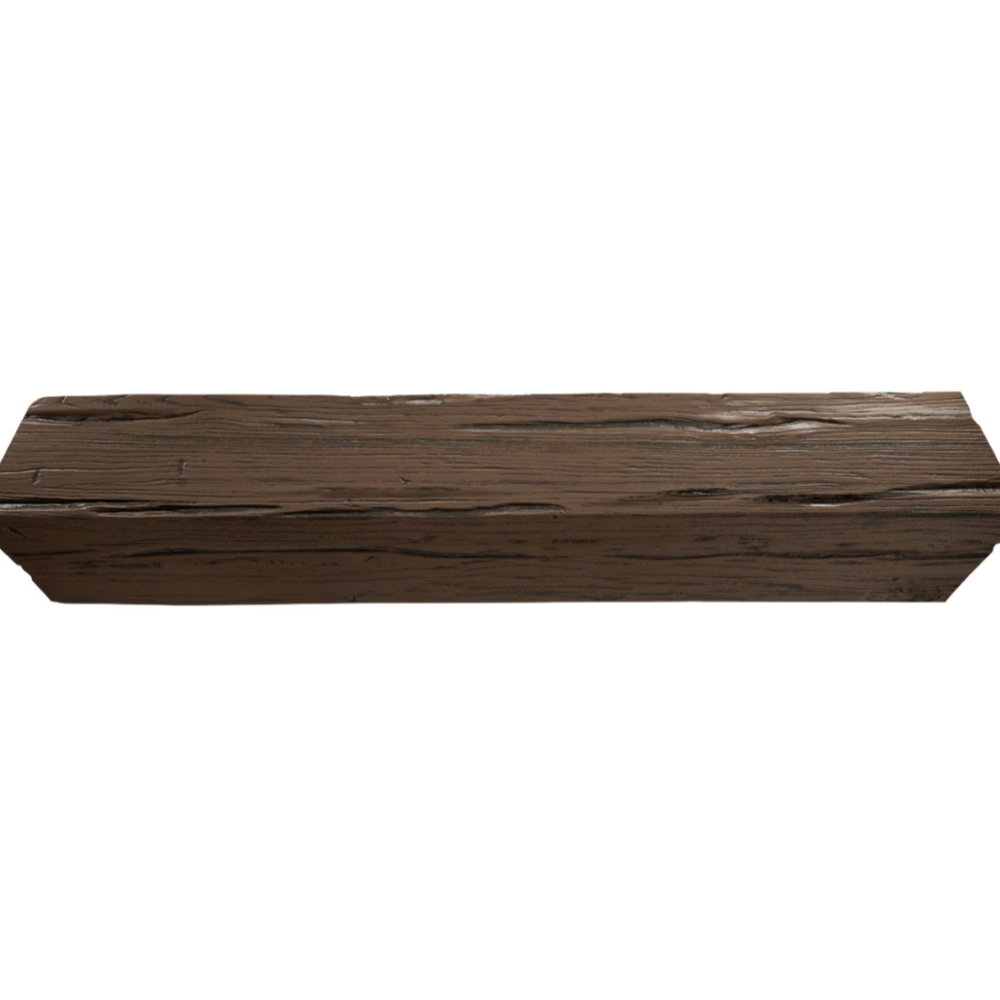
Hollow faux wood beams are a practical choice for many installations—they're lighter, easier to handle, and less expensive than solid polyurethane beams—but they come with a specific challenge: the end caps. Those flat or shaped pieces that close off the beam's hollow core are what make the beam look like real timber from the end view. Left unsecured, they can work loose over time, shift out of position, or fall off entirely, revealing the hollow interior and compromising the illusion you're working so hard to create.
The solution isn't complicated, but it does require a specific approach that differs from how you'd treat a solid beam. This guide covers the methods that professional installers use to ensure end caps stay secure for the life of the installation.
Understanding Hollow Beam Construction
Before choosing a securing method, it helps to know how hollow beams are made. Most hollow faux wood beams are extruded or molded in polyurethane foam, with a consistent wall thickness—typically one to two inches—around a completely empty core. The end caps are either molded as part of the beam body or produced as separate pieces that are adhered to the beam ends during manufacturing.
Beams that arrive with pre-attached end caps may appear solid at the ends, but the cap is often held in place by only a thin bead of adhesive applied at the factory. That adhesive is designed for shipping and handling, not for long-term structural performance. Once the beam is installed and exposed to temperature fluctuations, vibrations from HVAC systems, or the occasional bump from cleaning or renovation work, those factory bonds can fail.
Beams with loose end caps—or beams that need to be cut to length on-site—require the end caps to be attached as part of the installation process. Either way, treating the end cap attachment as a separate, deliberate step in the installation is essential for long-term stability.
The Adhesive Approach
High-quality construction adhesive is the foundation of any end cap securing method. For hollow polyurethane beams, a polyurethane-based adhesive is ideal because it bonds well to the foam substrate and expands slightly as it cures, helping to fill any minor gaps between the cap and the beam end.
Begin by dry-fitting the end cap against the beam end to check the fit. In a perfect world, the cap seats flush with no gaps. In practice, most end caps fit with a small gap of a sixteenth to an eighth inch around the perimeter—this is normal and is exactly what the adhesive is designed to fill. If the gap is larger than an eighth inch in any area, use a piece of cardboard or thin wood shim to take up the excess space before applying adhesive.
Apply adhesive to both the inner face of the end cap and the rim of the beam end. Use a continuous bead around the entire perimeter and a cross-hatch pattern in the center of the beam end for maximum coverage. Press the cap firmly into position, checking that it sits flush on all sides. If it rocks or tilts, adjust until it's seated properly before the adhesive begins to set.
Allow the adhesive to cure fully—typically twenty-four hours for polyurethane formulations—before moving or stressing the beam. Clamping the end cap in place during curing provides the most secure result. Small bar clamps or pipe clamps work well for this purpose, but a simpler approach is to drive a few small screws through the cap into the beam end after the adhesive has become tacky but before it's fully set. These screws hold the cap in position while the adhesive cures and provide additional mechanical security that supplements the adhesive bond.
Mechanical Fastening for Added Security
Adhesive alone, while effective, is strengthened considerably by mechanical fasteners. For end caps that are being attached to cut beam ends, screws are the most reliable option. Use screws that are one inch shorter than the combined thickness of the cap and the beam wall—typically one-and-a-quarter-inch screws for most hollow beam installations.
Drive the screws through the cap into the beam wall at an angle, placing them around the perimeter rather than in a straight line. Offset the screw positions so that they don't all converge on a single point inside the hollow core. Space them every two to three inches around the perimeter. If the beam has decorative routed features on its face, position the screws inside those features so they're hidden from view.
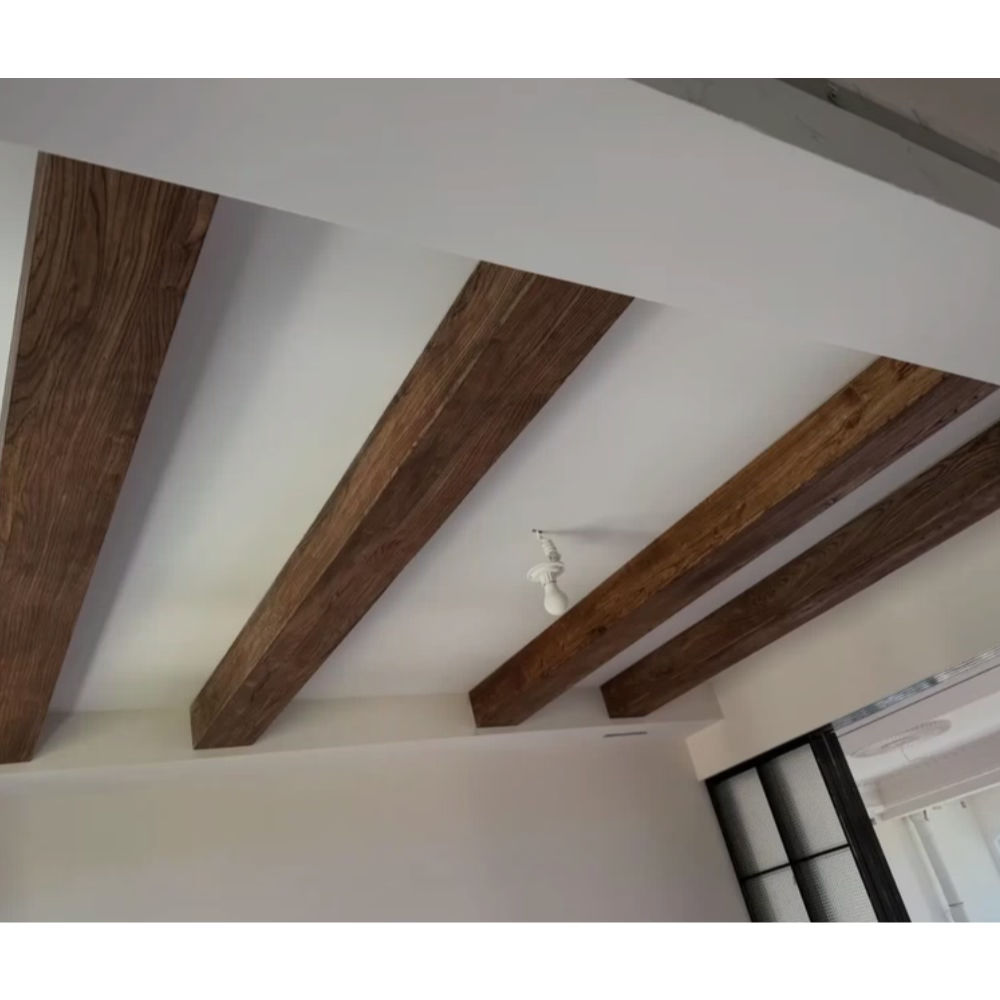
For end caps on beams that will be mounted flush against a wall or corner, the mechanical fastening can often be done from the outside of the beam through the decorative face—specifically into a nailing strip or blocking that runs along the back of the beam. This approach eliminates the need for any screws on the end cap itself, relying instead on the beam's attachment to the wall or ceiling to hold the end cap in place.
When the end cap is a shaped piece—a decorative corbel-style cap, for example—the fastening approach may need to account for the cap's geometry. In most cases, you can still use adhesive along the bonding surface and small screws through any flat areas of the cap. If the cap has only an angled or curved bonding surface with no flat area for a screw, use a combination of adhesive and a construction adhesive tape applied to the bonding surface before pressing it into place.
Handling End Cap Gaps and Imperfections
Even with careful installation, small gaps may appear where the end cap meets the beam body, especially in corners and along edges. These gaps should be filled and sealed to prevent moisture from entering the hollow core and to maintain the appearance of a solid timber beam.
Use a paintable latex caulk or a thin layer of spackling compound to fill any gaps. For gaps larger than an eighth inch, apply the filler in two stages, allowing the first layer to dry before applying the second. Once the filler is dry, sand it smooth with fine-grit sandpaper—220 grit works well for polyurethane—and touch up the finish to match the surrounding beam surface. Most polyurethane beams can be touched up with a small amount of stain or paint applied with a artist brush.
For beams that will be exposed to humidity—such as in a bathroom, a covered outdoor porch, or a basement—an extra step of sealing is worthwhile. Apply a bead of silicone caulk around the entire perimeter of the end cap where it meets the beam body, pressing it firmly into the seam. Silicone remains flexible over time and provides a moisture barrier that prevents humid air from entering the hollow core, where it could cause the polyurethane to swell or delaminate.
Routine Inspection and Maintenance
After installation, periodically check the end caps for any signs of movement—hairline cracks along the seam, slight offset of the cap relative to the beam face, or a change in the sound the beam makes when tapped. These are early indicators that a bond may be weakening. Addressing a loose end cap early is far easier than dealing with a fallen cap and potential damage to the surrounding surfaces.
To re-secure a loose end cap, remove any existing adhesive or debris from both the cap and the beam end using a putty knife or a Dremel-style rotary tool with a sanding accessory. Re-apply adhesive and screws as described above. If the end cap has been damaged—cracked or deformed—it may need to be replaced entirely, which is why using the correct securing technique during initial installation is so important.

Securing hollow beam end caps properly is one of the most overlooked aspects of faux wood beam installation, and yet it's one of the most important for maintaining the integrity and appearance of the finished work. With adhesive, mechanical fasteners, and a small amount of caulking, you can ensure that your beams look solid and permanent for years to come.
Technical References
ASTM standards cited in every specification
Test Data
Lab results from internal testing program
Updated 2026
Reviewed against current product specs


