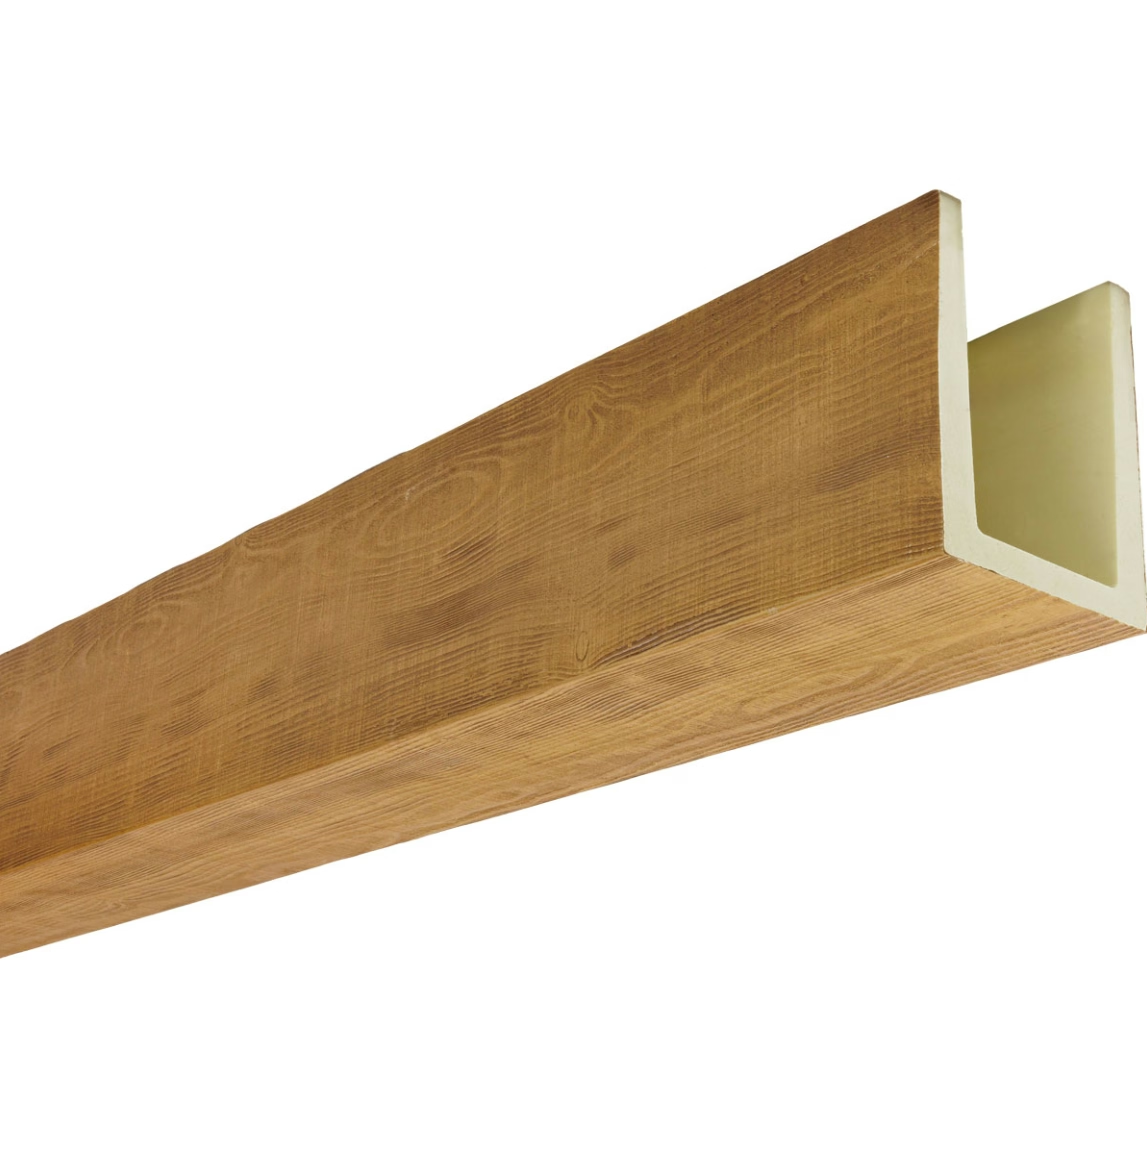
The evolution of faux wood beam design has moved well beyond simple decorative mimicry of timber. Today's polyurethane beams incorporate functional features that serve the practical needs of modern interiors, and one of the most impactful is the integrated LED light housing. These housings—molded, routed, or attached within the beam structure—accept LED strips, modules, or puck lights to turn the beam itself into a source of illumination rather than simply an object that catches light from other sources.
The appeal of integrated LED housings is multifaceted. They eliminate the need for separate light fixtures competing with the beam for visual attention. They produce a clean, continuous line of light that emphasizes the beam's profile and silhouette. And they do so without the installation complexity or visual weight of surface-mounted light fixtures. For homeowners and designers seeking a seamless integration of form and function, LED inserts in faux beams represent one of the most elegant solutions available.
Types of LED Housing Inserts
LED light housings for faux beams come in several configurations, each suited to different lighting effects and installation preferences. Understanding the options helps you select the right housing type for your project.
Top-edge housings are the most common integrated LED system. A channel is routed or molded along the top edge of the beam—where the beam meets the ceiling—and an LED strip is installed in this channel. When the beam is mounted, the LED strip faces upward toward the ceiling, creating a wash of light across the ceiling surface. This effect is particularly dramatic with suspended beams, where the LED light fills the shadow gap between the beam and the ceiling, making the beam appear to float.
Bottom-edge housings install along the bottom face of the beam, typically in a routed channel or a snap-in extrusion. The LED strip faces downward, providing task or accent illumination directly below the beam. This configuration works well for kitchen islands, dining tables, and other work surfaces where directional light is needed. The housing conceals the LED strip and its wiring while allowing light to emanate from a clean, linear source.
Side-face housings install along the decorative front face of the beam, in a channel cut into the routed wood grain pattern. The LED strip faces outward toward the room, creating a backlit effect where the beam's surface appears to glow. This is the most visually dramatic housing type and works best in contemporary or minimalist settings where the effect can be appreciated without competing with other design elements.
Some manufacturers offer modular LED housing systems that accept interchangable LED modules—warm white, cool white, RGB color-changing, and tunable white modules that can be swapped as lighting needs change. This modularity future-proofs the installation and allows homeowners to experiment with different lighting effects without replacing the housing.
Choosing the Right LED Configuration
The LED configuration—strip type, color temperature, brightness, and control system—determines the quality of light the housing produces and how that light can be controlled.
For residential applications, warm white LED strips in the 2700K to 3000K range are the most popular choice. This color temperature replicates the warm glow of incandescent lighting and complements wood-finished beams beautifully. Cool white strips—4000K to 5000K—are better suited to commercial or contemporary spaces with grey-toned beams, but they can make warm wood finishes look artificial.
Brightness is measured in lumens per foot and varies by LED strip type. For ambient or accent lighting from a top-edge housing, thirty to sixty lumens per foot provides sufficient illumination to create atmosphere without functioning as primary task lighting. For bottom-edge housings providing task illumination, sixty to one hundred twenty lumens per foot may be needed depending on the work surface and the room's general lighting levels.
Dimmable LED strips are strongly recommended for all integrated beam lighting applications. Non-dimmable LEDs operating at full brightness can be uncomfortably intense in residential settings, and the inability to adjust the light level eliminates the flexibility that makes integrated lighting so appealing. Most LED strip systems designed for housing inserts are compatible with standard residential dimmer switches when used with a compatible LED driver.
Installing LED Housing Inserts
Installation of LED housing inserts can be handled in two ways: factory-installed housings built into the beam during manufacturing, or field-installed housings created during the beam installation process. Each approach has advantages.
Factory-installed LED housings offer the cleanest result because the channel is molded or routed with precision at the manufacturing stage. The housing is designed to accept a specific LED strip profile, and the beam arrives at the job site ready for the LED strip to be snapped or glued into place. The wiring for the LED strip is routed through an internal channel in the beam, exiting at a discrete point for connection to the power supply. This approach requires coordination with the beam manufacturer during the ordering process to specify the housing type and location.
Field-installed housings are created by the installer during the beam mounting process. A router or rotary tool is used to cut a channel in the beam to the desired depth and width, and an LED extrusion profile—a metal or plastic channel that holds the LED strip—is installed in the channel. The extrusion is held in place with adhesive or small screws, and the LED strip is installed in the extrusion after the beam is mounted. This approach is more flexible and can be done on standard beams without custom ordering, but it requires more skill and produces a less precise result than factory installation.
Whether factory or field installed, all LED housings need a power supply unit (driver) to convert household AC power to the low-voltage DC power that LED strips require. The driver should be located in an accessible, ventilated location—a utility closet, a basement, or an attic—rather than inside the beam or behind the ceiling. Running low-voltage wiring from the driver to each beam's LED strip is straightforward and doesn't require the same electrical permits as line-voltage wiring.
Wiring and Control Integration
The wiring from the LED driver to the beam's LED strip runs through the cable management system described in the previous guide—through channels in or behind the beams, emerging at the LED strip connection point. Low-voltage wiring is slim and flexible, making it easy to route through concealed spaces without the routing constraints that apply to line-voltage wiring.
For control, integrated LED beam lighting can be operated through wall-mounted dimmer switches, remote controls, smart home systems, or a combination. Standard LED dimmer switches work with most residential LED strip systems when the driver is compatible. If you want to control individual beams or zones separately—dimming the kitchen island beams while leaving the living room beams at full brightness—multi-zone dimmers or individual drivers for each beam enable this level of control.
Smart home integration is increasingly common for integrated LED systems. Many LED drivers and controllers are compatible with systems like Lutron, Control4, and SmartThings, allowing the beam lighting to be controlled through voice assistants, mobile apps, and automated scheduling. For example, the beam lighting can be programmed to turn on gradually at sunset, to dim to a warm evening setting at a specific time, or to respond to motion sensors in hallways and entryways.
Maintenance and Longevity
One of the advantages of LED lighting over traditional incandescent or halogen sources is longevity. Quality LED strips last fifty thousand hours or more under normal use—representing years or decades of operation before replacement is needed. This longevity means that the LED housing inserts in your beams are likely to outlast the beams themselves under typical residential use conditions.
When an LED strip does eventually need replacement, the process depends on the housing type. Factory-installed housings with snap-in LED modules allow individual module replacement without removing the beam. Field-installed extrusion housings require the LED strip to be peeled away from the extrusion and a new strip to be adhered in its place. In both cases, the replacement process is manageable for a competent DIYer and straightforward for a professional installer.

Integrated LED light housing inserts elevate polyurethane faux wood beams from decorative elements to functional lighting systems. By selecting the appropriate housing type, configuring the LED strips for the desired lighting effect, and planning the wiring and control system during the beam installation, you can create a ceiling that is as thoughtfully lit as it is beautifully designed.
Technical References
ASTM standards cited in every specification
Test Data
Lab results from internal testing program
Updated 2026
Reviewed against current product specs


