A common pitfall in whole-home renovations is inconsistency—each room finished to a high standard individually, but lacking a unifying design thread that makes the home feel like a cohesive whole. Different trim profiles, mismatched finishes, and disparate design vocabularies create a house of rooms that feel disconnected rather than harmonious. Faux wood beams offer a solution: used consistently across multiple rooms and zones, they create a design element that the eye recognizes and that ties the home together visually.
The key is thinking of beams not as an isolated ceiling treatment for a single room but as a system—a design element that can be scaled, varied, and adapted to different spaces while maintaining a consistent material and formal identity. When this system-based approach is applied to a renovation, the result is a home where the beams create continuity from the moment you walk through the door.
Establishing a Beam Design Language
Before specifying beams for any room, establish a design language that will guide the beam choices across the entire renovation. This language defines the consistent elements—the features that remain the same across all rooms—while allowing variation in the scale and placement to respond to each room's specific dimensions and function.
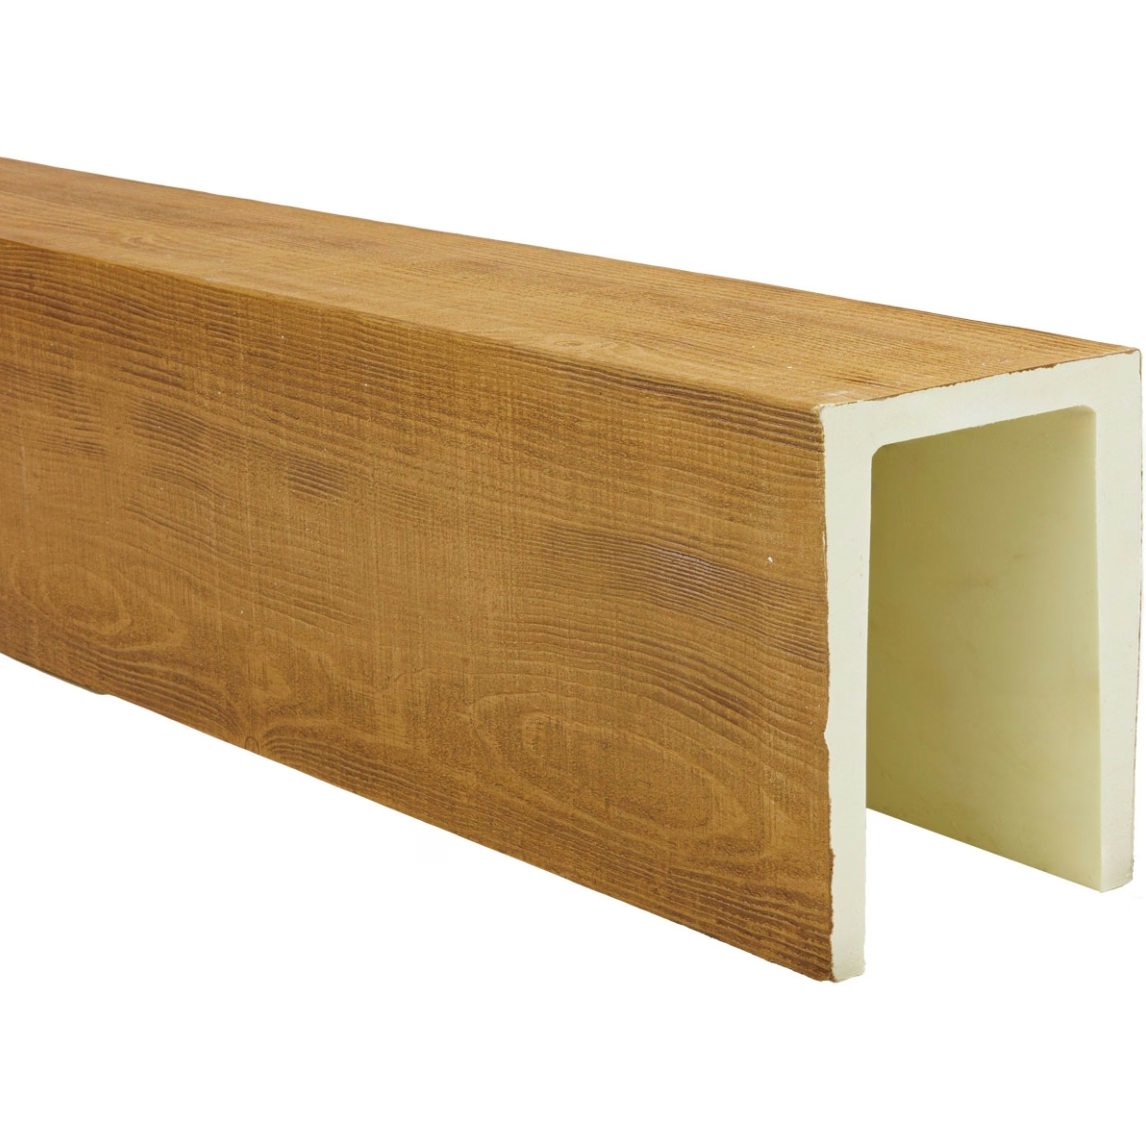
The beam profile is the primary element of consistency. Choose a single profile—the shape of the beam's cross-section—and use it throughout the home. If the living room has a rectangular beam with a simple routed edge detail, the kitchen, master bedroom, and hallway should use the same profile. This consistency creates the visual thread that ties the spaces together.
Finish is the second consistent element. Choose a finish—wood species, stain color, or painted color—and use it as the default across all beam installations. Variation in finish can be used intentionally as a design accent, but it should be deliberate and limited. Using a dark walnut finish in the living room and a honey oak finish in the kitchen without a clear design rationale creates discord rather than interest.
Scale is the primary variable that allows the beam design to adapt to different rooms. The same profile and finish that works for a large great room—where the beams might be twelve inches deep and spaced widely—can be scaled down for a smaller bedroom or hallway, where eight-inch-deep beams at tighter spacing maintain the design identity while fitting the room's proportions.
Planning the Beam System Across Room Types
Different rooms serve different functions, and the beam system should respond to these functional differences while maintaining design consistency. Here's how to adapt the beam language across common room types in a whole-home renovation.
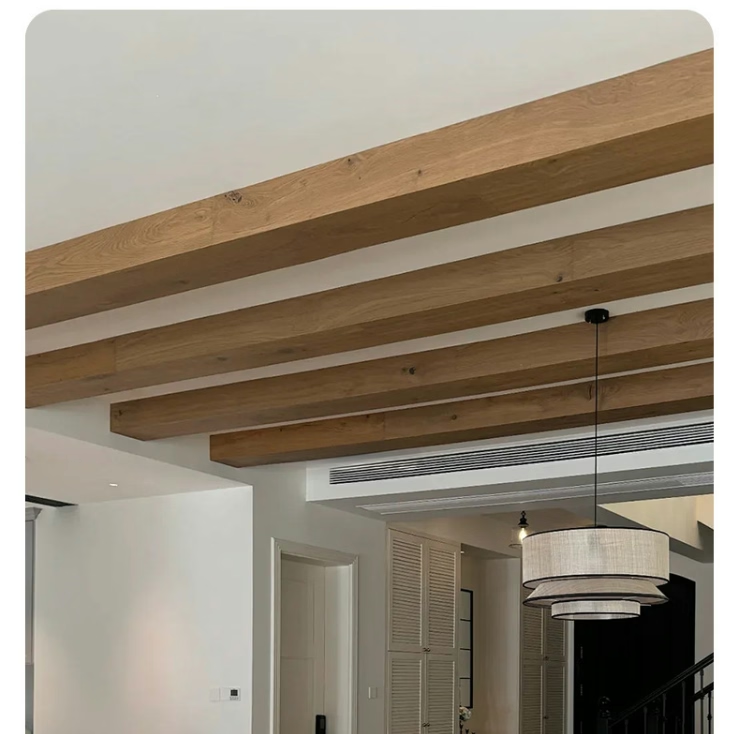
In living spaces—living rooms, family rooms, and great rooms—the beams can be the dominant design feature. Use the largest practical beam size, wider spacing, and the most dramatic mounting configuration—suspended rather than flush—for maximum visual impact. These rooms benefit from the full expression of the beam design language because they are the spaces where the design is most visible and where the beams contribute most to the room's character.
In dining rooms and kitchens, the beam system should support the room's function without dominating it. Beams over a dining table can be smaller in scale than living room beams but maintain the same profile and finish, creating continuity while respecting the different character of the space. In kitchens, beams over the island or cooktop area can be a focal point while beams over other kitchen zones are more restrained.
In hallways and transitional spaces, the beam system provides consistency but at a smaller scale. Narrow hallways may accommodate only a single beam running the length of the corridor, which works perfectly as a unifying element that carries the design language from room to room. The beam in a hallway is glimpsed rather than experienced fully, but its presence confirms that the home's design is considered and coherent throughout.
In bedrooms, the beam system should contribute to a sense of intimacy and restfulness. Smaller-scale beams—particularly over the bed—create a visual canopy that makes the bed feel like the center of a designed space. In master suites with higher ceilings, the beam system can be more substantial, but it should never compete with the bed as the room's focal point.
Coordinating Beams with Other Renovation Elements
A full renovation involves many elements that must be coordinated with the beam design: flooring, wall finishes, cabinetry, trim, and lighting. Each of these interactions is an opportunity to reinforce the beam system's design language or to create discord that undermines it.
Flooring coordination is particularly important in homes with hardwood or wood-look flooring. The beam finish should complement the floor finish without matching it exactly—too close a match creates a monochromatic look that flattens the room's depth. If the floor is a medium-toned oak, the beams might be a slightly darker walnut or a lighter honey pine, creating a complementary relationship rather than a matching one.
Trim coordination—baseboards, door casings, window casings, and crown molding—is another critical interaction. The beam's profile should relate to the trim profile in a way that feels cohesive rather than arbitrary. If the home has traditional three-and-a-quarter-inch baseboards and standard door casings, a beam with a simple rectangular profile and clean edges will feel more appropriate than a heavily ornamented beam with complex routed details that conflict with the simpler trim vocabulary.
Cabinetry in kitchens and bathrooms should also be considered. If the cabinets have a wood finish, the beam finish should relate to the cabinet finish in the same complementary way that the floor finish relates to the beam finish. In an all-white kitchen, beams in a natural wood finish provide warmth and texture that prevent the room from feeling cold. In a dark, dramatic kitchen, beams in a matching dark finish create cohesion that unifies the room's design.
The Renovation Sequence with Beams
The order of work in a renovation involving beams affects the quality of the result and the efficiency of the installation. Beams are typically installed after the ceiling structure is complete but before the final finishes—paint, trim, and electrical—are completed.
Coordinate the beam installation with the electrical rough-in so that cable management channels, LED housing wiring, and fixture junction boxes are in place before the beams go up. This coordination prevents the need to work around or behind installed beams to run wiring.
If the renovation involves removing existing ceiling surfaces—drop ceilings, textured ceilings, or old drywall—the ceiling repair and preparation should be completed before beam measurement. The beam dimensions are determined by the finished ceiling dimensions, which aren't known until any ceiling reconstruction is complete.
Plan the beam installation sequence to minimize disruption to other trades. Beams are installed in complete runs—from wall to wall or from support point to support point—in a sequence that allows other work to proceed in adjacent areas. If the renovation is being done in occupied spaces, schedule beam installation for times when the noise and activity will be least disruptive.
Maintaining Design Consistency Throughout the Project
Renovation projects evolve, and design decisions made at the beginning may be revised as the project progresses. When changes are necessary, evaluate their impact on the beam design language before implementing them. A change to the floor finish, for example, might require adjusting the beam finish to maintain the complementary relationship. A change to the trim profile might require reconsidering the beam profile choice.
Keep a reference sample of the beam finish on hand throughout the renovation. This sample—a small piece of the actual beam material with the actual finish applied—serves as the standard against which all other finishes are compared. When specifying paint colors, cabinet finishes, or flooring, the beam sample provides a concrete reference that helps maintain design coherence across all decisions.
Document the beam specifications in a project reference sheet that can be shared with all contractors and suppliers. This sheet should include the beam profile, finish specifications, mounting height, and any integrated features—LED housings, cable management channels—that are part of the beam system. Making this information readily available prevents miscommunications and ensures that everyone working in the home understands the design language being established.

Integrated PU faux wood beams used across a full interior renovation create the kind of design coherence that distinguishes professionally designed homes from collections of individually finished rooms. By establishing a consistent beam language—profile, finish, and mounting approach—and adapting it intelligently to each room's scale and function, you create a home where the ceiling treatment contributes to a unified design story from entry to exit.
Technical References
ASTM standards cited in every specification
Test Data
Lab results from internal testing program
Updated 2026
Reviewed against current product specs


