
There is something profoundly satisfying about craftsmanship that conceals its own methods. When you gaze at a beautifully appointed ceiling where faux wood beams stretch uninterrupted across an expansive room, you are witnessing more than attractive architecture—you are seeing the culmination of careful planning, precise technique, and thoughtful attention to detail. The invisible joint splicing that makes these seamless runs possible represents a skill that separates amateur installations from professional results.
For commercial projects and high-end residential installations, the ability to create truly seamless beam runs has become an expectation rather than an aspiration. Restaurant designers want their dining rooms to feel like mountain lodges without visible seams. Hotel lobbies require the grandeur of exposed timber without the maintenance concerns of natural wood. Homeowners investing in premium finishes expect perfection. Invisible joint splicing delivers on all these requirements by making the connection between beam sections genuinely undetectable.
The Challenge of Creating Invisible Joints
Creating a joint that cannot be seen requires understanding why joints are normally visible in the first place. Several factors contribute to joint visibility in beam installations, and addressing each of these factors is essential for achieving truly invisible results.
The first issue involves surface continuity. When two pieces of wood meet end-to-end, the joint line itself creates a visual interruption. Even if the gap is closed perfectly, the change in grain direction or surface texture at the joint creates a line that catches light differently than the surrounding surface. PU faux wood beams address this through careful surface finishing, but the joint must still be treated to blend seamlessly with the rest of the beam.
The second issue involves color and tone consistency. Natural wood varies in color even within a single board, and pieces from different boards may differ significantly. When two beam sections are joined, any color difference between them becomes most visible at the joint. Premium manufacturers address this through quality control measures that minimize variation between beam sections, and installers can further blend surfaces through careful finishing techniques.
The third issue involves dimensional accuracy. A joint that is slightly out of alignment creates shadows at the joint line, immediately drawing attention to the connection point. Precision cutting, fitting, and assembly are essential for preventing these alignment issues from becoming visible defects.

Splice Joint Configurations
Several joint configurations serve as the foundation for invisible splicing, each with particular characteristics that make it suitable for different applications. Choosing the appropriate joint type depends on factors including beam dimensions, installation orientation, and anticipated loads on the joint.
The simplest approach involves the straight scarf joint, where both beam ends are cut at perpendicular angles and joined face-to-face. When executed with precision, this joint creates no visible line because the joint runs in the same plane as the beam's face. The grain pattern, if present, can be continued across the joint by carefully aligning the beam sections before adhesive is applied. This joint type works well for beams installed flat against a ceiling surface.
For beams where side surfaces will be visible, a half-lap splice provides advantages. In this configuration, material is removed from each beam end so that when they are joined, each beam contributes half of the overall thickness at the joint. The resulting joint is stronger than a simple end-to-end splice and creates a visual pattern similar to traditional woodworking joinery. The stepped profile of the half-lap can be positioned to minimize visibility depending on viewing angles.
Biscuit joints and spline joints offer intermediate approaches. Thin wooden or plastic biscuits fit into corresponding slots cut into both beam ends, providing alignment assistance and additional gluing surface area. The biscuits themselves become invisible once the joint is assembled and finished. Similarly, thin splines inserted into grooves running the length of the joint provide mechanical reinforcement while remaining concealed within the finished assembly.

Adhesive Selection and Application
The adhesive used for invisible splicing must fulfill several roles simultaneously: it must create a strong bond between beam sections, it must fill any microscopic gaps to prevent joint lines from opening over time, and it must be compatible with the finishing process that will follow. Premium polyurethane construction adhesives have emerged as the preferred choice for most invisible splicing applications.
Water-based adhesives offer easy cleanup and low odor but may not provide adequate bond strength for structural beam applications. Two-part epoxy systems offer exceptional strength but require mixing and have limited working time. Polyurethane construction adhesives balance these concerns, offering strong bonds, gap-filling capability, and compatibility with both the PU beam material and common finishing products.
Adhesive application technique significantly influences joint quality. Surfaces should be clean, dry, and free of any contamination that might inhibit bonding. A manufacturer-recommended cleaner or simple isopropyl alcohol can remove oils, dust, and other contaminants. Apply adhesive generously but avoid excess that might squeeze out during clamping. A continuous bead along the joint with additional adhesive around the perimeter ensures complete coverage.
The clamping process holds the joint under pressure until adequate bond strength develops. Clamps should be positioned to apply even pressure across the entire joint surface without creating localized stress points. For longer joints, multiple clamps spaced along the length prevent any portion of the joint from opening during cure. Follow manufacturer recommendations for clamp pressure and cure time before removing clamps.
Finishing Techniques for Invisible Results
The finishing process represents the final and perhaps most critical step in achieving truly invisible splices. Even a perfectly executed mechanical joint can become visible if the finishing process is not handled correctly. Several techniques help ensure that spliced beams finish to appear as continuous pieces.
When staining or applying colored finishes, treating beam sections individually before assembly allows complete and even coverage without worrying about reaching hidden joint surfaces later. Apply finish to all visible surfaces of each beam section, including the ends that will be joined. Allow adequate cure time before assembly, then touch up any areas that might have been marked or damaged during handling and installation.
For paint-grade installations, the process is somewhat simpler but still requires attention. Joint compound or wood filler matching the beam material can be applied to any minor imperfections at the joint after assembly. Once dry, the area is sanded smooth and painted along with the rest of the beam. On lighter-colored beams, some installers apply a thin skim coat of finishing product across the entire joint area to ensure perfect blending.
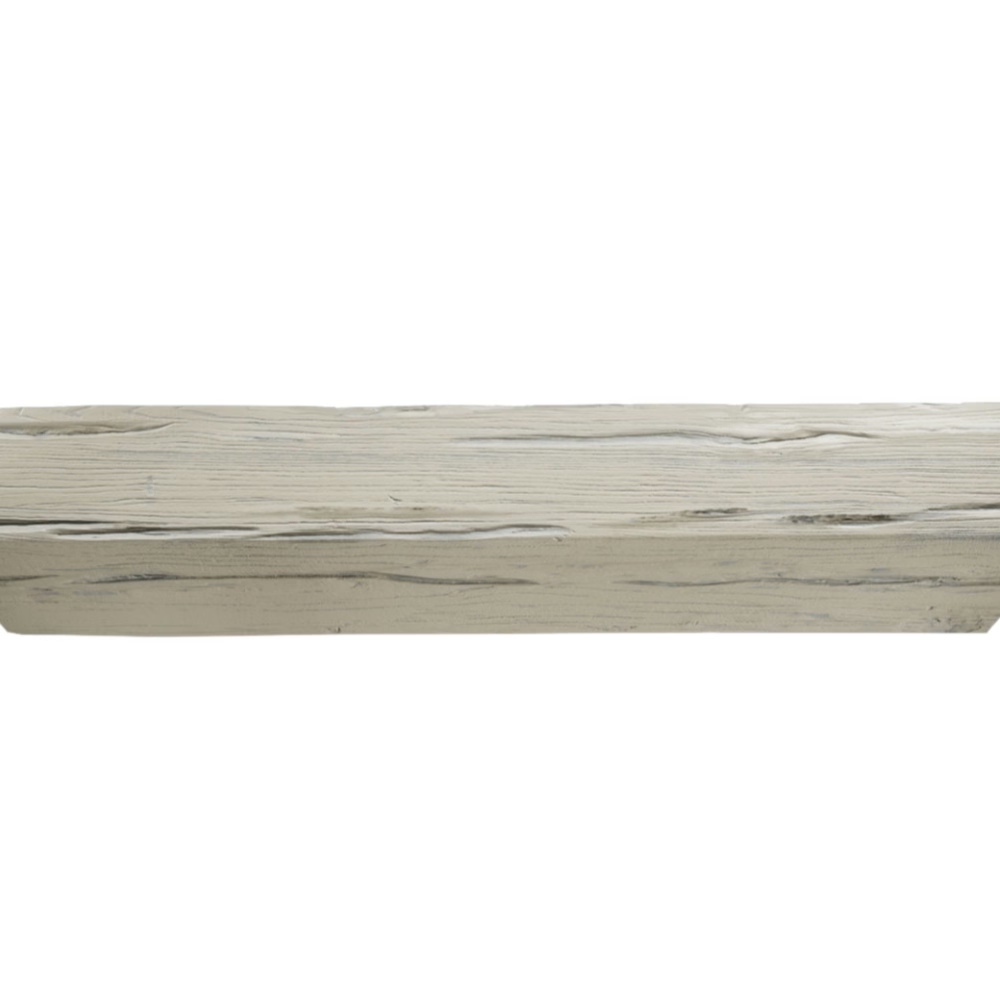
Textured finishes that mimic natural wood grain require the most careful attention. The texture pattern must flow continuously across the joint, which means ensuring that beam sections are oriented so that texture patterns align during assembly. Some installers create custom texture patterns at the joint area using finishing tools, carefully matching surrounding texture characteristics.
Quality Verification and Correction
Before declaring a splicing job complete, verification ensures that the joint meets invisible standards. This involves examining the joint under various lighting conditions and viewing angles that might reveal imperfections invisible under ordinary conditions.
Strong side lighting reveals any surface irregularities that might cast subtle shadows. Hold a flashlight or work light at a low angle across the joint surface, watching for any line, ridge, or depression that indicates the joint location. Move the light around to examine the joint from multiple angles, as some imperfections only reveal themselves from particular viewing positions.
Natural daylight provides another verification method, revealing color matching issues that might not be apparent under artificial lighting. If possible, examine completed joints during daylight hours to verify that they blend seamlessly with surrounding surfaces. Note any areas that require touch-up and address them before the installation proceeds.
Minor imperfections discovered during verification can often be corrected without re-splicing. Surface scratches or finish inconsistencies can be touched up with appropriate materials. Small gaps can be filled with color-matched caulk or filler. Significant alignment issues may require disassembly and re-splicing, which is why careful initial execution is always preferable to relying on correction techniques.
The mastery of invisible joint splicing represents a significant milestone in professional beam installation. This skill enables the creation of long ceiling runs that appear to be carved from single pieces of timber, delivering the aesthetic impact of traditional craftsmanship while maintaining the practical advantages of modern materials. For those willing to develop this capability, the results speak for themselves in every completed installation.
Technical References
ASTM standards cited in every specification
Test Data
Lab results from internal testing program
Updated 2026
Reviewed against current product specs


