
Open-plan living has reshaped how architects and designers approach ceiling surfaces. When a kitchen flows into a dining area and then into a living room under one uninterrupted ceiling plane, that ceiling becomes a major design element rather than a forgotten overhead plane. Decorative beams offer a way to add visual structure, warmth, and architectural interest to these expansive spaces. But specifying real timber for long-span applications introduces complications — structural engineering reviews, expensive custom milling, and installation logistics that often require cranes or heavy equipment. Lightweight polyurethane faux wood beams sidestep all of those problems while still delivering the visual drama that long-span ceiling treatments demand.
Why Span Length Matters More Than Anything Else
The visual impact of a ceiling beam increases dramatically with span length. A 6-foot decorative beam adds texture to a room but doesn't fundamentally alter the spatial experience. A 14 or 16-foot beam running the full width of a great room changes everything — it establishes a sense of direction, creates visual rhythm, and makes the ceiling feel intentional rather than merely present. This is why long-span beams are so sought after in high-end residential and hospitality projects, and why they appear so frequently in the design inspiration images shared across platforms like Pinterest and Instagram.
The challenge with long spans in real timber is that structural requirements scale with length. A beam that spans 16 feet in solid wood needs to be deep and thick enough to carry its own weight plus any imposed loads without deflecting noticeably. That means cross-sections of 10 by 12 inches or larger, which in Douglas fir or ponderosa pine can translate to 200 or more pounds per individual beam. Installing those pieces safely and accurately requires multiple workers, lifting equipment, and careful coordination with the building's structural system.
Hollow polyurethane faux beams eliminate the weight problem at its source. The same 10 by 12 inch visual profile in hollow polyurethane might weigh 15 to 25 pounds for the full 16-foot length. A single person can hold one end while a second person secures the mounting brackets, and the beam slides into position with the same ease as hanging a picture frame.
Designing for Long-Span Visual Impact
Successful long-span beam installations start with understanding how the beams interact with the room's proportions and lighting. A beam that runs perpendicular to the room's longer axis creates the illusion of a wider space by drawing the eye across. Beams running parallel to the longer axis emphasize length and height. In vaulted or cathedral ceiling situations, beams running down the slope of the roof create dynamic diagonal lines that amplify the sense of volume.
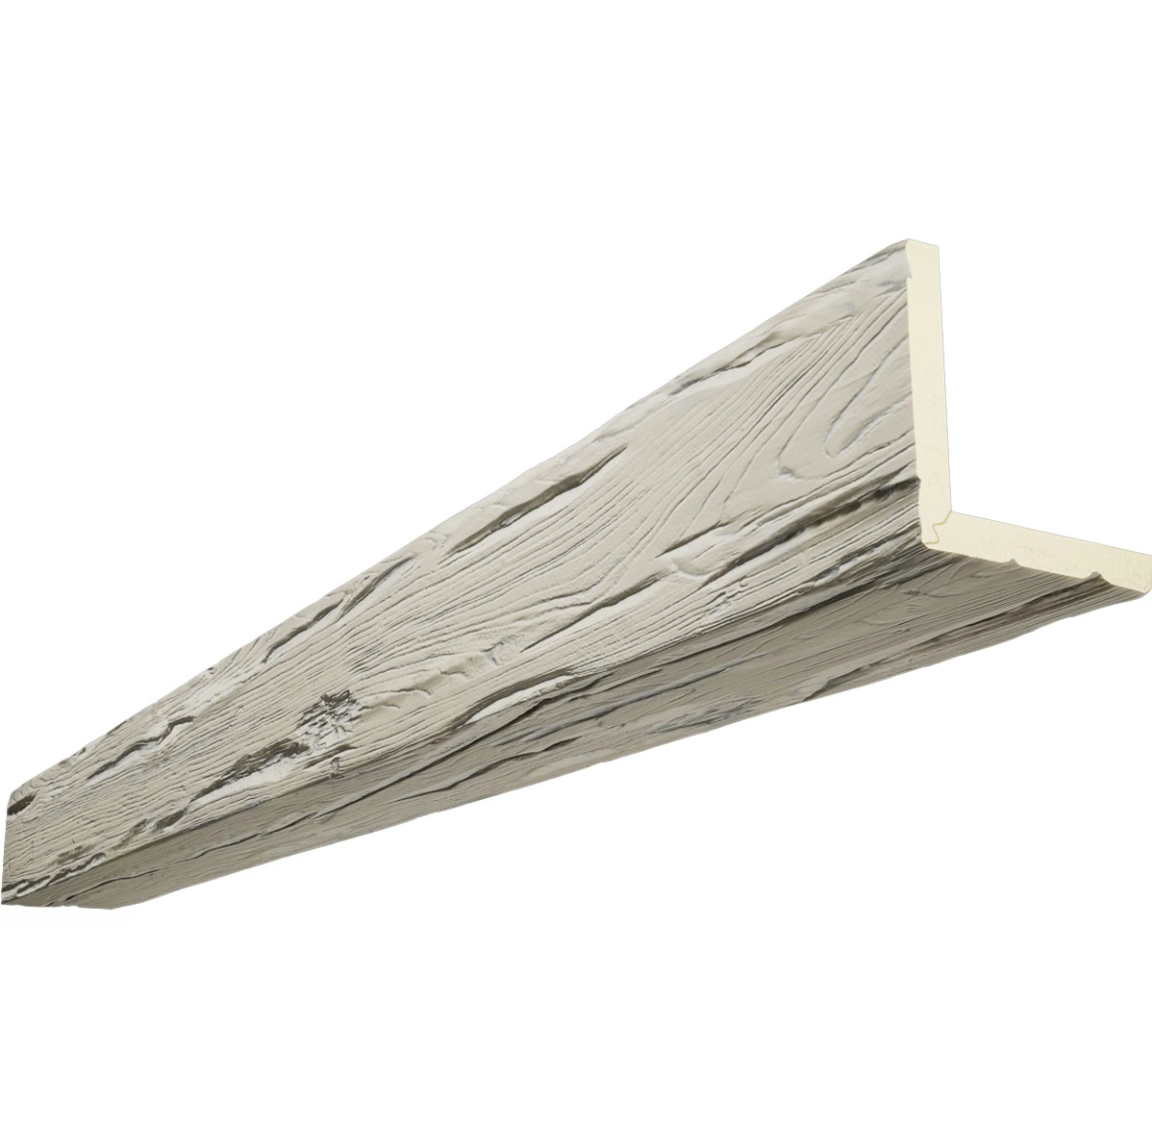
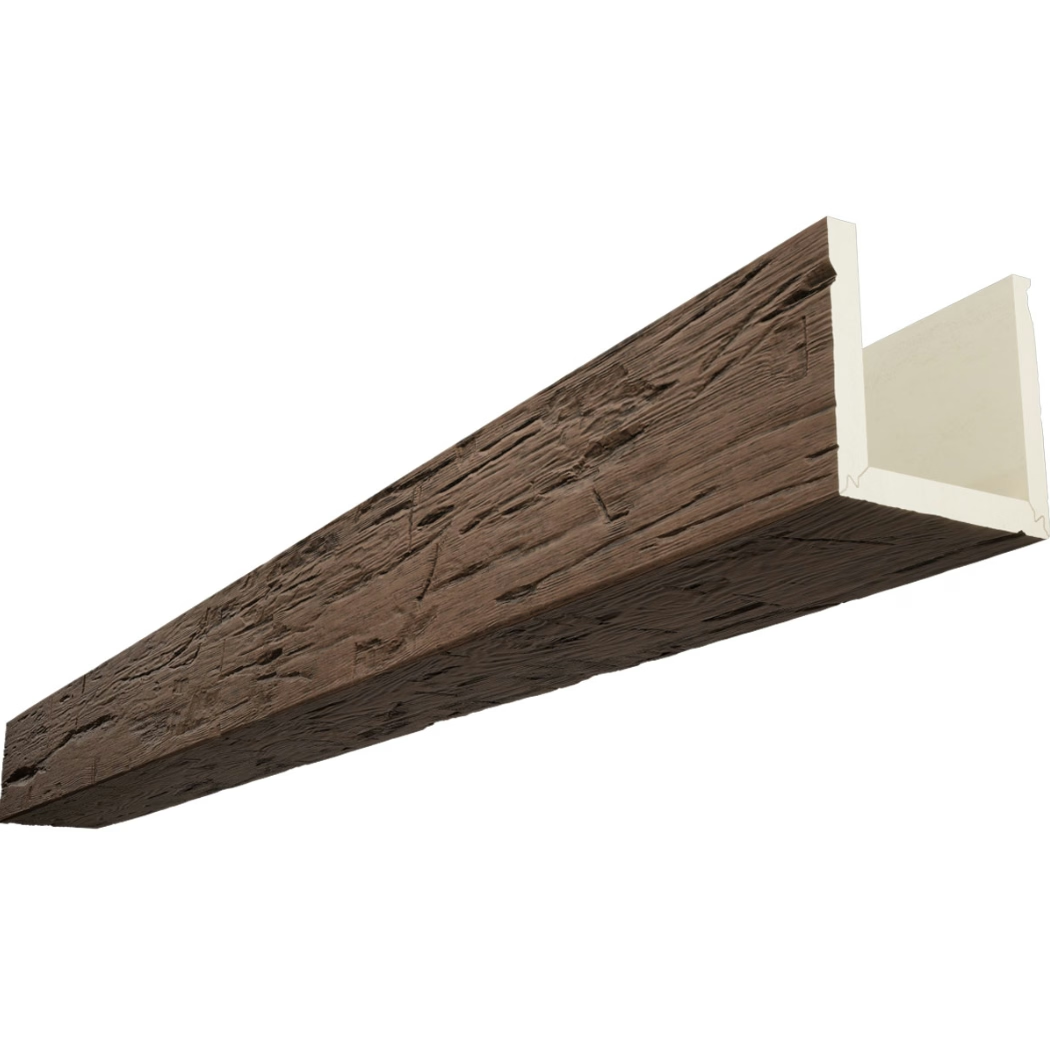
For rooms with clear span trusses or exposed rafters, 3-sided hollow beams that wrap around the existing structural members provide the cleanest solution. The beam's outer three faces present the finished wood appearance while the open back fits over the structural member. This approach works particularly well in converted loft spaces, barn-style homes, and commercial buildings where exposed structure is part of the design vocabulary.
In flat ceiling installations, long-span beams can be installed as parallel runs with consistent spacing to create a coffered ceiling effect, or as intersecting perpendicular runs that divide the ceiling into a grid of rectangles or squares. The grid pattern works especially well in formal spaces like dining rooms, ballrooms, and conference halls where a structured, symmetrical ceiling treatment reinforces the room's intended character.

Mounting Systems for Extended Spans
Long-span beams in polyurethane require appropriately designed mounting hardware even though the structural demands are minimal compared to solid timber. The primary considerations are lateral stability — preventing the beam from twisting or shifting under its own weight — and maintaining a straight, level alignment across the full run.
The most common approach uses a continuous mounting cleat or ledger board attached along the full length of the span. This cleat is secured to ceiling joists or structural supports at regular intervals, typically every 24 to 36 inches, using fasteners appropriate to the substrate. The beam then slides over the cleat from one end and drops into place, where it can be further secured with screws driven upward through the top of the beam into the cleat.
For spans exceeding 12 feet, some installers add cross-bracing or diagonal stiffeners between adjacent ceiling joists at the midpoint of the span. These hidden structural elements prevent any potential sag over time and provide additional lateral bracing that keeps the beam perfectly aligned. The bracing is installed before the beam goes up and is completely concealed once the beam is seated.
Connection plates at beam ends are another detail worth specifying. These metal plates — either flat mending plates or decorative end caps — cover the joint between the beam end and the wall or support column, creating a finished appearance and preventing any gap that might develop as the building settles or as temperature changes cause minor dimensional shifts in the building envelope.
Finishing Long Spans for Seamless Appearance
One of the subtler challenges of long-span beam installation is making the joints between beam sections disappear when a single piece isn't long enough for the full run. Quality manufacturers produce standard lengths up to 16 or 20 feet, but certain project specifications might require longer continuous runs. In these cases, a factory scarf joint or a field-fabricated splice becomes necessary.
The scarf joint, where each beam end is cut at an angle and the two pieces are joined with adhesive and mechanical fasteners, creates a nearly invisible connection when properly done. The key is ensuring both cut surfaces are clean, square, and free of debris before applying adhesive. Clamping the joint while the adhesive sets produces the tightest bond. Once the joint is sanded smooth and touched up with matching finish, it should be undetectable from normal viewing distances.
For projects where multiple beams run parallel across a wide span, maintaining consistent spacing is essential for visual coherence. Installation teams typically mark the ceiling with reference lines before placing any beams, then work from the center outward to distribute any accumulated error symmetrically at the edges where it will be least noticeable.
Maintaining Long-Span Installations
One of the practical advantages of polyurethane over natural timber is its resistance to the gradual changes that affect real wood over years of service. Natural timber beams in interior applications can develop hairline cracks, check splits, and surface checking as they acclimate to the building's humidity conditions. Polyurethane doesn't absorb moisture, so it doesn't expand and contract with seasonal humidity swings. It won't rot, warp, or invite insect activity, and it maintains its surface finish without periodic refinishing.
Cleaning long-span polyurethane beams requires nothing more than periodic dusting or wiping with a damp cloth. The protective topcoat applied during manufacturing resists staining from common household substances and can be refreshed with standard polyurethane refresher products if the surface begins to show wear after many years of service.
Technical References
ASTM standards cited in every specification
Test Data
Lab results from internal testing program
Updated 2026
Reviewed against current product specs


