
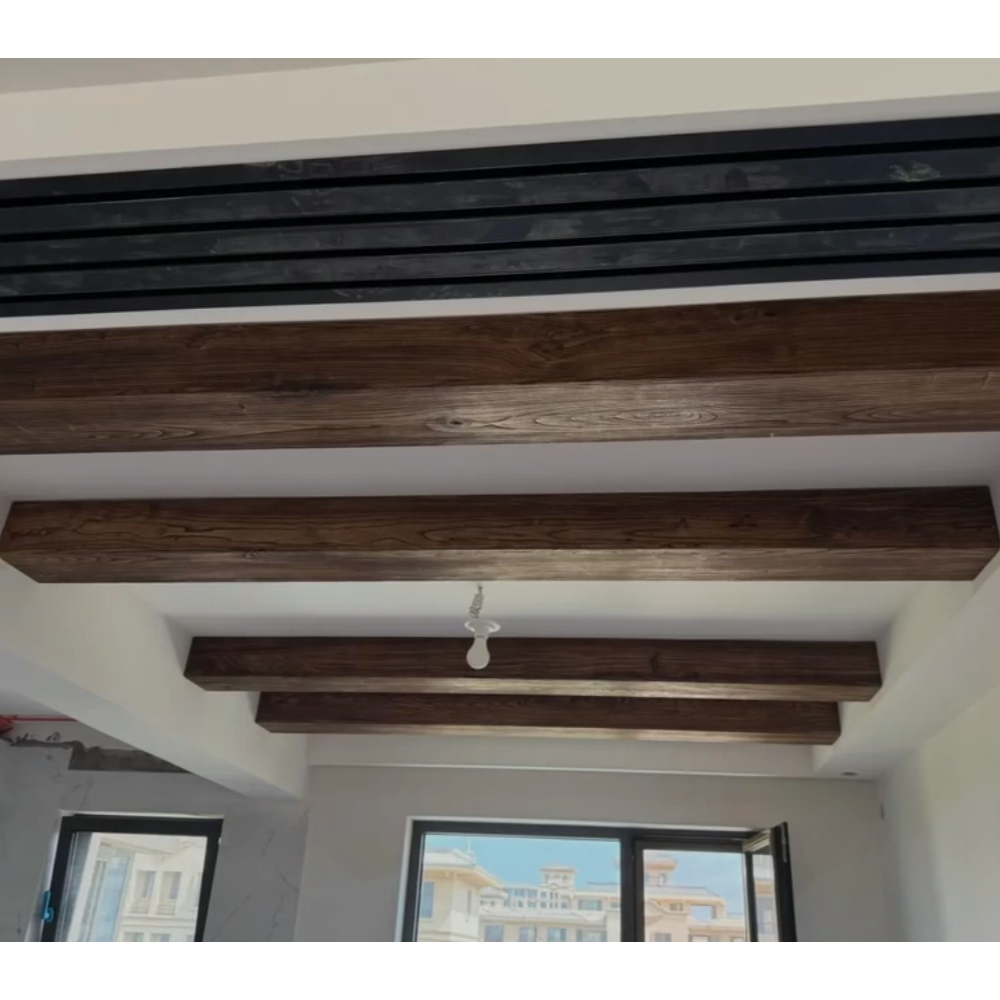
There is a particular satisfaction in completing a home improvement project entirely on your own terms. The decision to add ceiling beams to a living room or kitchen usually comes after months of admiring the look in design magazines and wondering whether it was achievable without hiring a contractor and renting a forklift. The answer, increasingly, is yes — and the reason lies in the remarkable physical properties of polyurethane foam-core faux wood beams compared to their natural timber counterparts. The same 12-foot ceiling beam that would require two strong people and careful choreography with real wood can be lifted, positioned, and secured by a single homeowner in under an hour.
The Physics of Lightweight That Enables Solo Installation
Understanding why polyurethane beams are so dramatically lighter than natural timber helps explain why they have transformed what was once a professional's job into something achievable by any capable homeowner. Polyurethane foam with a density of 6 to 10 pounds per cubic foot is roughly 85 to 90 percent lighter than the solid wood species most commonly used for decorative beams. A solid pine beam at 30 pounds per cubic foot becomes a hollow foam beam at 3 to 5 pounds per cubic foot for equivalent external dimensions.
That reduction in weight has a cascading effect on installation practicality. With real timber, the primary installation challenges are physical: safely maneuvering heavy pieces, positioning them precisely while fighting gravity, and securing them with hardware adequate to their mass. Polyurethane eliminates those challenges at the source. A 12-foot beam that weighs 15 pounds instead of 150 pounds can be held in one hand while the other hand drives screws, then repositioned if alignment isn't perfect on the first attempt.
The hollow profile used in most ceiling beam applications takes the weight reduction even further. By eliminating the fourth face that would be hidden against the ceiling structure, hollow beams shed an additional 25 to 30 percent of material weight while maintaining identical visual impact from the three visible sides. The result is a product that hangs almost as easily as a heavy picture frame.
Pre-Installation Preparation That Sets the Stage
Every fast, clean installation begins with thorough preparation. The ceiling surface needs to be assessed for the location of structural members — ceiling joists or roof trusses — since all primary mounting points must anchor to these structural elements rather than to the drywall alone. A good quality stud finder with a deep-scan mode helps locate joist edges, and marking each joist location with painter's tape rather than pencil keeps lines visible without creating marks that need later removal.
Measuring and recording the ceiling dimensions precisely prevents mid-installation surprises. For parallel beam installations, the total run length, beam spacing, and distance from each wall to the nearest beam centerline should all be documented in writing before any cutting or drilling begins. These measurements become the reference points for all subsequent work.
The beams themselves should be unpacked and allowed to acclimate at room temperature for at least a few hours before installation, particularly if they have been stored in a cold warehouse or shipped during cooler seasons. While polyurethane does not expand and contract with temperature changes the way wood does, allowing the material to reach room temperature makes handling more comfortable and prevents any condensation from forming on surfaces during the mounting process.

The Hang-and-Secure Installation Method
The actual installation of a lightweight polyurethane ceiling beam follows a straightforward sequence that rewards careful preparation with a smooth, quick execution. The mounting cleat — typically a wooden ledger or metal angle bracket secured to each ceiling joist along the planned beam run — goes up first. This cleat must be perfectly level because any error in its alignment will be visible in the finished beam.
With the cleat installed, the beam is lifted from one end and slid over the cleat, working from that end toward the other. The beam should glide relatively easily — if significant force is required, check for interference with the cleat geometry or any debris on the mounting surfaces. Once the beam is seated on the cleat, a quick check with a torpedo level confirms alignment along both the length and the cross-section of the beam.
Securing the beam to the cleat involves drilling pilot holes through the top of the beam at each cleat location and driving screws long enough to penetrate the full thickness of the cleat. Construction adhesive applied to the inner surfaces of the beam before seating adds significant bond strength and eliminates any tendency toward movement or creaking as the building temperature fluctuates.
For beams longer than 10 feet, an additional support bracket at the midpoint provides insurance against any possibility of lateral movement or rotation over time. These mid-span brackets are hidden from view once the beam is in place but add meaningful structural reassurance, particularly in regions with significant seismic activity or high-wind exposure.
Speeding Up Multiple Beam Installations
When a project calls for multiple parallel beams, the first beam inevitably takes the longest because the installer is still learning the specific characteristics of the product and the mounting hardware. Subsequent beams go faster because the process is now familiar and the critical reference lines are already established.
One technique that experienced installers use to accelerate multi-beam projects is to pre-assemble the mounting cleats for all beams before bringing any beams to the ceiling. Working from a pre-marked layout, the installer secures all cleats in sequence, checks their alignment as a group, and then proceeds to the beam installation phase. This parallel work approach can reduce total project time by 30 to 40 percent compared to installing each beam individually from cleat through final positioning.
Another time-saving approach involves using a beam lift or temporary support system for spans exceeding comfortable reach. For vaulted ceilings or high flat ceilings, a simple adjustable pole jack or a lightweight beam support hook that hangs from the ceiling temporarily holds the beam in position while the installer secures the permanent fasteners. This eliminates the awkward reaching and balancing that slows work when a beam must be held and fastened simultaneously.

Finishing Touches and Quality Checks
After all beams are installed, a thorough quality check examines alignment, spacing, and the security of every fastening point. Any visible gaps between beam ends and walls or between adjacent beams at joints should be filled with paintable caulk or the touch-up compound provided by the beam supplier. Screw holes receive the same treatment, with care taken to match the fill compound color to the beam finish.
A final wipe-down with a clean, slightly damp cloth removes dust from the drilling and cutting process and leaves the beams looking fresh and clean. The ceiling is now transformed, and the room feels noticeably more architectural and intentional — a result that was achievable in a single weekend without professional help.
The maintenance burden for polyurethane ceiling beams after installation is essentially zero. Unlike natural wood, they do not require periodic re-staining or sealing, and they will not develop cracks or checks as the building's humidity fluctuates through the seasons. Occasional dusting or light cleaning is all that is needed to keep them looking their best for years to come.
Technical References
ASTM standards cited in every specification
Test Data
Lab results from internal testing program
Updated 2026
Reviewed against current product specs


