There is a particular satisfaction that comes from a construction process that unfolds precisely as planned — where the materials arrive as specified, the techniques work as expected, and the finished result matches the intended design. This experience is unfortunately rarer than it should be, in part because many construction materials carry inherent unpredictability that no amount of planning can entirely eliminate. Natural timber, for instance, may arrive with moisture content different from expectations, or with dimensional variations that require on-site adaptation. Natural stone may present color or pattern variations that shift the visual balance of the installation. These material variables are facts of life in construction, but they need not be defining features of every project.
Hollow polyurethane faux wood beams represent a category of material where the gap between planned and actual performance is remarkably narrow. Because these beams are manufactured to controlled specifications under factory conditions, the variability that characterizes natural and semi-natural materials is substantially reduced. The beam that arrives on site is the beam that was designed: same profile, same finish, same dimensions as the sample that informed the specification. This predictability changes the character of the installation experience, shifting it from a process of problem-solving and adaptation to a process of execution — translating a completed design into a physical reality with the confidence that comes from working with materials that perform as expected.


The Physics of Lightweight Beam Installation
The fundamental physical advantage of hollow polyurethane beams over solid timber alternatives is weight, and this advantage manifests most directly in the installation process. A hollow PU beam of typical residential dimensions — say, 150 millimeters wide by 200 millimeters deep by 3 meters long — weighs approximately eight to twelve kilograms. The equivalent beam in solid timber would weigh between forty and sixty kilograms, depending on the species. This four-to-one weight reduction transforms the installation from a two-person operation requiring lifting equipment into a single-person task achievable with basic hand tools.
The practical implications of this weight difference extend beyond simple handling. At lower weights, the forces imposed on fixing points are correspondingly reduced, which means that the engineering requirements for the supporting structure are less demanding. A single screw fixing into a properly anchored batten can support the static load of a hollow PU beam without concern for the pull-out forces that would require specialized hardware with a solid timber beam. The reduced dynamic forces during positioning — the momentum and vibration associated with maneuvering a heavy timber beam into place — also minimize the risk of damage to the beam, the ceiling, or the installer.
For ceiling installations in particular, the reduced weight simplifies access and positioning in ways that matter enormously when work must be conducted overhead. A twelve-kilogram beam can be held in position with one hand while the other hand drives fixing screws, allowing the installer to maintain precise alignment throughout the fastening process. A fifty-kilogram timber beam requires two people operating in coordination, and the communication overhead and physical effort of this coordination adds time and complexity to every step of the installation. The single-operator capability of hollow PU beams is not merely convenient; it fundamentally changes what is achievable in terms of installation speed and precision.
Step-by-Step Installation Process
The installation of hollow PU faux wood beams follows a logical sequence that benefits from careful preparation and methodical execution. Understanding this process before beginning the installation allows for accurate time estimation, proper tool and material staging, and the identification of potential issues before they manifest as problems on the ceiling.
The first phase of installation involves preparation of the ceiling substrate and the marking of beam positions. This phase is critically important because errors in positioning cannot be corrected once beams are installed. Using a measuring tape, spirit level, and pencil, the installer marks the center lines of all beam positions on the ceiling, accounting for the beam width and any spacing requirements. At this stage, any services running through the ceiling void — electrical cables, water pipes, ventilation ducts — should be identified and marked to avoid damage during subsequent fixing operations.
The second phase involves the installation of the support framework or mounting battens that will carry the beams. In most installations, treated timber battens or light steel sections are fixed to the structural ceiling at the marked beam positions, providing a continuous bearing surface for the hollow beam. Battens are fixed using appropriate fasteners for the substrate type — coach screws for timber joists, masonry anchors for concrete ceilings, or toggle bolts for plasterboard — with spacing determined by the beam span and the anticipated load on each fixing point.
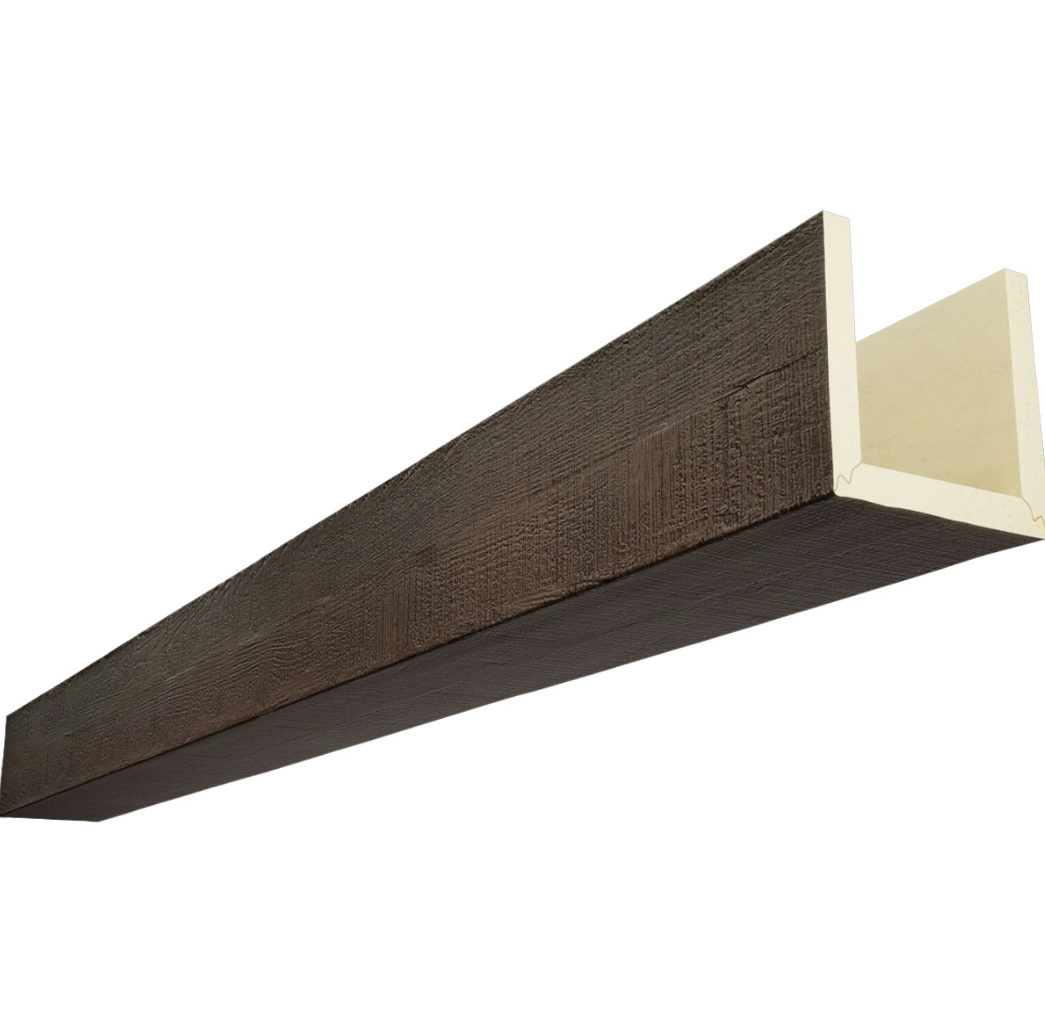
The third phase is the beam installation itself, beginning with dry-fitting to verify alignment and fit before applying adhesive. Each beam is positioned on its mounting batten, adjusted to the correct position, and temporarily held while alignment is checked against adjacent beams and reference lines. Once alignment is confirmed, the beam is set aside, adhesive is applied to the batten surface, and the beam is repositioned and fixed permanently using mechanical fasteners driven through the beam's inner wall into the batten. This combination of adhesive and mechanical fixing provides both the load-bearing capacity and the acoustic isolation that characterize a professional-quality installation.
Tools and Equipment Requirements
One of the most appealing aspects of hollow PU beam installation is the modest tool requirement, which contrasts sharply with the equipment-intensive installation processes needed for solid timber or masonry beam alternatives. For a typical residential installation, the tool kit comprises a measuring tape, spirit level, pencil, drill with appropriate bits, screwdriver or impact driver, saw (for cutting beams to length or creating custom joints), construction adhesive, and a caulking gun for adhesive application. No specialist equipment, heavy lifting gear, or workshop facilities are required.
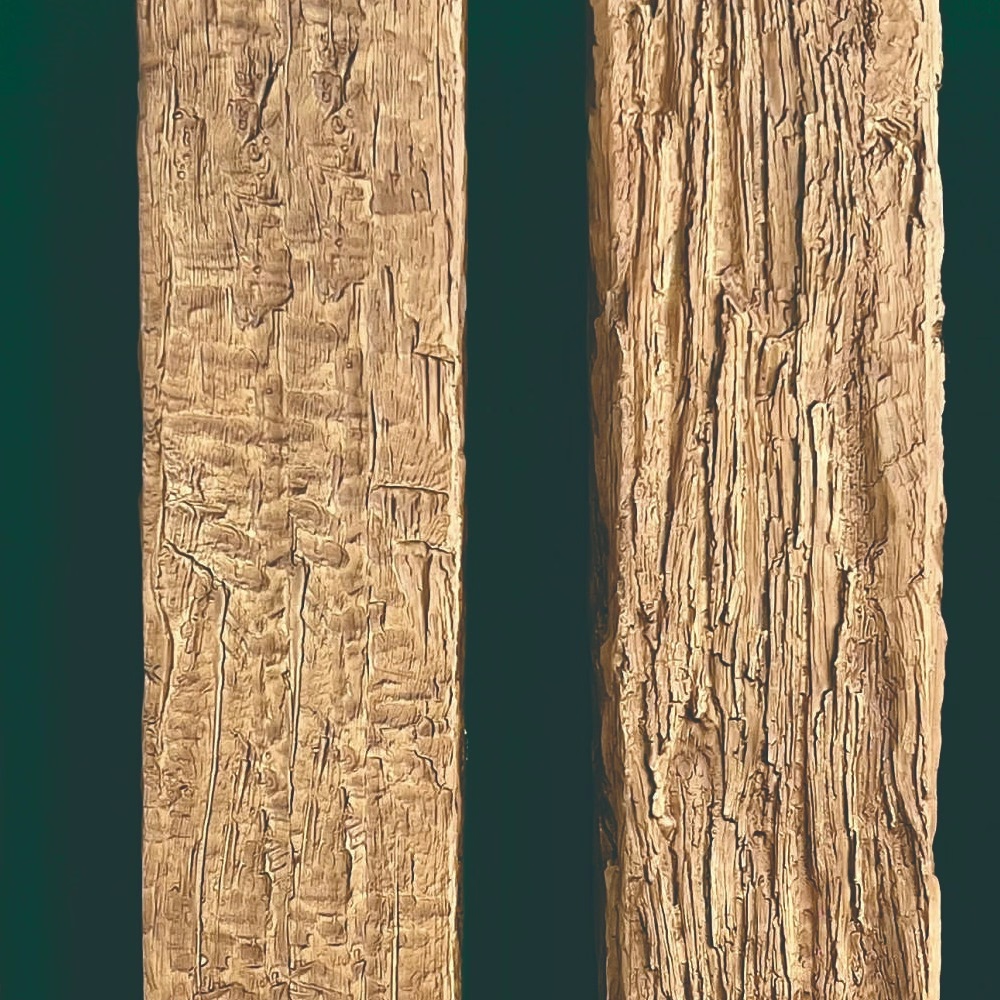
The saw used for cutting hollow PU beams is typically a standard wood-cutting blade in a circular saw or table saw, though a fine-toothed hand saw can also be used for smaller cuts or situations where power tool access is limited. The key consideration is blade selection: a fine-toothed blade designed for man-made materials will produce cleaner cuts in polyurethane than a coarse blade designed for natural timber. Carbide-tipped blades maintain their sharpness through extended use and are recommended for projects involving significant cutting. Cut edges, if visible in the installed condition, can be touched up with matching finish to restore the appearance of the factory-applied surface.
For projects involving curved beams or non-standard profiles, manufacturers can often supply custom-fabricated components that reduce the need for on-site modification. However, the ability to cut and shape polyurethane with standard woodworking tools means that field adjustments are entirely feasible when required, giving installers the flexibility to accommodate site conditions that differ from the design assumptions. This adaptability is a meaningful practical advantage that simplifies the installation process in complex or unconventional spaces.
Common Installation Scenarios and Solutions
While the basic installation process for hollow PU beams is straightforward, certain common scenarios require specific techniques or adaptations that experienced installers have developed through practical experience. Understanding these scenarios in advance allows for smoother execution and better outcomes.
Installing beams around existing ceiling fixtures such as chandeliers, ceiling fans, or recessed lighting requires careful measurement and potentially custom cutting of the beam to accommodate the fixture. The hollow interior of the beam can actually simplify this process: a section of the beam's lower face can be removed to create clearance for a fixture mounting bracket or junction box, with the removed section used as a template for a matching patch piece that restores the beam's appearance after the fixture is installed. This technique requires careful attention to joint quality but produces results that are visually seamless.
Beam termination at walls or other vertical surfaces requires consideration of how the beam end will be finished. Several approaches are common: the beam may terminate with a factory-applied end cap, it may be cut at an angle to create a decorative finished end, or it may extend into the wall cavity or behind wall finish. Each approach requires different preparation of the termination point. Factory end caps provide the cleanest finish and require no site work, while cut terminations benefit from the application of a matching finish to the exposed cross-section.
Multi-beam configurations with intersecting runs, cross-joints, or complex three-dimensional geometries require advance planning of the joint sequence. Typically, the installation proceeds from the reference beam outward, with each subsequent beam positioned and fixed relative to the previously installed beams rather than to theoretical layout lines. This approach accumulates any minor errors gradually but in a way that maintains visual alignment, as each beam's error is absorbed within the joint with the previous beam rather than propagating as a visible misalignment across the full ceiling.
Post-Installation Quality and Adjustment
The quality of a hollow PU beam installation can be assessed immediately after completion, with no waiting period for adhesives to cure or finishes to develop. Joints should be tight and consistent, beam surfaces should be clean and undamaged, and the overall alignment of the beam network should match the design intent. Minor adjustments, if required, can typically be made within the adhesive's open time, after which the installation is effectively permanent.
Surface cleaning after installation is straightforward: dust from cutting operations can be wiped away with a damp cloth, and any adhesive squeeze-out at joints can be removed before it cures. Unlike natural timber, polyurethane does not absorb adhesive or finish materials, so surface cleaning is unlikely to affect the beam's appearance if performed promptly. For beams with complex surface textures, a soft brush attachment on a vacuum cleaner can remove dust from recesses and grain patterns without the risk of scratching the surface finish.
Technical References
ASTM standards cited in every specification
Test Data
Lab results from internal testing program
Updated 2026
Reviewed against current product specs


