
The transformation of a plain ceiling into an architectural showcase doesn't have to involve scaffolding, specialized contractors, or structural engineering assessments. Hollow shell faux wood ceiling beams have revolutionized how designers and homeowners approach ceiling decoration, making professional-quality results achievable without professional-level complexity. These shell-construction products arrive at your project ready to install with basic tools and common building materials.
Shell construction fundamentally changes the installation equation. Rather than requiring structural support systems designed for heavy timber loads, hollow shell beams attach to existing ceiling surfaces using methods scaled to their minimal weight. A twelve-foot hollow shell beam might weigh 25 to 35 pounds total—distributed across its length, this translates to roughly 2-3 pounds per foot, a load that most ceiling systems accommodate without reinforcement.
Understanding Shell Construction Technology
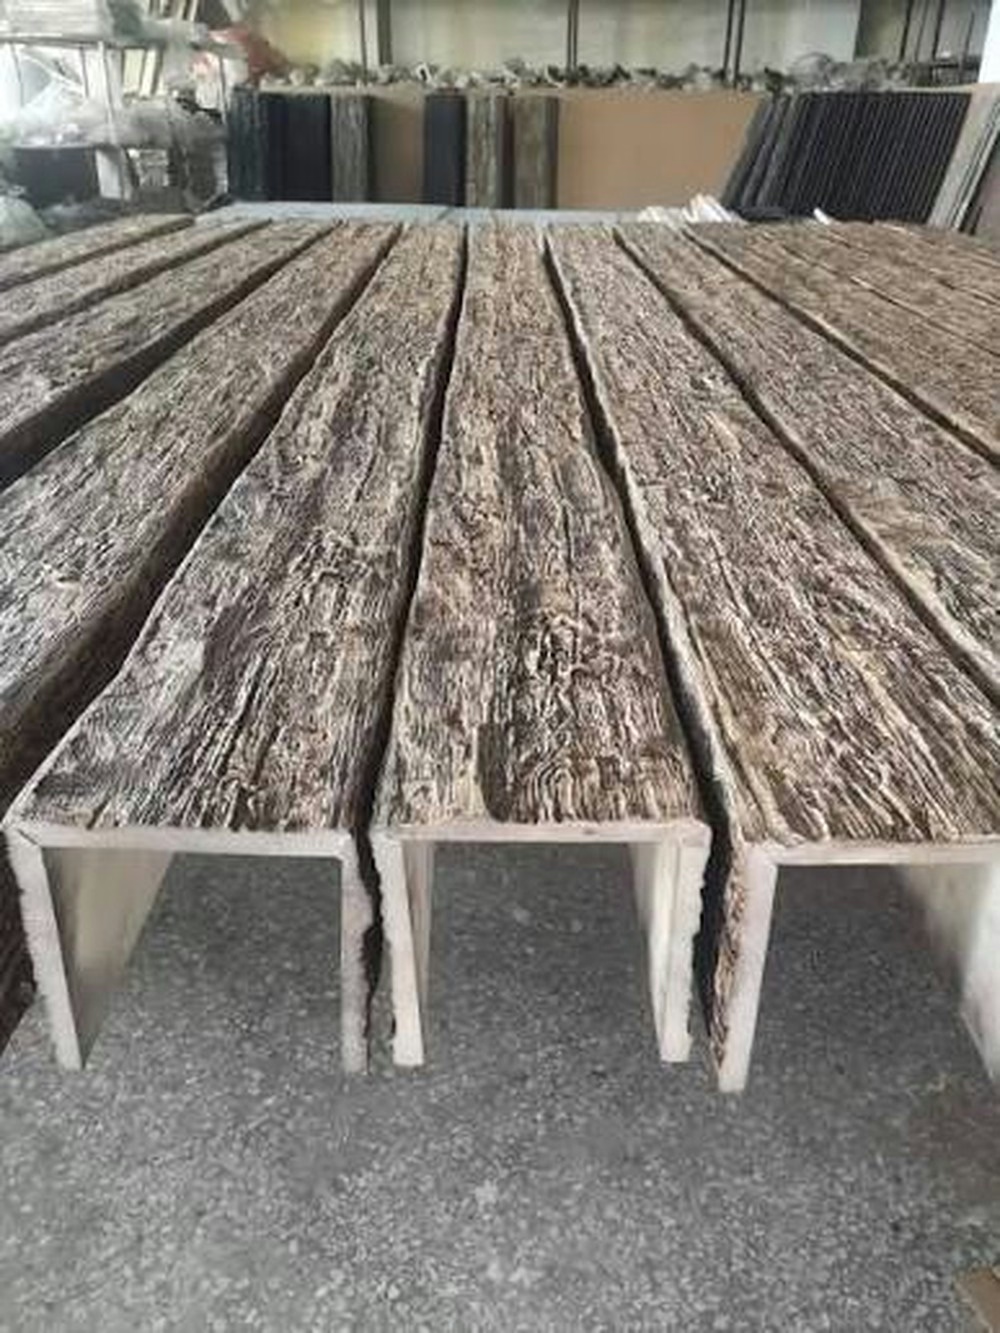
The manufacturing process behind hollow shell faux wood beams produces walls typically 3/8 to 1/2 inch thick—thick enough to capture fine wood grain detail while leaving the interior empty. High-density polyurethane forms around precision-machined molds that reproduce authentic timber characteristics including knot patterns, grain lines, and surface textures. The resulting shell maintains consistent wall thickness throughout its profile, ensuring uniform appearance while minimizing material usage.
Density variations within the shell walls provide another performance advantage. Outer surfaces receive higher-density formulations that accept stains, paints, and sealants effectively while resisting surface damage. Inner surfaces utilize lighter formulations that reduce overall weight without compromising structural integrity in this non-load-bearing application.
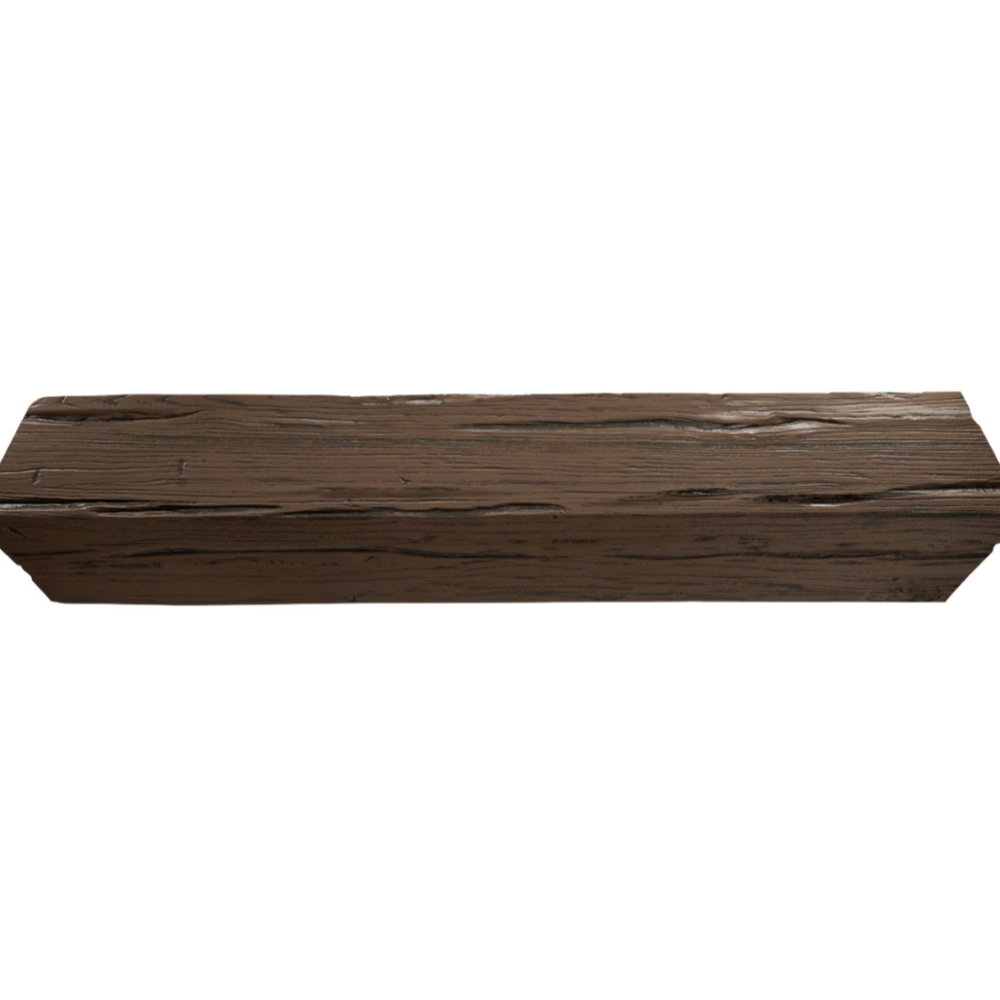
Surface finishing techniques have advanced considerably in recent years. Contemporary hollow shell beams feature convincing weathered textures, hand-planed marks, and authentic color variations that rival natural wood. Premium products may incorporate multiple finish layers—base coats, grain enhancement, and protective topcoats—applied during manufacturing for consistent, long-lasting appearance.
Mounting Hardware and Methods
Successful hollow shell beam installation relies on appropriate mounting hardware matched to ceiling construction and beam dimensions. Wooden joist ceilings present the most straightforward scenario—construction adhesive applied to the beam's upper surface creates a continuous bond with the joist, while mechanical fasteners driven through the shell wall into the joist provide immediate holding power. The combination of adhesive and fasteners delivers more holding capacity than either method alone while accommodating natural joist movement over time.
Concrete and masonry ceilings require different approaches. Hammer-set anchors, expansion bolts, or epoxy-set threaded inserts provide attachment points for mounting boards or directly to the beam itself. The key consideration is ensuring that fasteners penetrate sufficiently into the substrate to resist pullout forces while maintaining clean appearance where hardware interfaces with the beam.
Suspended ceiling installations offer another mounting option. Aircraft cables or threaded rods connect to structural overhead elements, supporting the beam from above while remaining hidden within the hollow cavity. This method works well in commercial spaces with suspended ceiling systems already in place or where direct ceiling attachment isn't practical.
Metal joist construction requires consideration of thermal bridging concerns. Metal conducts temperature readily, potentially creating condensation issues where warm interior air contacts cold joist surfaces. Isolating the beam from direct metal contact using adhesive or non-conductive spacers helps prevent these issues while maintaining secure mounting.
Planning Your Installation
Before beginning installation, accurate measurements prevent costly mistakes and ensure adequate material quantities. Measure ceiling spans precisely, accounting for any variations in room dimensions. Note the location of joists or structural elements that will receive mounting hardware. Calculate beam quantities based on desired spacing—traditional beam ceilings might space members 4 to 6 feet apart, while accent beams might appear singly or in parallel pairs.
Sample layout planning helps visualize the finished result. Hold boards against the ceiling temporarily or use painter's tape to outline proposed beam positions. This exercise often reveals spacing issues or reveal aesthetic problems before commitment. Some designers deliberately offset beams from structural joists, using blocking or floating mounting systems to achieve visual goals independent of structural constraints.
Acclimation of hollow shell beams to installation environment isn't strictly necessary as it would be for natural wood, but a brief period in the conditioned space helps ensure any residual manufacturing moisture dissipates and temperatures equalize. This precaution becomes more important in extreme environments—very cold or very hot conditions—where material properties might differ momentarily from normal conditions.
Step-by-Step Installation Process
Begin by preparing the ceiling surface. Clean mounting locations thoroughly, removing dust, debris, or loose material that might interfere with adhesive bonding. Allow any cleaning solvents to dry completely before proceeding. For particularly smooth surfaces like painted drywall, light sanding creates better adhesive keying—320-grit sandpaper worked over the bonding area provides sufficient texture without creating visible damage.
Install mounting hardware at planned locations. For joist attachment, drive pilot holes through the ceiling surface and into the joist center, then insert appropriate fasteners. Ensure hardware heads sit flush or slightly below the ceiling surface to prevent interference with beam seating. For floating mounting systems, install blocking or mounting boards that span between structural elements at the precise spacing required for your beam layout.
Apply construction adhesive to the upper mounting surface of the beam—typically a continuous bead along each edge where the beam contacts the ceiling. Avoid excessive adhesive that might squeeze out and create messy appearance on visible surfaces. For larger beams, additional adhesive spots or strips in the center provide supplemental bonding.
Position the beam carefully, aligning with your pre-planned layout marks. Press firmly along the entire length to ensure complete adhesive contact. Drive mechanical fasteners through the beam shell at mounting hardware locations—use screws rather than nails for better holding power and easier adjustment if needed. Countersink fastener heads slightly below the surface for clean appearance.
Check alignment as you proceed to each subsequent beam. A long straightedge or laser level helps verify consistent height positioning. Adjust beam position while adhesive remains workable—typically 10 to 15 minutes depending on product and ambient conditions. Small gaps between beams and ceiling can be filled with latex caulk after installation if desired.
Finishing Touches and Detailing
Corner joints require careful attention to achieve convincing appearance. Outside corners typically involve mitered cuts matching the beam profile angle. Inside corners may use cope cuts that follow the profile contour. Premium beam systems often include matching corner blocks or end caps that simplify these connections while providing clean transitions.
End returns—beams that terminate against walls—benefit from proper end finishing. Some installers create returns by cutting the beam end at a 45-degree angle and adding a thin backing piece to create the appearance of continuous beam running into the wall. Others prefer end caps that provide a clean terminus without the complexity of return construction.
Sealant touch-up addresses any gaps, fastener holes, or minor imperfections. Color-matched caulk or wood filler conceals these details effectively. For stained or natural-finish beams, testing filler color on a scrap piece or hidden area confirms acceptable appearance before applying throughout the installation.

Troubleshooting Common Issues
Beam misalignment discovered after adhesive sets presents a challenging correction. Attempting to remove an already-bonded beam risks damage to both the beam and ceiling surface. Prevention through careful measurement and temporary bracing during installation remains the best approach. If correction becomes necessary, carefully cut adhesive bonds with a flexible putty knife inserted between beam and ceiling, then clean surfaces thoroughly before re-adhering.
Visible fastener locations can detract from otherwise clean installation. Countersinking holes and filling with matching material provides the cleanest appearance. For painted beams, spot-prime filled holes before applying finish coats. For stained beams, carefully color-matching filler or wood putty achieves acceptable results, though some installers prefer hardware placements at less visible locations.
Ceiling irregularities create gaps between beams and mounting surfaces. Flexible acrylic latex caulk handles these situations effectively, accepting paint and maintaining adhesion despite slight movement. For larger gaps, backer rod material reduces caulk consumption while providing backing for proper joint filling.
Squeaking or movement after installation usually indicates incomplete adhesive contact or loose mounting hardware. Identifying problem locations by walking along the beam and listening for sounds helps isolate issues. Injecting additional adhesive at loose areas and tightening hardware resolves most movement concerns without requiring full reinstallation.
Maintenance and Long-Term Care
Hollow shell faux wood beams require minimal ongoing maintenance compared to natural wood alternatives. Periodic dusting with soft cloths or gentle vacuuming with brush attachments maintains surface appearance. Avoid abrasive cleaners or aggressive scrubbing that might damage finish surfaces.
Occasional inspection of mounting connections helps identify any developing issues before they become serious. Check for signs of movement, gaps, or fastener loosening, particularly in new construction where building settling might stress mounting systems. Addressing minor problems promptly prevents more significant repairs later.
Finish maintenance depends on exposure and usage patterns. In typical residential applications, factory-applied finishes may last 10 to 15 years before requiring refreshment. Cleaning, light sanding, and new topcoat application typically restore original appearance effectively.
Technical References
ASTM standards cited in every specification
Test Data
Lab results from internal testing program
Updated 2026
Reviewed against current product specs


