
The final moments of any beam installation project arrive when attention turns to those details that either reward close inspection or betray hasty work. End caps occupy this critical position—components that receive direct viewing in many installations while being easy to overlook during planning. Polyurethane end caps offer practical solutions for finishing exposed beam terminations, providing clean surfaces that complete the architectural narrative.
End cap selection connects to broader design intentions for each installation. Modern minimalist spaces demand end caps that disappear into surrounding surfaces. Traditional installations benefit from end treatments that add subtle interest without overwhelming adjacent details. Understanding these relationships guides selection and placement decisions.
End Cap Types and Their Visual Effects
Flush end caps create the illusion of beams continuing behind visible surfaces—walls, partial dividers, or other architectural elements. These caps present flat surfaces matching beam face dimensions, with edges that align precisely with beam edges. Installations where beams extend partially into walls or pass behind fixed elements benefit from flush cap treatment.

Recessed end caps create shadow lines by setting the cap surface back from the beam face. This approach adds dimensional interest while suggesting beam construction depth. Recessed caps work particularly well with multi-layered beam designs where different depths contribute to overall visual complexity.
Extended end caps project beyond beam surfaces, creating visual interest through cantilevered geometry. These caps suggest beam end treatments found in traditional timber construction where exposed ends received decorative treatment. Extended caps work best in spaces where beams command attention and decorative details enhance rather than clutter the overall design.
Material Considerations for End Caps
Polyurethane end caps offer advantages through compatibility with polyurethane beam bodies. Uniform material throughout the system ensures consistent thermal expansion and contraction, uniform paintability, and matched durability characteristics. These practical benefits simplify finishing and long-term maintenance compared to mixed-material approaches.
Density variations between manufacturers affect end cap quality and performance. Higher-density formulations maintain crisp edges and detailed profiles through handling, storage, and installation. Lower-density options may compress slightly during fastening or show minor surface irregularities that complicate finishing. Quality verification through sample examination before purchase identifies density-related issues.
Mold quality determines how faithfully end caps reproduce intended profiles. Quality molds create caps with sharp edges, consistent dimensions, and accurate detail reproduction. Poor molds produce caps with softened details, visible seam lines, or dimensional inconsistencies that become apparent during installation. Requesting samples allows mold quality evaluation before committing to purchases.
Installation Best Practices
Template creation ensures consistent end cap positioning across multiple beams. Cardboard or paper templates marked with fastener locations and alignment references speed installation while ensuring uniform results. Templates prove particularly valuable when installing multiple beams requiring similar end cap treatment.
Dry fitting before adhesive application confirms proper fit and alignment. End caps should seat completely without forcing, gaps, or rocking. Any fitting problems should be identified during dry fitting rather than after adhesive application creates permanent bonds. Minor fitting adjustments through light sanding or trimming often resolve problems revealed during dry fitting.
Fastener scheduling and placement affects both structural integrity and visual appearance. Hidden fasteners maintain clean surfaces but require precise placement to avoid splitting or blow-through. Exposed fasteners can be countersunk and filled, but filling creates potential finish mismatches. Manufacturer guidelines often specify fastener requirements for their products.
Finishing End Caps to Match Beams
Surface preparation of end caps before finishing affects final appearance significantly. Sanding any mold release residue, filling tiny surface imperfections, and ensuring clean, dry surfaces improves paint adhesion and final appearance. Premium products arrive with surfaces ready for finishing, while budget options may require additional preparation.
Color consistency between end caps and beam bodies requires systematic finishing approaches. Starting with primer coverage on all surfaces before assembly ensures uniform base for subsequent color coats. Painting after assembly risks visible color differences between beam bodies and end caps where coverage and absorption vary.
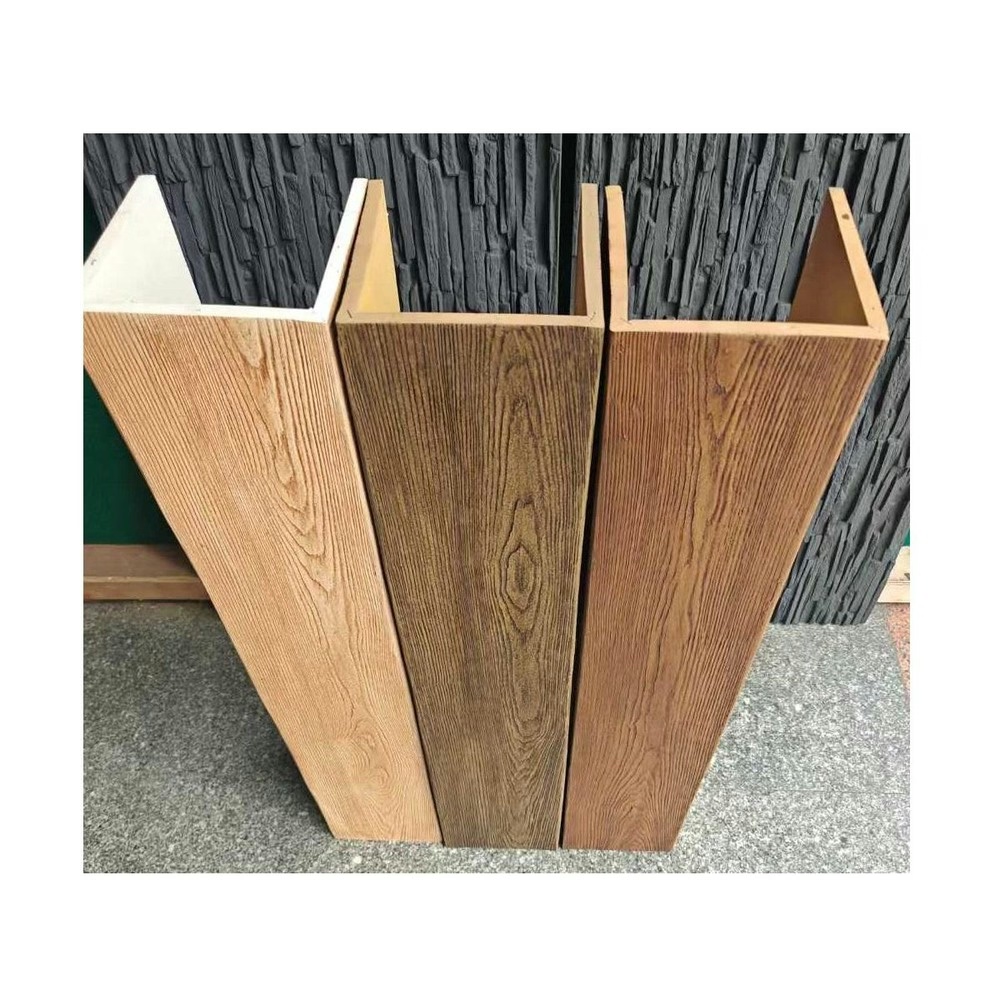
Texture matching completes the visual integration of end caps and beams. When beam bodies feature wood grain textures or surface distressing, end caps should receive matching treatment. This may involve applying texture mediums, using grain teasing techniques, or replicating distressing patterns. Consistent texture across all components creates the impression of monolithic construction.
Addressing Common End Cap Challenges
Mismatched dimensions between end caps and beams create installation problems requiring resolution. When purchased end caps don't fit properly, options include returning and exchanging for correctly sized caps, trimming beams to match cap dimensions, or trimming caps to fit beam dimensions. Each approach involves tradeoffs between labor, aesthetics, and warranty considerations.
Visible seams between end caps and beam bodies challenge installers despite careful work. Seam concealment techniques include color-matched caulking, wood filler application, and careful painting that draws attention away from joints. Complete seam elimination proves impossible with glued joints, but proper technique renders seams nearly invisible from normal viewing distances.
End cap damage during storage or installation necessitates replacement or repair. Maintaining spare end caps from initial purchases provides insurance against damage requiring replacement. Matching replacement caps to installed caps may prove challenging if color variations developed over time or if the original product line became unavailable.
Technical References
ASTM standards cited in every specification
Test Data
Lab results from internal testing program
Updated 2026
Reviewed against current product specs


