
Hollow-core faux beams revolutionized the industry by combining realistic appearance with dramatically reduced weight and more accessible pricing. These beams—manufactured with hollow centers rather than solid polyurethane throughout—require different approaches to end treatment than their solid counterparts. Understanding hollow beam construction and appropriate end cap solutions prevents installation mistakes that could compromise appearance or structural integrity.
The hollow center that makes these beams efficient also creates challenges at terminations. Open cavities at beam ends require concealment that maintains the illusion of solid construction. End caps for hollow beams must address both aesthetic finishing and structural considerations that solid beams don't present.
Hollow Beam Construction Characteristics
Wall thickness in hollow beams varies by manufacturer and product line, typically ranging from half an inch to three-quarters of an inch of solid polyurethane surrounding empty interior cavities. This wall construction provides sufficient structural integrity for typical installation methods while minimizing material costs and weight. Understanding your specific beam's wall thickness guides end cap selection and mounting approaches.

Interior support structures in quality hollow beams include cross-bracing or foam filling that provides dimensional stability and fastener retention. These internal features affect how securely end caps and mounting hardware perform. Beams lacking internal support may compress under fastener pressure or fail to hold screws reliably.
Load capacity differences between hollow and solid beams affect installation method selection. Hollow beams can support their own weight and reasonable decorative loads, but they cannot carry structural loads that solid beams might accommodate. Understanding these limitations prevents overloading that could cause beam failure.
End Cap Solutions for Hollow Beams
Dedicated hollow beam end caps feature interior dimensions matching the beam cavity, allowing insertion into the hollow end rather than mounting against the face. These caps create solid end appearances while maintaining weight advantages. Insertion depth and internal attachment points determine how securely these caps perform.
Face-mount end caps attach to beam faces, concealing the hollow interior behind solid surfaces. This approach works when beam ends terminate against walls or other surfaces where hollow interiors would be concealed anyway. Face mounting provides reliable attachment but requires sufficient wall thickness to accept fasteners securely.
Combination approaches use both insertion and face mounting for installations requiring maximum security or where beam ends remain visible. These hybrid solutions insert caps partially into hollow ends while providing face attachment for additional holding power. The approach suits exposed beam terminations in prominent locations.

Installation Techniques for Hollow Beams
Structural support for end caps in hollow beams requires attention to how caps attach within the beam cavity. Adhesive applied to internal surfaces bonds caps to beam walls, providing strength distributed across contact areas. Adding mechanical fasteners where wall thickness permits increases pull-out resistance.
Blocking installation inside beam ends before cap mounting addresses strength concerns in critical applications. Wood blocks or plywood pieces inserted into hollow cavities provide solid material for fastener engagement and adhesive bonding. This approach adds labor but improves long-term security for demanding installations.
Alignment verification during installation prevents end caps that appear crooked or offset when examined. Checking alignment from multiple viewing angles before adhesive sets ensures correct positioning. Temporary bracing maintains alignment through adhesive cure time, preventing movement that creates gaps or misalignment.
Creating Solid Appearance Illusion
Seam concealment between end caps and beam bodies requires techniques that address the transition between potentially different surface textures. Premium end caps arrive pre-finished to match beam surfaces, while unfinished options require painting that creates consistent appearance across the joint.
Lighting considerations affect how successfully end caps create solid beam illusions. Strong directional lighting reveals surface inconsistencies that diffuse lighting conceals. Examining installations from multiple angles and lighting conditions identifies problems before project completion.
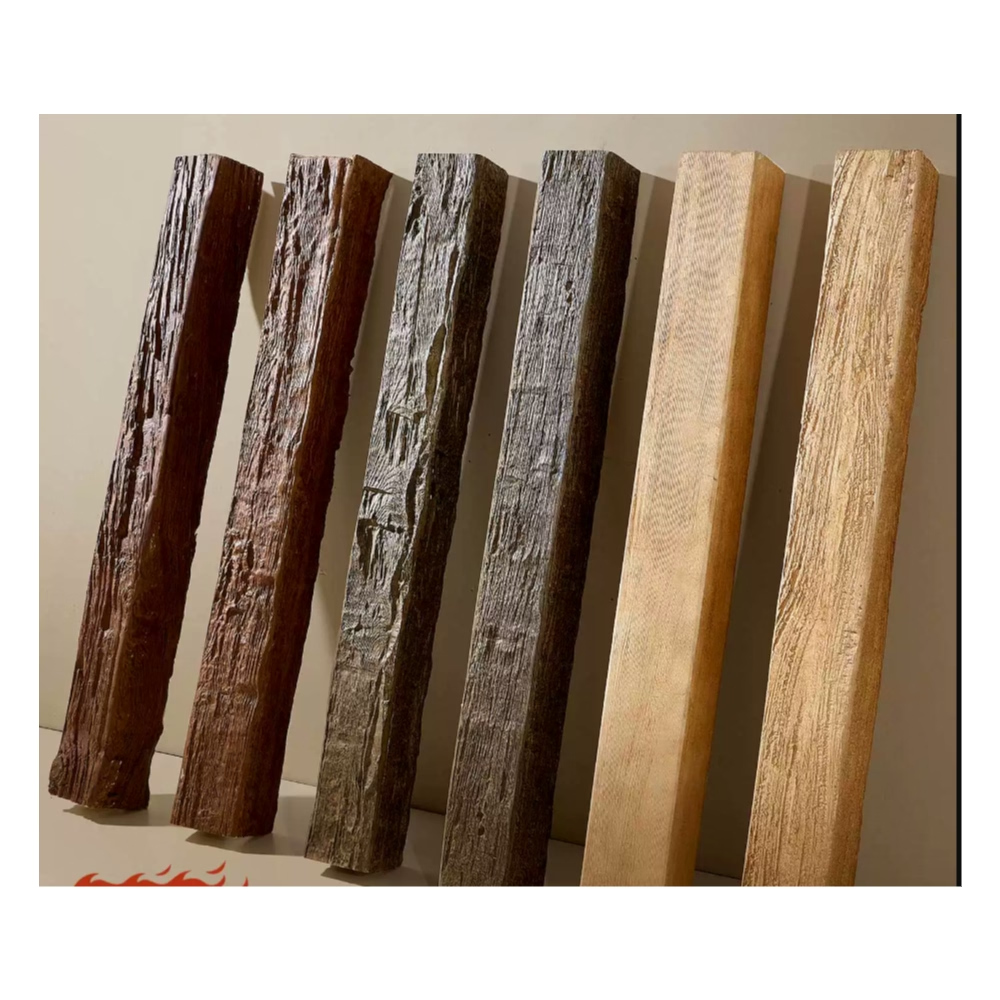
Texture matching proves particularly important for hollow beam installations. The hollow center doesn't require texture matching internally, but surface texture must appear continuous across end cap joints. Grain patterns, wood textures, or distressed surfaces require extension across joints for convincing results.
Common Hollow Beam End Cap Mistakes
Insufficient adhesive quantity creates weak bonds vulnerable to temperature cycling and vibration. Hollow beams expand and contract with temperature changes, and end caps must withstand these forces throughout the installation's lifetime. Adequate adhesive coverage provides flexibility tolerance that prevents joint failure.
Ignoring wall thickness for fastener selection leads to stripped threads or blow-through. Hollow beam walls may not accommodate standard fastener lengths without penetrating completely through the wall. Selecting appropriately sized fasteners or using toggle-style anchors for face mounting prevents these problems.
Rushing the adhesive cure time results in end caps that shift before bonds develop full strength. Following manufacturer cure time recommendations, including temperature-adjusted cure periods for cold conditions, ensures end caps remain properly positioned through the critical early period after installation.
Finishing Techniques for Hollow Beam Ends
Pre-finishing hollow beam ends before installation simplifies finishing and ensures complete coverage. Turning beams on their sides or ends allows access to all surfaces, including interior cavity edges visible through the hollow opening. Thorough pre-finishing prevents visible unfinished surfaces after installation.
Interior cavity finishing requires attention to surfaces visible through beam ends. Even properly mounted end caps may allow slight viewing angles into beam interiors. Applying finish to interior surfaces prevents the unnatural appearance of raw polyurethane visible at beam edges.
Touch-up finishing after installation addresses any minor damage or coverage inconsistencies. Having finishing materials available for final touch-ups ensures complete installations without visible repair work. Matching finishes from batch to batch prevents color variations that betray repair work.
Technical References
ASTM standards cited in every specification
Test Data
Lab results from internal testing program
Updated 2026
Reviewed against current product specs


