
The difference between a good faux wood beam installation and a great one often comes down to the details that receive the least attention during planning. End caps occupy that uncomfortable middle ground—too small to be considered major components, yet significant enough to make or break the finished appearance when visitors' eyes inevitably track along beam edges to their terminations. Understanding how to select, install, and finish these components transforms adequate results into professional-quality work.
Modern polyurethane manufacturing techniques produce end caps with remarkable fidelity to the beam profiles they complete. The material's moldability allows complex shapes that would be prohibitively expensive in carved wood, while consistent production methods ensure that each end cap matches its corresponding beam profile within tight tolerances. This manufacturing precision represents a significant advantage over wood alternatives, which require custom fitting and careful selection to achieve similar consistency.
Why End Caps Deserve Careful Attention
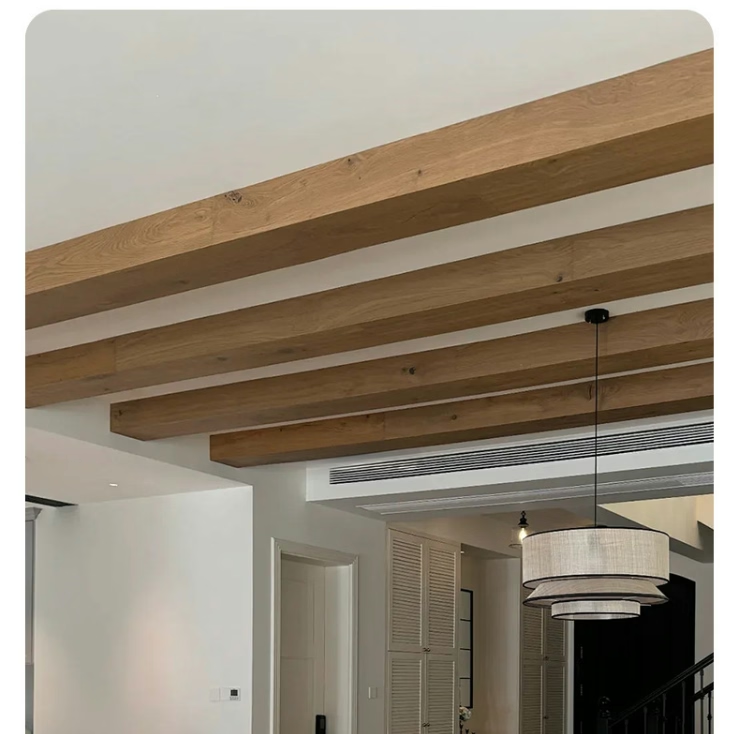
Many installers underestimate the visual importance of beam terminations until they see the alternative. Beams ending abruptly without any terminal detail create an unfinished impression that undermines the entire installation's purpose. The architectural character that faux beams are meant to provide simply cannot materialize when rough-cut ends and visible mounting hardware dominate the termination points.
End caps solve this problem by providing a deliberate, designed terminus that appears intentional rather than improvised. The transition from beam surface to finished edge carries visual meaning—it suggests that the installation was planned holistically, with attention to how each component contributes to the overall effect. Without this coherent termination, even the most perfectly installed beam runs can appear incomplete.
Beyond aesthetics, end caps protect the beam's vulnerable termination from the daily wear that all exposed edges experience. Impacts from cleaning activities, furniture placement, or simple carelessness during room use all target beam edges first. An end cap absorbs this abuse and can be replaced if damaged, whereas a beam with a damaged edge often requires complete removal and replacement of the affected section.
Profile Compatibility and Dimensional Matching
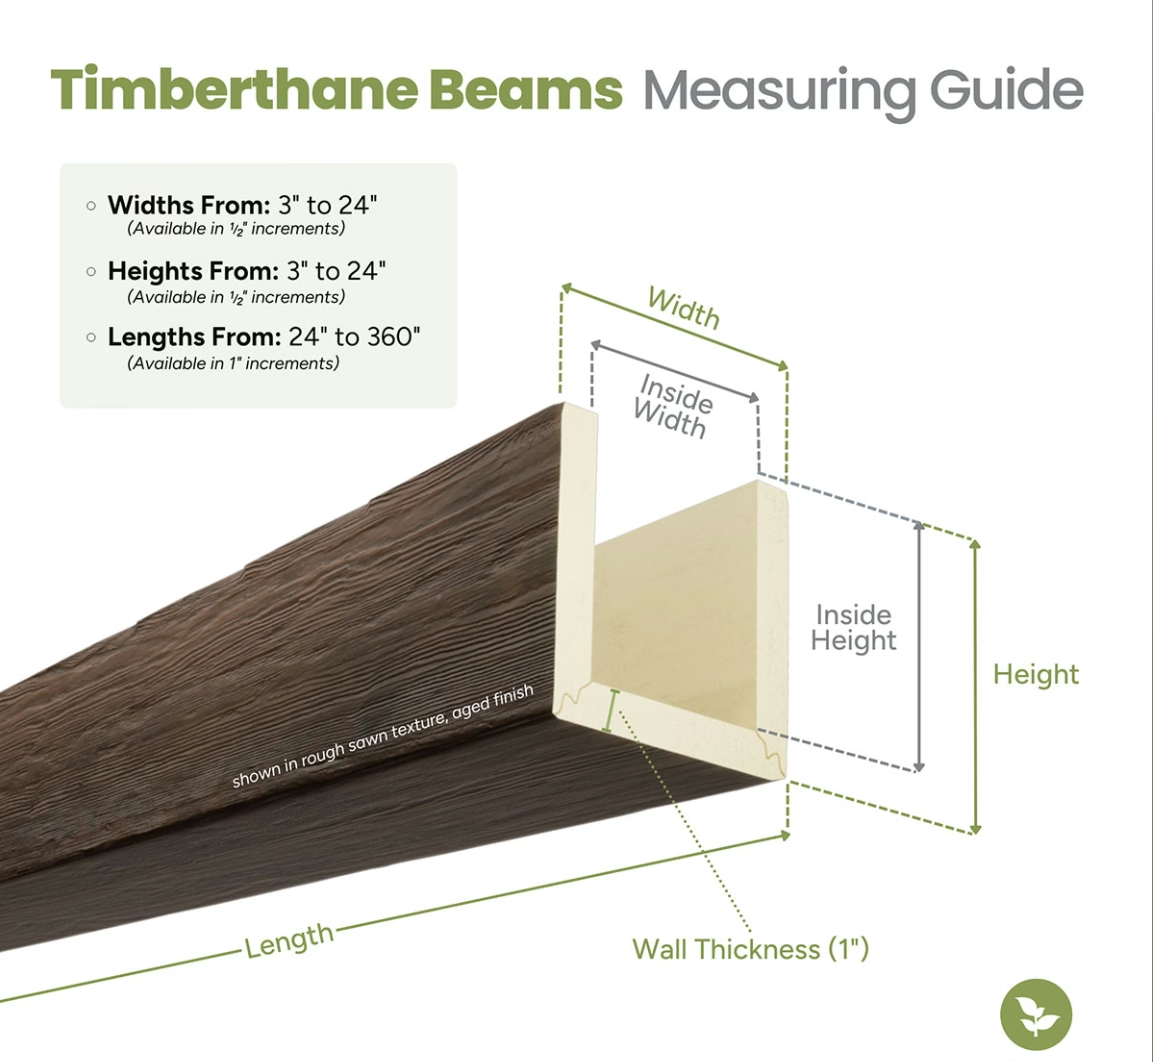
Successful end cap selection begins with accurate beam profile identification. Manufacturers produce beams in varying cross-sectional shapes—rectangular box beams, beams with decorative bottom profiles, beams with complex multi-surface configurations—and each profile requires specifically designed end caps. Cross-referencing the beam manufacturer's specifications with available end cap options ensures compatibility before purchase.
Dimensional tolerances matter for fit but also for visual proportion. An end cap that's technically functional but proportionally wrong creates an awkward appearance that viewers sense even if they cannot articulate the problem. The end cap's depth, width, and edge treatment should relate harmoniously to the beam's overall dimensions, creating a termination that feels natural rather than tacked on.
Some beam lines offer multiple end cap options within the same profile family, allowing for design customization without changing the underlying beam choice. Decorative end caps featuring carved details or special edge treatments expand the design possibilities while maintaining the practical benefits of manufactured components. Exploring these options early in the specification process often reveals opportunities that wouldn't emerge from default selections.

Preparation Steps Before Installation
Proper preparation dramatically affects end cap installation quality. The beam's termination edge requires inspection and, if necessary, preparation before the end cap is fitted. Minor surface irregularities can be addressed with fine sandpaper, while more significant issues might require filling with appropriate gap fillers compatible with polyurethane surfaces.
Clean surfaces ensure adhesive bond strength and prevent contamination that might telegraph through finishes later. Removing dust, debris, and any release agents from manufacturing with appropriate cleaners prepares the surface for whatever bonding method the installation requires. This cleaning step takes only minutes but prevents the bond failures and finish defects that require remediation later.
Test fitting before committing to permanent installation reveals any adjustment needs while correction is still simple. Marking reference points on both the beam and end cap during dry fitting ensures that final positioning matches the intended placement. This practice seems obvious but is frequently skipped in the rush to complete installations, leading to alignment errors that could have been prevented with minimal additional effort.
Adhesive Selection and Application
Construction adhesives designed for polyurethane materials provide the strongest bonds for end cap installations. Not all adhesives are appropriate for this specific application—the material's surface properties and expansion characteristics require formulations that flex slightly without losing bond integrity. Reading manufacturer recommendations and selecting products specifically formulated for polyurethane applications prevents the bond failures that plague improvised adhesive choices.
Application technique affects bond quality as much as adhesive selection. Beads applied in continuous lines along high-stress areas provide maximum surface contact, while avoid filling gaps that should remain as expansion joints. The goal is sufficient bond area to prevent movement while leaving enough flexibility to accommodate the subtle dimensional changes that temperature fluctuations produce.
Clamping during adhesive cure adds security but requires appropriate pressure—enough to ensure contact without distorting the end cap's shape or creating squeeze-out that's difficult to clean. Specialty polyurethane installation tape can substitute for clamps in situations where physical clamping isn't practical, providing consistent pressure during the critical initial cure phase.
Achieving Invisible Seams
The ultimate goal of end cap installation is a seam so well executed that it disappears from casual observation. This invisibility requires attention to both fit and finish. Gaps wider than approximately one-sixteenth inch become difficult to conceal even with careful filling, so fit precision matters. Filler compounds, when necessary, should match the end cap's material as closely as possible to ensure compatible finishing behavior.
Color matching between end cap and beam requires either selecting products from the same manufacturing batch or applying consistent finishes to both elements. Manufacturing color variations between production runs can produce visible differences that undermine the installation's cohesion. Finishing both elements together, even if only touch-up work is needed, produces the most reliable color matching.
Texture continuity completes the invisibility equation. Any difference in surface texture between end cap and beam—glossier areas, different brush stroke patterns, variation in distressing intensity—creates a visible line even when color matches perfectly. Taking the time to evaluate and coordinate texture across all surfaces ensures that the finished installation appears as a unified design rather than an assembly of components.
Long-Term Performance Considerations
End caps installed with proper technique and appropriate materials provide decades of service without maintenance beyond periodic cleaning. The polyurethane material resists the moisture damage, insect attack, and decay that limit wood trim longevity, while modern finishes resist UV degradation and environmental staining. This durability makes properly installed end caps a genuine long-term investment rather than recurring maintenance obligation.
Occasional inspection ensures early detection of any developing issues. Checking for gaps at the seam between end cap and beam, verifying secure attachment, and assessing finish condition all take only moments but provide insurance against unexpected failures. Catching and addressing minor separation before it progresses prevents the more extensive remediation that delayed attention inevitably requires.
Replacement of individual end caps proves relatively straightforward when damage occurs. Unlike painted wood trim where removal risks collateral damage, polyurethane end caps can typically be removed without affecting the surrounding installation. Having appropriate adhesive on hand for this eventuality makes minor repairs quick and simple, maintaining the installation's appearance over time.
Technical References
ASTM standards cited in every specification
Test Data
Lab results from internal testing program
Updated 2026
Reviewed against current product specs


