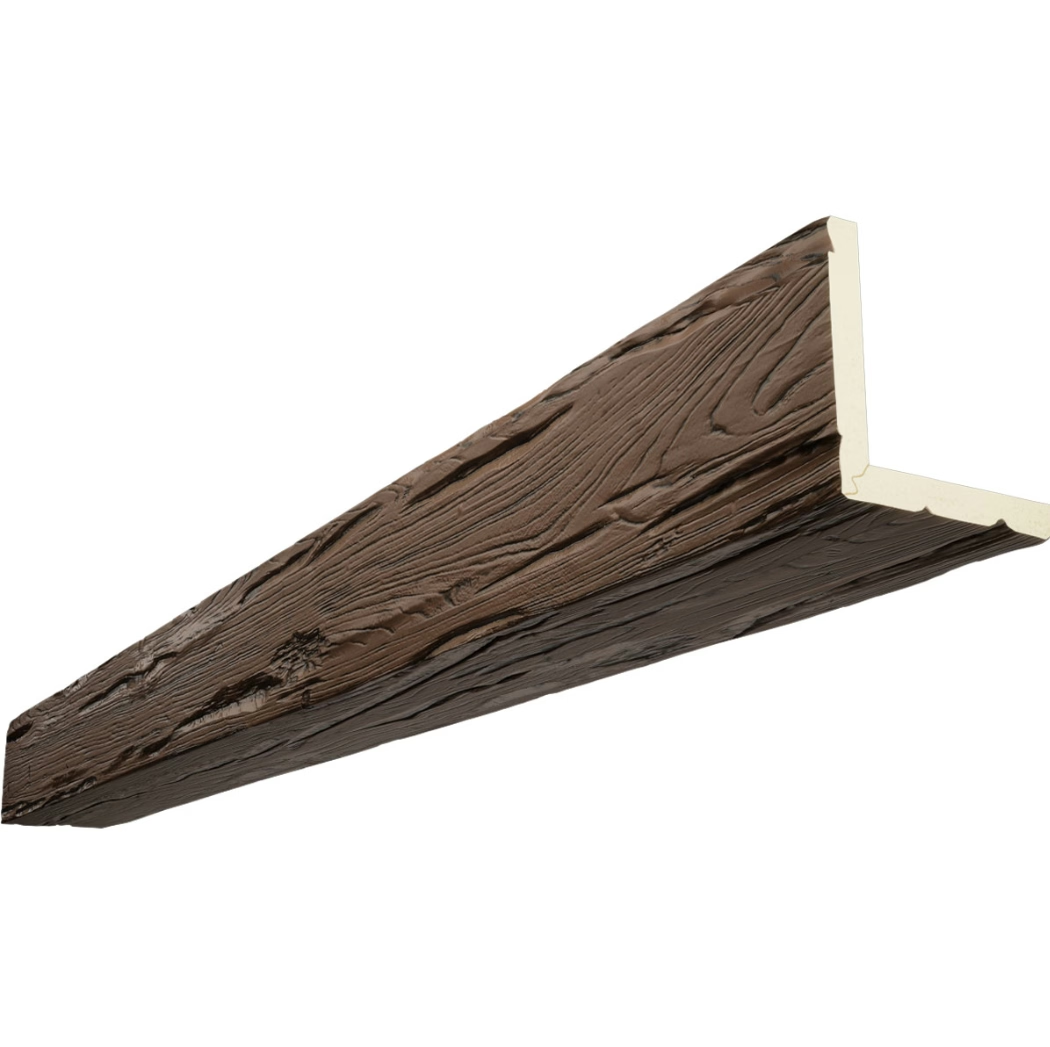
Home improvement projects frequently stall or get abandoned when preparation requirements exceed expectations. Surfaces need scraping, priming, painting, or repairs before new materials can be applied, and these preparatory steps consume time that could otherwise go toward completed work. Faux ceiling beams made from polyurethane sidestep most of these delays through installation methods that require minimal surface preparation while delivering professional results.
The difference between materials requiring extensive prep work and those that need little stems from fundamental physical properties. Natural wood beams might need sanding, sealing, or structural reinforcement before installation. Heavy stone or concrete beams require mounting systems capable of supporting substantial weight. Polyurethane faux beams present none of these challenges, opening installation possibilities that heavier or more temperamental materials would preclude.
Understanding What Minimal Prep Actually Means
Minimal preparation for polyurethane beam installation does not mean no preparation. The surfaces receiving beams should be clean, dry, and structurally sound, as any ceiling installation requires. Dust, loose paint, grease, or debris between adhesive and mounting surfaces weakens bonds that might otherwise last decades. This basic cleaning represents the extent of preparation most installations require.
The condition assessment should examine ceiling surfaces for problems that might affect beam attachment. Peeling paint indicates adhesion failure risk that should be addressed before beam mounting. Water stains suggest moisture problems that could compromise adhesive performance. Structural cracks might indicate settling issues requiring engineering attention before cosmetic installation proceeds.
Beam storage before installation affects how well finished products perform after mounting. Allowing beams to acclimate to interior conditions for several days before installation prevents dimensional changes that could stress bonds after mounting. This simple step takes no effort beyond placing beams in the installation space.

Surface Evaluation and Basic Cleaning
Visual inspection identifies most surface conditions requiring attention before beam installation. Look for peeling paint, bulging surfaces indicating moisture damage beneath, and accumulated dirt or grease that would interfere with adhesion. The inspection should cover both the mounting surface and any adjacent areas that might affect installation appearance.
Cleaning methods depend on surface conditions but rarely require more than standard household cleaning approaches. TSP substitute dissolved in warm water removes greasy residues from kitchen ceilings. Light sanding with fine-grit paper scuffs glossy surfaces enough for adhesive bonding without aggressive preparation. Simple dusting with a tack cloth removes loose debris from clean surfaces.
Rinsing and drying complete the cleaning process before proceeding to installation. Any moisture remaining on surfaces must evaporate completely before adhesive application, as trapped water weakens bond strength. Allow cleaned surfaces to air dry or accelerate drying with fans if project schedules require speed.

Layout Planning That Reduces Adjustment Needs
Accurate layout planning prevents the cutting adjustments and repositioning that add time and frustration to installation projects. Mark beam positions on ceiling surfaces before applying any adhesive, using levels to ensure straight alignment and spacing measurements to verify consistent positioning. This dry-run positioning catches errors while corrections remain simple.
String lines stretched between anchor points provide visual guides for beam alignment across longer runs. These temporary markers show exactly where beam edges should fall, helping installers maintain straight positioning throughout installation. String lines prove particularly valuable when installing multiple parallel beams where cumulative alignment errors would otherwise create visibly crooked results.
Allowing adequate working time for adhesive curing before moving or adjusting beams prevents bond failures that would require re-installation. Product specifications indicate appropriate cure times, which vary between fast-setting and heavy-duty formulations. Resisting the temptation to rush this phase prevents callbacks that would cost far more time than patience initially required.

Adhesive Selection for Simplified Application
Modern construction adhesives designed for polyurethane foam materials provide strong bonds without the demanding application requirements of older products. These formulations grip quickly while allowing brief repositioning windows that accommodate alignment adjustments. Selecting appropriate adhesive simplifies the entire installation process.
Adhesive quantity requires consideration of beam weight and mounting surface characteristics. Too little adhesive produces inadequate bonds, while excessive adhesive creates squeeze-out that requires cleanup. Calculating approximate coverage based on adhesive product specifications helps determine appropriate application rates for specific beam sizes.
Application pattern influences bond effectiveness, with continuous beads along mounting edges providing consistent contact while spot application might leave gaps. Full-length beads along beam backs ensure complete surface contact that maximizes bond strength. This attention to application detail prevents future failures that would require re-installation.
Fastening Techniques for Reliable Results
Mechanical fastening supplements adhesive bonding in many installations, providing immediate support while adhesives cure and permanent reinforcement afterward. The lightweight nature of polyurethane beams means that relatively modest fasteners provide adequate support, making this supplementary fastening straightforward and quick.
Nail guns driving brad nails through beam backs into ceiling joists work efficiently for many installations. The small holes left by brads require little or no filling, particularly when beams mount in shadowed locations where holes would remain invisible. This speed advantage accumulates across multiple beam installations.
Screw fastening provides stronger mechanical engagement where building codes or structural requirements demand. Self-drilling screws designed for polyurethane penetrate without pre-drilling while creating threads that resist pull-out. Driving screws flush with beam surfaces leaves clean appearances that accept finishing as needed.
Post-Installation Attention and Finishing
Seam treatment where beam ends meet or where beams intersect requires attention that completes professional-looking installations. Wood filler matching beam finish fills fastener holes and minor gaps. Caulk matching surrounding colors hides joints between beams and ceiling surfaces. These finishing details transform adequate installations into quality work.
Cleanup of excess adhesive and installation debris prevents the problems that would otherwise appear later. Adhesive squeeze-out should be removed before curing when possible, as cured adhesive often requires scraping that risks surface damage. Vacuuming sawdust and debris prevents these particles from circulating through living spaces or settling on fresh finishes.
Final inspection verifies that all beams align properly, bonds feel secure, and finishing details meet quality standards. This inspection catches problems while correction remains simple, preventing the callbacks and complaints that emerge when installations age with unresolved issues.
Technical References
ASTM standards cited in every specification
Test Data
Lab results from internal testing program
Updated 2026
Reviewed against current product specs


