
The complexity of real ceiling geometry often surprises those unfamiliar with construction realities. Walls rarely meet at perfect right angles, ceiling planes transition at compound angles, and the beams that cross these spaces must accommodate these variations to achieve clean, professional results. With genuine timber beams, addressing these conditions requires specialized equipment, considerable expertise, and physical strength to safely handle heavy pieces at awkward angles. PU faux beams transform this challenging process into something manageable for contractors and capable DIY installers alike, thanks to the exceptional workability of polyurethane foam as a cutting material.
Understanding why polyurethane cuts so cleanly requires a basic understanding of the material's structure. Unlike natural wood with its interlocking grain patterns that resist blades and deflect cutting, polyurethane foam presents uniform resistance that saw teeth can penetrate smoothly. The closed-cell structure of quality foam doesn't splinter, tear, or chip at cut edges, even when cuts are made at challenging angles or in cross-grain directions. This predictable cutting behavior means that the same miter saw technique used for wood framing or trim work produces equally clean results on polyurethane beams, with none of the uncertainty that characterizes cutting unfamiliar materials.
The lightweight nature of polyurethane amplifies these cutting advantages significantly. A twelve-foot genuine timber beam might weigh over a hundred pounds, requiring two or three workers to position it safely for cutting and additional equipment to manage the awkward geometry of angled cuts. The same length of polyurethane beam weighs perhaps ten pounds, manageable easily by a single person working alone. This weight reduction doesn't compromise structural integrity for ceiling installation, where beams simply span between support points without bearing significant loads. The practical result is that complex beam installations that would require multiple workers with timber can be completed by individuals working alone with polyurethane.
Standard Miter Saw Techniques for Polyurethane
The miter saw represents the most versatile and accessible tool for cutting beams on job sites, capable of producing the angle cuts required for beam ends, mitered corners, and complex compound angles. Polyurethane cuts cleanly with standard carbide-tipped blades designed for wood and composite materials, with blade selection based on tooth count rather than specialized configurations. Forty-tooth combination blades provide excellent results for general cutting, while finer fifty-tooth blades produce especially smooth cuts for visible end grain in prominent applications.
Setting accurate angles on miter saws requires understanding the relationship between cut angles and the geometry of the space being fitted. Internal corners require cuts that complement each other to form clean right angles, while external corners require opposite cuts that create the projecting corner appearance. The standard forty-five-degree miter adjustment works for most perpendicular wall intersections, but rooms with non-standard angles require careful measurement and calculation of the specific miter angles needed. Taking time to verify angles before cutting prevents costly mistakes that might damage beams beyond use.
Support during cutting significantly affects cut quality and safety, particularly for longer beams that extend beyond saw table capacity. Workers should position themselves to support beam weight throughout the cut, preventing binding that could cause blade deflection or kickback. The lightweight nature of polyurethane makes this support manageable, but the material's foam structure can compress if improperly supported, potentially affecting cut accuracy. Using support stands or assistants for beams over eight feet ensures consistent cut quality regardless of beam length.

Handling Complex Angles and Compound Cuts
Vaulted ceilings, barrel vaults, and other non-standard ceiling geometries present challenges that standard miter cuts cannot address alone. Compound angle cuts, where the beam must angle in two planes simultaneously, require more advanced techniques that nonetheless remain accessible with standard equipment. Understanding the geometry of these cuts helps installers approach complex situations with confidence rather than uncertainty.
Compound cuts involve setting both miter angle and bevel angle simultaneously, with the specific settings determined by the geometry of the ceiling planes being navigated. A beam crossing from a pitched roof section to a flat ceiling section, for example, requires different angles at each end to maintain consistent appearance while fitting both ceiling planes. Computer-aided design programs can calculate these angles precisely, though experienced installers often develop intuitive approaches to estimating compound settings for common situations.
When dealing with irregular ceiling geometries, templating the actual conditions on-site provides the most accurate basis for cut planning. Creating paper or cardboard templates that conform exactly to the surfaces where beams will land allows measurements and angle calculations that account for any irregularities in the construction. This approach transforms abstract geometric problems into concrete, physical solutions that can be transferred directly to the beam being cut. The process takes additional time but eliminates the frustration of beams that almost fit but not quite.
Finishing Cut Edges for Professional Appearance
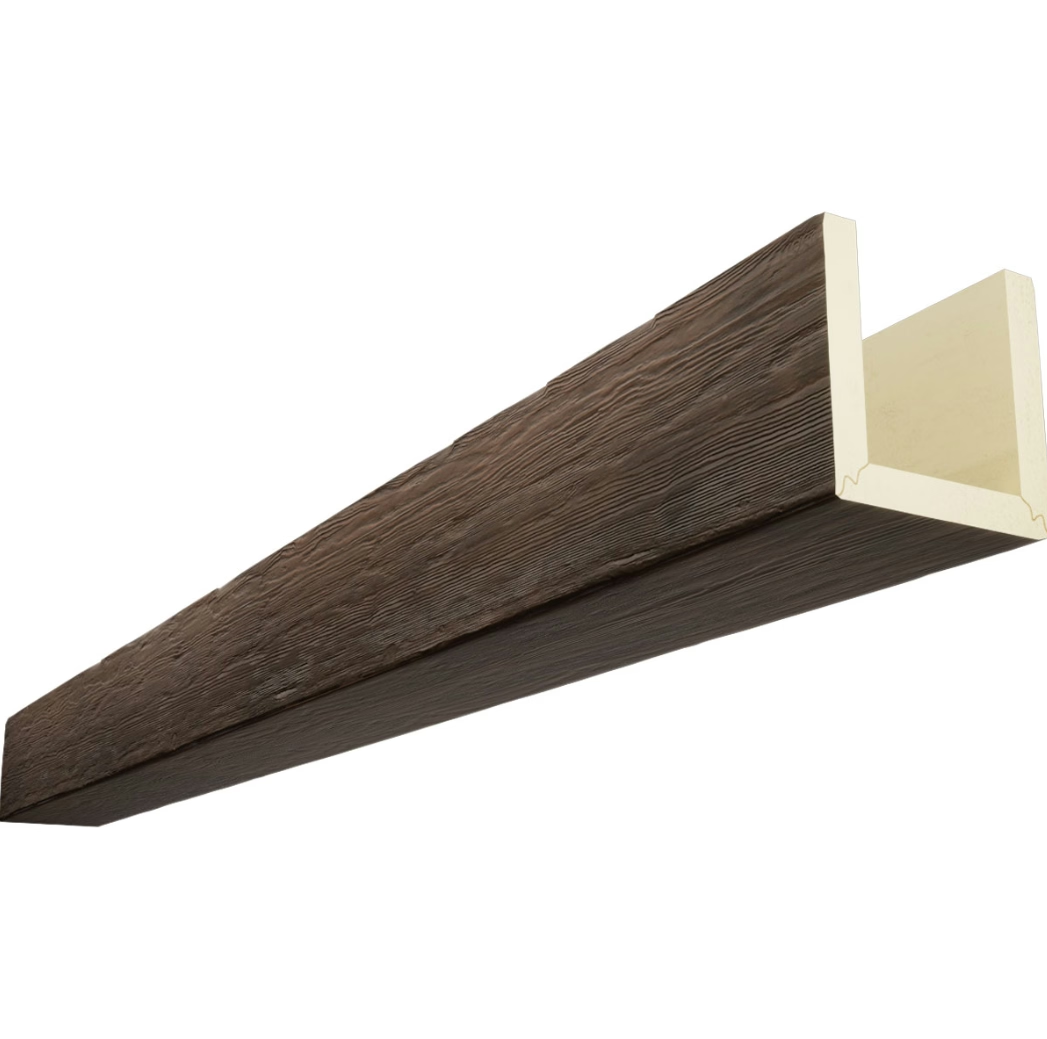
The cleanest cuts still benefit from attention to edge finishing that ensures professional appearance in the completed installation. Polyurethane foam cuts leave a slightly cellular edge that, while not obvious from a distance, can be apparent on close inspection. Light sanding with fine-grit sandpaper smooths these edges to match the texture of molded beam surfaces, creating continuity that reads as a single, homogeneous material. This finishing step takes only moments but contributes significantly to the overall quality perception of the completed installation.
End grain presents the most challenging finishing situation, as the cut surface reveals the foam structure more prominently than side surfaces. Quality finish techniques build up the edge gradually with multiple thin applications of spackling compound or wood filler, allowing each layer to dry before light sanding reveals a smooth surface. Paint or finish applied over this prepared edge creates a uniform appearance that matches the rest of the beam. The goal is an edge that appears to have been molded rather than cut, hiding the evidence of field modification.
For beams where end grain will remain visible, using a fine-toothed blade and making smooth, uninterrupted cuts produces the cleanest results without additional finishing. Sixty-tooth or higher blade configurations minimize the cellular appearance of cut edges, reducing or eliminating the need for subsequent edge treatment. While these finer blades cut more slowly, the improved edge quality justifies the additional time for beams where exposed cuts will be visible in the completed installation.
Safety Considerations for On-Site Cutting
Safe cutting practices protect workers from injury while ensuring quality results in the completed installation. Polyurethane's lightweight nature reduces some physical hazards associated with timber handling, but saw safety requirements remain unchanged regardless of material being cut. Standard safety equipment including eye protection, hearing protection, and appropriate clothing should always be used when operating power saws.
Dust generation during cutting represents the primary health consideration specific to polyurethane. While polyurethane foam is generally inert once cured, the fine particles created during cutting should not be inhaled in significant quantities. Using sawdust collection attachments or working in well-ventilated areas minimizes exposure. A simple dust mask provides adequate protection for occasional cutting, while more substantial respiratory protection may be appropriate for larger installations or extended cutting sessions.
Secure beam positioning throughout the cutting process prevents the binding, shifting, and unexpected movement that causes most cutting injuries. Workers should never reach across saw blades or position body parts where kickback might throw them. The lightweight nature of polyurethane can create a false sense of security regarding these risks; while lighter beams cause less severe impacts if kicked or dropped, the spinning saw blade presents identical hazards regardless of material being cut. Consistent attention to safe practices protects workers regardless of the specific material they're working with.
Planning Cuts to Minimize Waste
Material efficiency in beam installation requires planning that considers beam lengths, cutting requirements, and the geometry of the space being fitted. Purchasing beams in lengths that accommodate installation requirements with minimal waste saves material costs while reducing jobsite clutter from cutoffs. Careful measurement and calculation before purchasing ensures that beam quantities and lengths match project requirements without significant overage.
When cutting requirements create unavoidable waste, planning the sequence of cuts maximizes the useful material recovered from each beam. Longer beams may yield pieces suitable for smaller installations, trim elements, or completely different projects. Collecting these pieces rather than discarding them creates inventory for future work or opportunities to use remnant material creatively. The lightweight nature of polyurethane makes storage and transport of these remnants practical, unlike heavy timber cutoffs that quickly become jobsite burdens.
Complex installations with many beams benefit from layout planning that groups cuts by angle or complexity, minimizing equipment adjustments and improving consistency across the installation. Cutting all forty-five-degree miter cuts before changing settings for different angles, for example, reduces setup time while ensuring that all cuts in each category are made with identical settings. This systematic approach improves efficiency while reducing the likelihood of cut errors that could result from frequent equipment adjustments.
Technical References
ASTM standards cited in every specification
Test Data
Lab results from internal testing program
Updated 2026
Reviewed against current product specs


