The desire to improve living spaces drives millions of home improvement projects annually, yet many homeowners hesitate to tackle projects that seem beyond their capabilities or require assistance they cannot arrange. Ceiling beam installations have traditionally fallen into this challenging category, requiring multiple workers, specialized equipment, and construction experience that most residential property owners lack. Lightweight PU ceiling beams fundamentally change this equation, transforming beam installation from a contractor-required project into an achievable weekend undertaking for capable DIY enthusiasts.
The weight reduction achieved through polyurethane construction represents a fundamental advantage rather than a mere convenience feature. Standard dimensional lumber for ceiling applications often weighs several pounds per linear foot, with decorative beams reaching even heavier specifications. A single twenty-foot beam might require two or three people to position safely. The same span in PU construction often weighs less than twenty pounds total, allowing one person to handle the entire installation process without assistance or risk.
Understanding the Weight Advantage
Polyurethane density runs approximately one-tenth that of natural wood of similar dimensions. This dramatic reduction changes the logistical equation for every aspect of beam handling. From warehouse pickup to final mounting, the lightweight nature simplifies each step while reducing physical strain on installers. The accessibility benefits extend beyond convenience to enable installations that heavier alternatives would simply not permit.
Single-story homes with accessible attic spaces benefit from the weight advantage during positioning. One person can hold a beam in place while securing attachment points, a task impossible with heavy timber alternatives. The reduced fatigue also improves installation quality, as tired installers make more errors and achieve less precise results than fresh workers maintaining full concentration throughout the process.
Multi-story installations become feasible when beams do not require crane service or elaborate rigging. Upper floor ceiling installations can proceed through standard doorways without specialized equipment, reducing project costs dramatically while eliminating scheduling constraints that equipment rental imposes. Homeowners complete installations around their personal schedules rather than coordinating with contractor availability.
The weight difference proves particularly significant for ceiling applications where structural engineers might flag heavy additions. Load calculations for existing ceiling framing often limit the weight of authentic timber additions. Lightweight PU beams sidestep these concerns entirely, installing as decorative elements that add no meaningful load to existing structures.

Essential Tools for DIY Installation
DIY beam installation requires basic tools that most homeowners already own or can acquire inexpensively. A quality tape measure provides dimensional verification essential for accurate cutting. A circular saw or miter saw handles cross-cutting beam lengths, while a router enables decorative edge profiles if desired. Clamps secure beams during fitting without requiring additional hands.
Stud finders locate ceiling framing members that provide secure attachment points. The modern electronic variety with deep-scanning capability proves particularly valuable for ceiling applications where joist location might not align with expectations. Some models display joist edges and centers digitally, improving mounting accuracy and confidence.
Drilling guides and stop collars prevent over-drilling when creating fastener holes through beam surfaces. The controlled drilling prevents damage to visible surfaces while ensuring proper fastener seating depth. Cordless drills with clutch settings provide additional protection against driving fasteners too deeply.
Safety equipment protects installers during overhead work. Safety glasses prevent debris from falling into eyes during overhead drilling. Kneepads cushion kneeling on hard surfaces during ceiling work. A stable ladder or scaffolding system enables safe positioning at ceiling height without overreaching or balancing precariously.

Installation Process Step-by-Step
Planning begins with accurate measurement of the installation space and creation of a detailed layout drawing. The drawing identifies beam positions, lengths, and any required cuts for corners or obstacles. This preparation prevents mid-installation discoveries that require disassembly and rework. Taking time at this stage pays dividends throughout the remainder of the project.
Mockup positioning confirms layout decisions before permanent attachment. Using painter's tape to outline beam positions on the ceiling enables visualization of the finished result and identification of spacing issues before committing to mounting. This low-commitment preview often reveals adjustments that improve final appearance.
Mounting hardware installation follows layout confirmation, with fasteners secured into ceiling joists at specified intervals. The hardware must provide adequate bearing capacity for the beam weight while remaining hidden after installation. Many systems utilize metal brackets that slide into beam profiles and screw to ceiling framing, creating invisible connections that preserve the appearance of direct beam-to-ceiling contact.
Beam mounting proceeds from one end to the other, with the installer supporting the free end while securing the mounted end. The lightweight construction allows this single-person approach where heavier alternatives would require assistance. Checking alignment after initial attachment confirms that the beam tracks correctly before final fastening.
Seams between beam sections receive attention after main mounting completes. Wood filler designed for polyurethane materials fills gaps while accepting stain or paint for seamless blending. The finishing work distinguishes amateur installations from professional results, making the effort invested in this step worthwhile.
Common DIY Mistakes to Avoid
Rushing the measurement phase leads to fitting problems that consume far more time to resolve than careful initial measuring would have required. Double-checking all dimensions before cutting eliminates懊恼 of incorrect cuts that cannot be undone. The extra minutes spent verifying measurements save hours of补救 work later.
Insufficient attachment creates safety concerns and appearance issues that manifest over time. Using recommended fastener spacing and proper anchor types ensures that beams remain secure under all conditions. The lightweight nature of PU beams reduces load requirements, but proper attachment still matters for long-term performance.
Ignoring ceiling conditions causes problems that manifest after completion. Moisture from underlying issues can affect beam finishes over time, while uneven ceiling surfaces create gaps that undermine the finished appearance. Addressing ceiling preparation before beam mounting prevents these issues from developing.
Failing to consider lighting interaction creates unexpected visual effects after completion. Beams cast shadows that shift throughout the day as natural light moves across the space. Testing lighting conditions before finalizing beam positions identifies concerns that might not be apparent during daytime installation work.
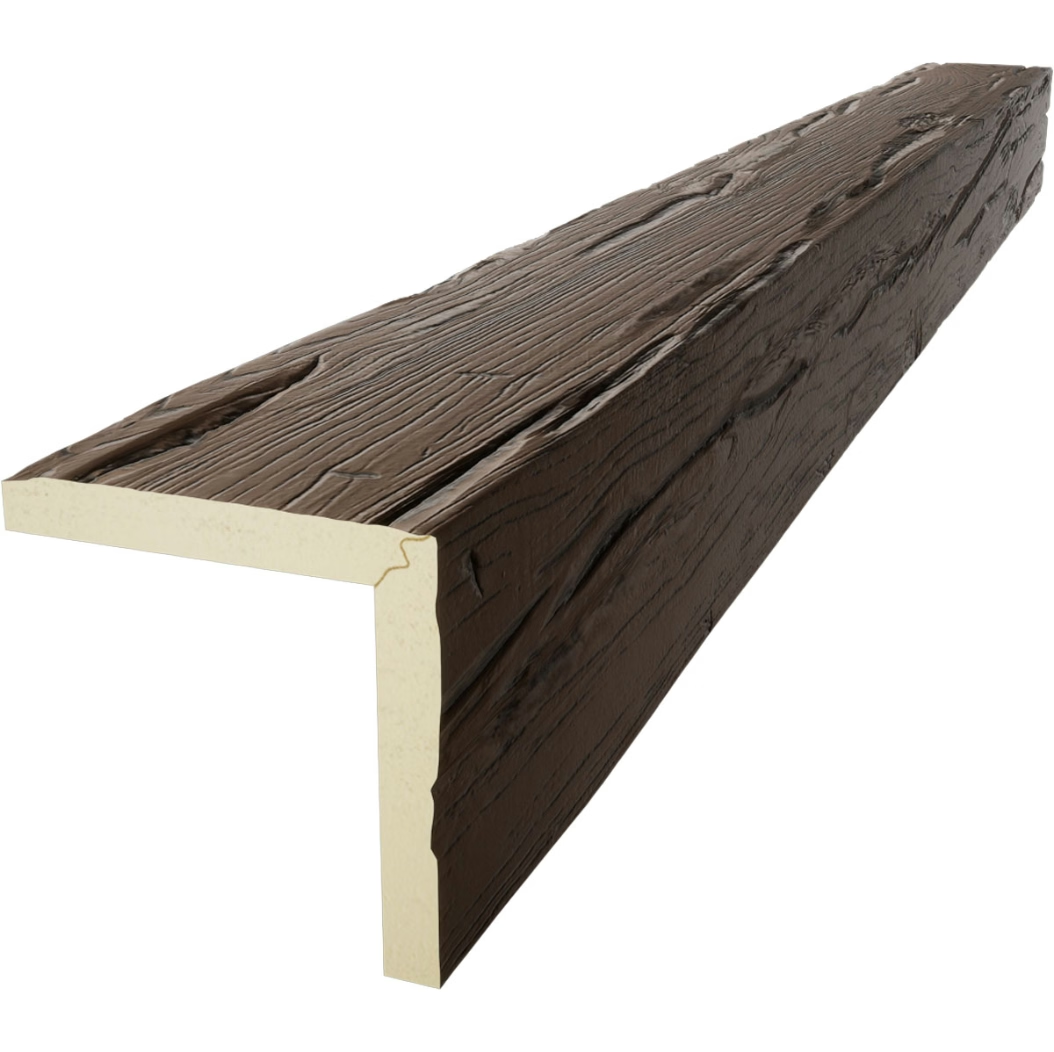
Achieving Professional-Quality Results
Finish preparation determines the distinction between DIY and professional appearances. Sanding any rough edges or tooling marks creates smooth surfaces that accept stain or paint uniformly. The attention to surface preparation pays dividends in final appearance that casual observers will notice and appreciate.
Caulking gaps between beams and ceiling surfaces creates clean lines that read as intentional rather than careless. The caulk should match beam finish when painted or remain invisible when clear. This small detail significantly impacts overall perception of installation quality.
Lighting placement coordinates with beam positions to create desired visual effects. Recessed fixtures positioned within beam reveals create dramatic illumination that emphasizes architectural features. Coordinating these elements during installation rather than as afterthoughts produces cohesive results that feel designed rather than added.
Final inspection from standing positions throughout the room reveals any areas requiring touch-up or adjustment. Viewing from various angles and distances identifies inconsistencies that close-up inspection might miss. Taking time for this review prevents living with avoidable imperfections after completing the project.

Technical References
ASTM standards cited in every specification
Test Data
Lab results from internal testing program
Updated 2026
Reviewed against current product specs


