The distinction between amateur and professional beam installations often lies in details that receive minimal visible attention—the terminations, transitions, and finishing touches that complete compositions. Beam end caps represent one of these critical details: properly finished terminations create the impression of intentional, quality construction, while absent or poorly executed ends undermine otherwise successful installations.
Polyurethane resin end caps provide purpose-designed solutions for beam termination challenges. These molded components attach to beam ends, creating finished surfaces that suggest cut wood grain, natural end patterns, or clean architectural profiles depending on aesthetic intentions. The paintable formulations accept custom finishes that integrate seamlessly with beam body colors and textures.
The availability of matching end caps eliminates the need for field-fabricated terminations that rarely achieve the quality that pre-made components deliver. Field cutting creates exposed cellular foam that accepts finishes differently than beam surfaces, producing visible differences that betray the construction method. Factory-produced end caps ensure consistent surface preparation and finish compatibility.
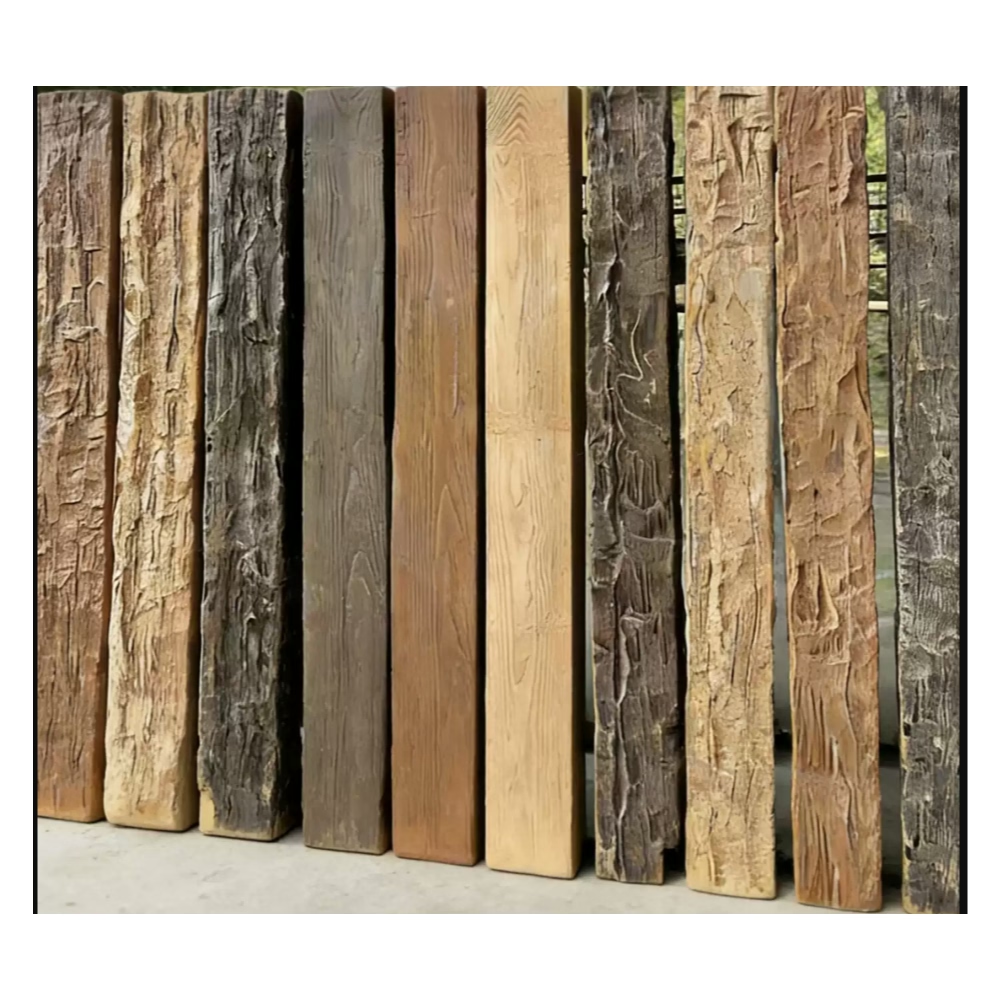
Modern end cap designs accommodate various aesthetic preferences, from rustic appearances suggesting freshly cut timber to refined profiles suited for contemporary installations. This variety ensures appropriate options regardless of design context or beam style.

Understanding End Cap Functions and Styles
Visual termination represents the primary function of beam end caps. Where beams meet walls, corners, or other terminations, exposed beam ends would otherwise present raw surfaces inconsistent with finished appearance. End caps create finished surfaces that complete the visual presentation.
Material matching ensures that end caps accept the same finishes as beam bodies without visible difference. Premium end caps use the same polyurethane formulation as beams, ensuring identical texture and finish response. This material consistency prevents the appearance variations that occur when different materials receive identical finishing treatment.
Profile styles range from simple flat cuts suggesting dimensional lumber to elaborate architectural profiles featuring molding details, curves, or decorative elements. The selection should coordinate with overall beam style and architectural context.
Size matching ensures that end caps properly fit beam cross-sections. Quality manufacturers produce end caps sized specifically for their beam products, ensuring proper fit without gaps, overlap, or visible seams.
Installation Approaches for Secure Attachment
Mechanical fastening provides primary attachment security for end caps. Screws driven through end cap surfaces into beam ends create lasting connections that resist the separation forces that temperature cycling and structural movement create. Screw placement should avoid visible positions that would detract from finished appearance.
Adhesive bonding supplements mechanical fastening while filling gaps between end caps and beam surfaces. Construction adhesive applied to mating surfaces creates chemical bonds that distribute loads and prevent moisture infiltration. The combination of mechanical and adhesive attachment ensures reliable long-term performance.
Fitting verification before adhesive application ensures proper alignment and appearance. Test-fitting without adhesive identifies any fitting issues that adhesive application would prevent correcting. Minor trimming may be necessary for perfect fit in some installations.
Sealing around cap edges prevents moisture infiltration that could compromise beam ends or create staining on adjacent surfaces. Quality exterior-grade sealants maintain flexibility through temperature extremes while preventing water penetration.

Finishing End Caps to Match Beams
Surface preparation ensures proper finish adhesion to end caps. Light sanding removes any surface contamination or minor imperfections while providing mechanical tooth for finish bonding. Wiping with tack cloth removes dust created by sanding.
Priming establishes consistent base for topcoat application. The same primer used on beam bodies should be applied to end caps, ensuring that subsequent finish coats adhere consistently across all surfaces. Premium bonding primers provide insurance against finish peeling on challenging surfaces.
Finish application should match techniques used on beam bodies. Spray application typically provides most uniform coverage, but roller and brush application can produce acceptable results with appropriate technique. Consistent application ensures that end caps match beam finish appearance.
Edge sealing after installation prevents moisture infiltration at the most vulnerable point—where end cap meets beam surface. Clear caulking applied along this junction provides waterproofing while remaining invisible when properly tooled.
Design Applications for Different Installation Types
Wall-terminated beams represent the most common end cap application. Where beams end at walls, end caps create finished surfaces visible from room interiors. The end cap profile should complement wall finish and overall design style.
Corner installations place end caps at positions visible from multiple angles. These terminations require end caps that present acceptably from viewing positions throughout the installation. Profile selection should consider sight lines that corner positions create.
Free-standing beams that project from walls require end caps on visible projections. These end caps receive the most scrutiny as they are fully visible from room interiors. Quality profiles and careful finishing ensure satisfying appearance.
Column-style beams used as vertical supports require end caps at both top and bottom terminations. Bottom caps should coordinate with flooring materials and base treatments; top caps may match beam body finishes or coordinate with ceiling details.
Quality Verification and Maintenance
Visual inspection from expected viewing positions verifies that end caps achieve intended appearance. Walking through spaces checking end cap appearance identifies any issues requiring attention before project completion.
Secure attachment verification ensures that end caps remain bonded after installation. Gentle pressure on end cap surfaces reveals any movement that would indicate inadequate attachment. Addressing loose caps before project completion prevents future problems.
Finish condition review confirms that end caps match beam body appearance throughout installations. Color, sheen, and texture should appear consistent between end caps and adjacent beam surfaces.
Ongoing inspection during regular building maintenance identifies any end cap issues that develop over time. Early identification of attachment problems or finish deterioration enables repair before more serious damage occurs.
The attention to detail that quality end caps provide distinguishes professional beam installations from amateur attempts. When end caps are properly selected, installed, and finished, terminations enhance rather than compromise overall design quality. This finishing investment completes the design vision that beams throughout spaces help realize.
Technical References
ASTM standards cited in every specification
Test Data
Lab results from internal testing program
Updated 2026
Reviewed against current product specs


