Every experienced installer recognizes that the difference between amateur and professional work often lies in the details that only become visible under close inspection. Beam installations especially suffer from this scrutiny when end terminations receive insufficient attention. A beautifully textured beam surface can appear shoddy when it terminates abruptly with a rough cut edge or mismatched framing. End caps solve this problem by providing factory-finished terminations that complement the beam's appearance while serving practical protective functions as well.
The concept of beam end caps seems simple until one considers the variety of ways beams terminate within building interiors. Some beams end at walls, requiring caps that transition smoothly to the wall surface. Others terminate in open spaces where they might be viewed from multiple angles, demanding caps that appear finished from any direction. Still others meet other beams at T-junctions or angular intersections, creating complex termination scenarios that generic solutions cannot address adequately.
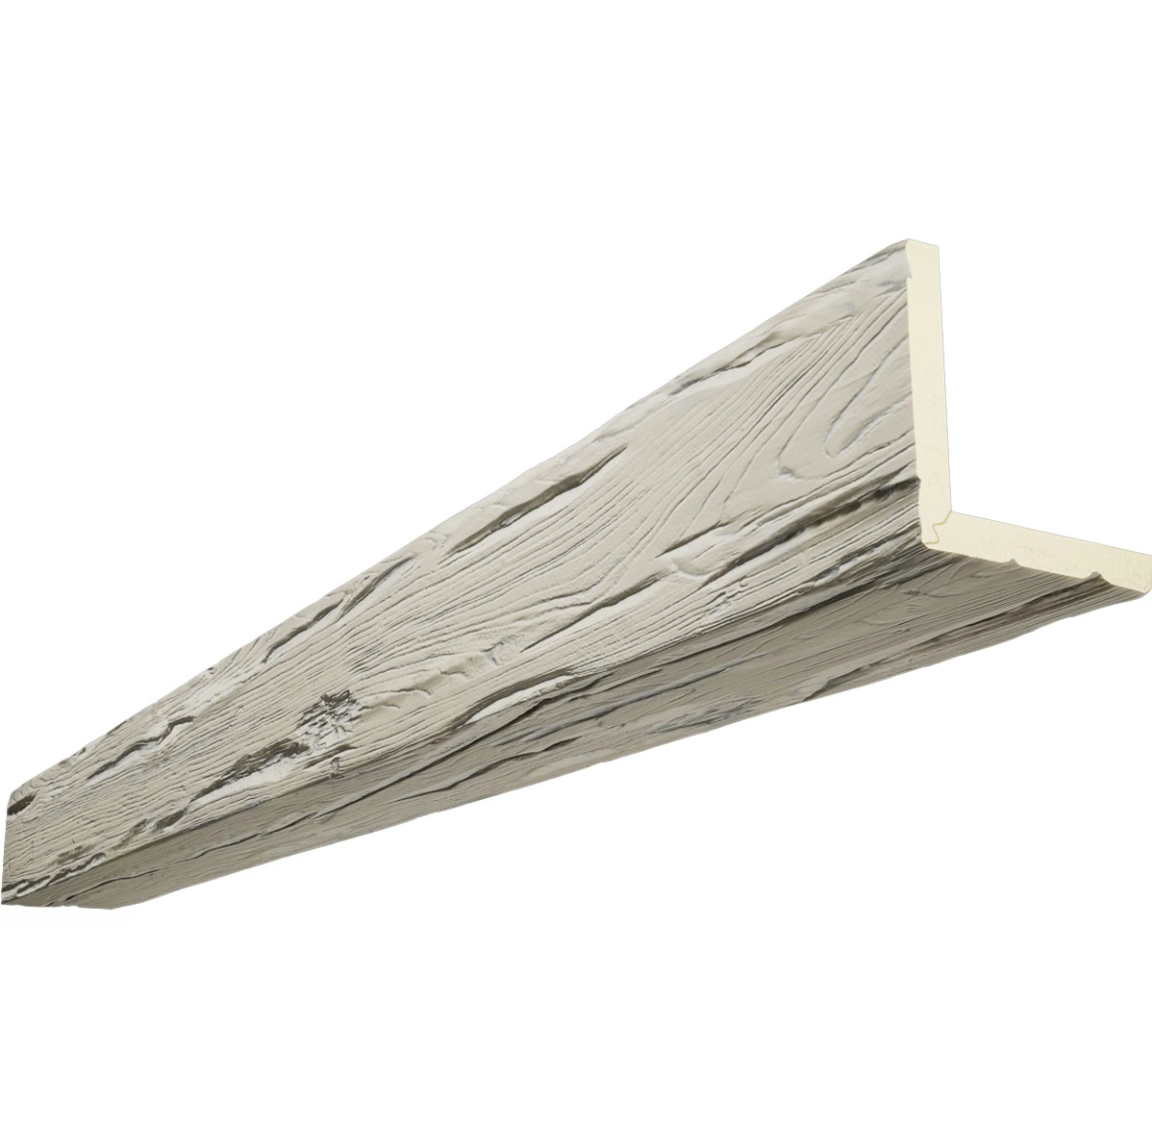
Precision matching ensures that end caps complement rather than contrast with the beams they complete. The grain pattern, color, and texture must align seamlessly with the parent beam, creating the impression of a single continuous piece rather than an assembly of components. This matching requires careful manufacturing coordination that understands how the end cap interfaces with the beam's structural geometry while maintaining visual continuity.
Understanding End Cap Functions
Beyond their aesthetic contribution, beam end caps serve critical protective functions that preserve installation quality over time. The cut ends of polyurethane beams present vulnerable surfaces where impact or moisture intrusion might initiate deterioration. End caps seal these vulnerable areas, creating continuous surfaces that resist the minor impacts and environmental exposures that occur throughout a building's service life.
Moisture protection proves particularly important in beam installations near plumbing fixtures, exterior doors, or areas prone to humidity variation. The joint between an end cap and the beam body, when properly installed, creates a barrier that prevents moisture from reaching the beam's interior. This protection extends the installation's serviceable life significantly compared to unprotected terminations.
Structural protection addresses the physical vulnerability of beam ends to impact damage. Even though polyurethane resists impact better than natural wood in many respects, the cut ends present stress concentrations that might crack under sufficient force. End caps distribute impact forces across broader surfaces, reducing the likelihood of damage from routine bumping or furniture movement.
Types of End Cap Designs
Open-ended end caps provide coverage for beams that terminate in enclosed spaces where only the face remains visible. These caps attach to the beam end with adhesive, covering the end grain and creating a finished appearance from viewing angles that include the beam terminus. Installation involves dry fitting to verify alignment, applying adhesive to both the cap interior and beam end, then clamping until the adhesive cures.
Closed-end caps extend the coverage around the beam's perimeter, creating the appearance of a continuous beam that extends beyond its actual termination point. These caps prove ideal for beams ending at valances, soffits, or other architectural features where partial beam extension might create an intentional design element. The extended coverage also increases the protective benefit, sealing the entire beam end against environmental exposure.
Decorative end caps incorporate moldings or profiled edges that add visual interest to beam terminations. These options suit traditional and transitional design styles where architectural trim elements enhance the overall aesthetic. While more elaborate than basic caps, decorative options still maintain the texture and color matching that creates visual continuity with the beam body.

Matching Considerations
Achieving seamless matching between end caps and beams requires attention to several technical factors. The grain pattern must flow continuously from beam to cap, which means selecting end caps from the same production batch or accepting that some manual grain painting may be necessary to bridge any visible seams. Manufacturers producing matched sets use consistent pattern placement to minimize visible transitions.
Color matching presents similar challenges, as surface finishes may vary slightly between production runs. Batch-matched components ensure the closest possible color correspondence, which is why specifying both the beam and matching end caps from the same manufacturer often produces the best results. When batch-matched components aren't available, careful finish blending may achieve acceptable results with premium attention to detail.
Profile matching ensures that the end cap's interior geometry corresponds precisely to the beam's exterior profile. Beams with complex profiles, such as those incorporating multiple planes, bevels, or decorative moldings, require end caps specifically designed for those profiles rather than generic alternatives. Attempting to use mismatched profiles results in visible gaps or awkward transitions that defeat the purpose of adding end caps.
Installation Techniques
Proper end cap installation begins with surface preparation that ensures strong adhesive bonding. The beam end should be clean, dry, and free from any contamination that might interfere with adhesion. Light sanding creates a slightly rough surface that improves adhesive wetting, while solvent cleaning removes any residues that cleaning alone might leave behind.
Dry fitting before adhesive application allows verification of alignment and identification of any fit issues before commitment. Position the end cap against the beam end, checking for uniform contact around the perimeter. Any gaps or high spots indicate fit problems that adhesive cannot correct and should be addressed through adjustment or replacement before proceeding.
Adhesive application uses a continuous bead around the cap's interior perimeter, with additional adhesive at stress concentration points. Press the cap firmly against the beam end, maintaining pressure while the adhesive begins to cure. Clamping or bracing maintains this pressure throughout the cure period, which varies based on adhesive formulation and ambient conditions.

Finishing Touches
Once the end cap adheres securely, attention turns to finishing the joint between cap and beam. Hairline gaps can be filled with latex caulking that matches the beam finish, then smoothed flush with the surrounding surface. This filling requires a steady hand and appropriate tooling to create invisible transitions.
Visible seams benefit from careful painting or touch-up that blends the junction between cap and beam. Fine artists' brushes allow controlled color application that hides seams without creating visible thick deposits. Multiple thin coats produce better results than heavy single applications, building up coverage gradually until the seam disappears.
Textured surfaces may require texturing of any filled areas to maintain the beam's tactile authenticity. Manufacturers sometimes provide texture sprays or small bottles of texture compound for this purpose. When these products aren't available, creative techniques using household materials can approximate the surface texture sufficiently for invisible repairs.
Maintenance and Repair
End caps require minimal ongoing maintenance beyond the regular cleaning applied to the beam system they complete. The polyurethane material resists the moisture and temperature cycling that damages natural wood, maintaining its appearance without special treatment. Occasional dusting or cleaning with mild detergents keeps the surface fresh without risking finish damage.
Damage to end caps from significant impacts may require replacement rather than repair. The adhesive bond separating from either the cap or beam creates visible gaps that repairs struggle to conceal. In these cases, carefully removing the damaged cap and installing a replacement maintains the installation's professional appearance.
Loose end caps indicate adhesive bond failures that require re-installation. Simply pressing the cap back into place rarely provides lasting results, as the bond has already failed. Complete removal, surface preparation, and re-installation using appropriate adhesive and fastening techniques restores the proper connection.
Cost-Benefit Analysis
The cost of end caps represents a small fraction of total beam installation expense but delivers disproportionate value to the finished appearance. Property owners who omit end caps to save cost often express regret when they notice the unfinished terminations, sometimes requesting end cap installation after the fact. Front-loading the specification ensures the desired outcome without post-installation complications.
Quality variations significantly affect the value delivered by end caps. Inexpensive alternatives may not match the beam profile accurately, requiring extensive adjustment or modification during installation. Premium matched components from the original beam manufacturer typically provide the best fit and appearance, justifying their higher unit costs through reduced installation labor and superior results.
For projects with numerous beam terminations, end cap costs multiply but remain manageable when planned from the beginning. Bulk purchasing and systematic installation sequences maximize efficiency while maintaining quality throughout extended projects. Professional installers factor end caps into their estimates as standard practice, recognizing their contribution to satisfied clients.
Technical References
ASTM standards cited in every specification
Test Data
Lab results from internal testing program
Updated 2026
Reviewed against current product specs


