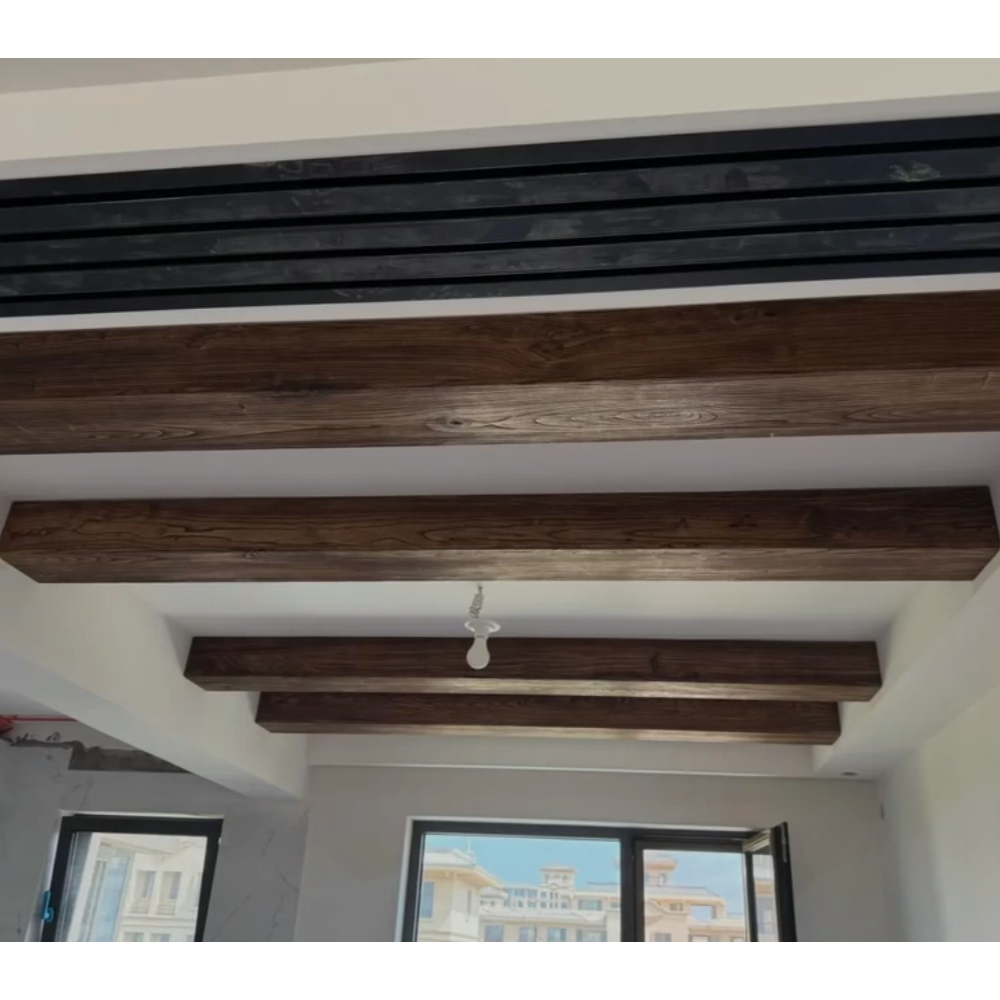
Professional millwork distinguishes itself through attention to details that less skilled work overlooks, and the wall connection points where beams terminate represent precisely such details. Even the most beautifully textured beam with perfect joints appears amateurish when it meets walls with visible gaps, uneven lines, or crude transitions. Wall connection trim solves these problems through pre-manufactured components designed specifically for the beam profiles they accompany, providing consistent results regardless of wall surface variations.
The challenge at beam-wall junctions arises from the fundamental difference between these building elements. Walls, whether drywall, plaster, or other materials, settle and move with building dynamics in ways that beams do not. This differential movement creates gaps at junctions that were tight during installation. Trim accommodates this movement through flexible or forgiving designs that maintain appearance despite the underlying dynamics.
Beyond movement accommodation, wall connection trim provides mounting support that helps beams maintain their positions over time. The trim pieces transfer loads from the beam to the wall structure, reducing stress concentrations at the primary attachment points. This load distribution improves long-term performance while simplifying the primary attachment process.
Trim Design Principles
Effective wall connection trim balances multiple requirements including aesthetic integration, functional performance, and installation simplicity. Aesthetic integration requires that trim appearance complements the beam style without overwhelming it. The trim should read as a natural extension of the beam rather than an obvious addition, which requires careful attention to profile geometry and finish matching.
Functional requirements include gap coverage, edge protection, and load transfer. Gap coverage must accommodate the variations in wall surface that occur even in well-constructed buildings. Edge protection prevents the beam corner from damage during use. Load transfer moves beam weight to the wall structure efficiently, preventing sagging or shifting that would compromise appearance.
Installation simplicity affects both labor costs and quality consistency. Trim pieces that require extensive fitting and adjustment increase installation time while introducing opportunities for errors. Pre-engineered trim systems that install easily and predictably produce better results more reliably than improvised solutions.
Types of Wall Connection Trim
L-channel trim provides the simplest wall connection, with one leg mounting to the wall and the other to the beam end. This configuration creates a right-angle transition that covers gaps and provides clean edge definition. L-channel trim works well where beam ends terminate at walls and where the wall surface is relatively flat and consistent.
J-channel trim extends beyond the wall surface to create a recessed appearance where the beam meets the trim rather than the wall directly. This configuration suits contemporary installations where crisp geometric lines define the aesthetic. The revealed edge of the J-channel creates visual interest while the configuration hides any wall surface irregularities.
Combination trims incorporate multiple functions in single pieces, including integrated cord management channels or lighting mounting provisions. These value-added designs reduce component counts and simplify installation sequences while providing features that separate components would require. The trade-off involves more specialized specification requirements.
Material Selection
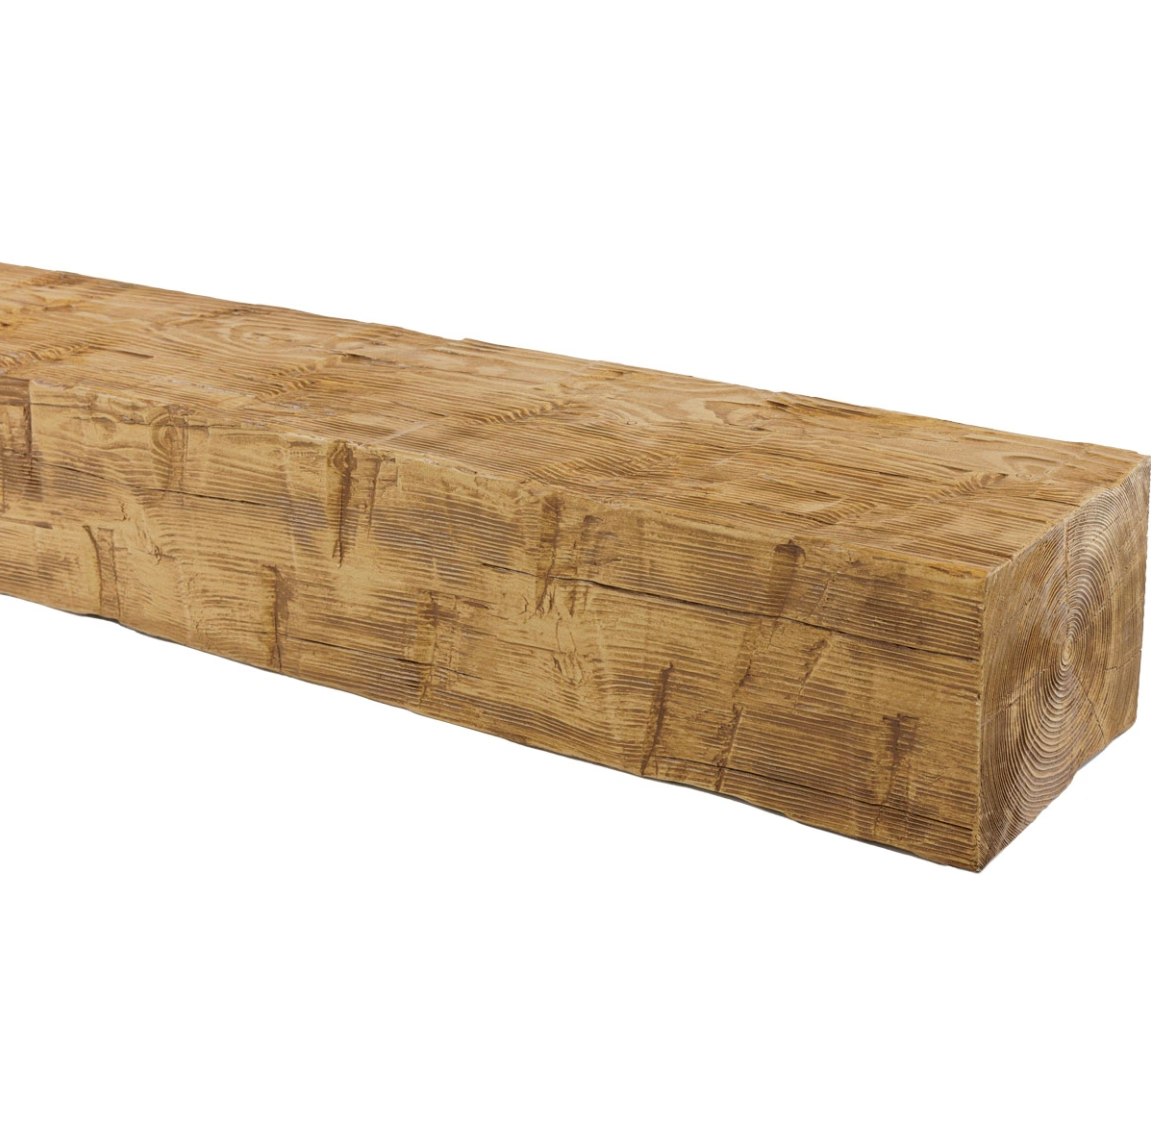
Polyurethane trim pieces offer advantages including consistent dimensions, easy workability, and excellent finish acceptance. The material cuts cleanly with standard woodworking tools and accepts nails, screws, and adhesive without splitting or cracking. These characteristics simplify installation while ensuring consistent results across the project.
PVC trim alternatives provide moisture resistance useful in humid environments but may not accept stains or finishes as readily as polyurethane. The different material properties affect finish options and may limit aesthetic coordination with polyurethane beam bodies. Understanding these limitations helps avoid specification problems.
Wood trim options allow matching to natural wood beams or existing woodwork but introduce the dimensional instability that polyurethane avoids. In controlled interior environments, this instability may not cause problems, but in variable conditions or exterior applications, wood trim may move in ways that compromise appearance.
Installation Techniques
Surface preparation for trim installation involves cleaning the wall and beam surfaces that will receive adhesive or mechanical fasteners. Any contamination reduces bond strength and may cause failure over time. The preparation should extend beyond the immediate trim area to accommodate trim thickness and any positioning adjustments.
Dry fitting trim pieces before adhesive application allows verification of fit and identification of any problems. This fitting also confirms that trim selection matches beam profiles correctly, as mismatched components create gaps that adhesive cannot address. The fitting process takes only moments but prevents problems that would require removal and replacement.
Adhesive application for trim follows principles similar to beam installation, with continuous coverage ensuring strong bonds across the entire trim surface. Some installers prefer to apply adhesive to the wall surface only, using the trim to spread adhesive as it is positioned. This approach ensures coverage while reducing squeeze-out that might damage wall finishes.
Dealing with Problem Areas
Outside corners present particular challenges where two wall surfaces meet and both may require trim attachment. The corner geometry may not be perfectly square, creating fitting complications. Flexible trim products accommodate these variations better than rigid alternatives, though rigid trim with slight gaps may be preferable where crisp geometric lines define the design.
Inside corners create different challenges where beam ends meet recessed wall areas. These conditions may require custom-fabricated trim pieces rather than standard products. The complexity of custom fabrication should be considered during planning, as extended lead times may affect project schedules.
Non-standard wall conditions including arched openings, curved walls, or irregular surfaces may preclude standard trim solutions entirely. In these cases, custom fabrication or alternative approaches like flexible trim products may provide acceptable results. Identifying these conditions early allows appropriate planning rather than crisis improvisation.
Finish Coordination
Achieving seamless trim-to-beam appearance requires finish coordination that treats both components together. Even when trim and beam share the same color specification, differences in texture or material may create visible contrast. Testing finish application on both components before committing to full installation identifies any coordination problems.
The finish application sequence should address trim after beam installation but before final inspection. This sequencing allows touch-up of any installation damage while ensuring that trim appearance complements rather than contrasts with beam appearance. The sequence also protects beam surfaces from finish overspray or drips that might occur during trim finishing.
Touch-up techniques for trim areas should match those used on beams to maintain appearance consistency. Any filler, stain, or topcoat applied to trim should be products and techniques compatible with the beam finish system. This compatibility ensures that repairs blend seamlessly with surrounding surfaces.
Long-Term Performance
Quality trim installations maintain their appearance and function for decades without special attention. The polyurethane material resists the moisture and temperature cycling that damages natural wood trim, maintaining dimensions and appearance through environmental variations. This stability simplifies maintenance while extending service life.
Periodic inspection should include trim condition assessment, checking for any gaps, loosening, or damage that might indicate developing problems. Early intervention prevents minor issues from progressing to significant repairs, maintaining both appearance and structural integrity.
Cleaning protocols for trim follow those for beam surfaces, with gentle cleaning appropriate for the finish type. Harsh chemicals or abrasive techniques should be avoided to prevent finish damage that would require touch-up or refinishing. Regular cleaning maintains appearance while protecting the underlying material.
Technical References
ASTM standards cited in every specification
Test Data
Lab results from internal testing program
Updated 2026
Reviewed against current product specs


