The ceiling is the most neglected surface in most home renovations. We agonise over wall colours, deliberate over floor materials, and deliberate further over furniture selections — and yet the overhead plane, which occupies roughly a quarter of the visual field in any seated position, receives little more than a fresh coat of emulsion. This neglect represents a genuine opportunity, because ceiling improvements deliver outsized impact relative to the investment they require.
Among the available ceiling upgrade options, exposed beam installations occupy the apex of visual transformation. Unlike decorative paint effects or coving additions, beams introduce genuine three-dimensional architecture into the space. They create shadow, depth, and scale. They establish a visual language that organises the room below and provides a framework within which all other design decisions make sense. The ceiling stops being a neutral surface and becomes a designed element in its own right.
Diagnosing Your Current Ceiling Condition
Before specifying a beam installation, the existing ceiling requires honest assessment. The condition of the current ceiling affects what is possible and determines the scope of preparatory work needed before beams can be installed.
Plaster ceilings in older properties may exhibit cracks, sagging, or historic repairs that are invisible beneath existing decoration. Pressing gently across the plaster surface reveals soft spots or movement that signal underlying problems. A ceiling that feels solid and secure can receive surface-mounted beam systems without difficulty. A ceiling showing signs of structural movement requires investigation and remediation before any secondary installation.
Concrete ceilings present different considerations. The solid monolithic construction of concrete ceilings provides an excellent substrate for adhesive-fixed beam systems, as the flat surface offers maximum bonding area. However, the weight of beams — even lightweight polyurethane — requires appropriate fixings where adhesive alone would be insufficient. Chemical anchors or mechanical fixings into the concrete substrate provide the secure attachment that safety demands.
Timber joist ceilings offer the most straightforward conditions for beam installation, particularly where joists are exposed or can be exposed through removal of existing plasterboard. The timber structure provides both the fixing substrate and the opportunity to run beams perpendicular to or along the joist direction depending on the desired visual effect. Where joists are hidden, locating them using a detector enables strategic beam placement that fixes directly into structural timber.
Designing the Beam Configuration
Ceiling beam configurations fall into several established patterns, each creating a distinct spatial effect. The choice between configurations should follow from the room's proportions, the intended use, and the overall design concept rather than from arbitrary aesthetic preference.
Single-direction beams run parallel to each other, typically perpendicular to the ridge beam in a pitched roof or across the shortest dimension of a rectangular room. This arrangement reads as directional — it can emphasise the length of a room or, if running across the longer dimension, visually widen a narrow space. The rhythm of repeated parallel beams creates a sense of ordered calm that suits both contemporary and traditional interiors.
Cross-beam configurations introduce a second set of beams running perpendicular to the first, creating a grid or checkerboard pattern across the ceiling. This approach generates more visual complexity and architectural richness than single-direction beams but demands higher ceiling heights to avoid making the space feel compressed. Cross-beam installations work best in rooms with generous proportions where the additional depth reads as grand rather than overwhelming.
Coffers — recessed rectangular or square panels created by beams running in both directions with intersecting joints — represent the most elaborate ceiling beam treatment. The coffer effect creates a sense of structural grandeur that connects to classical architectural traditions. This configuration suits larger rooms in properties where a sense of occasion and importance is desired: formal living rooms, dining rooms, master bedroom suites, or entrance halls.
Feature beams break from the repetitive rhythm of standard beam arrangements to introduce singular elements with specific spatial purpose. A single oversized beam crossing the ceiling at a perpendicular angle to the room's primary axis creates a dramatic focal point without the commitment of full ceiling coverage. These statement pieces work well in contemporary interiors where the overall aesthetic commitment to beams is more restrained.
Selecting Beam Dimensions and Profiles
The dimensions of ceiling beams must relate proportionally to the room they inhabit. A beam that looks perfectly scaled in a grand hall would overwhelm the same ceiling installed in a modest kitchen. Getting the proportions right is the single most important design decision in a ceiling beam project.
The depth of a beam — its vertical dimension as installed — determines how much shadow it casts and how prominently it reads as a three-dimensional element. Deeper beams create bolder shadows and more dramatic textural contrast. Shallower beams read as architectural lines that define space without dominating it. For most residential ceiling applications, beam depths between 100mm and 200mm hit the appropriate balance between presence and proportionality.
Width — the horizontal dimension of the beam face — influences both the visual weight and the installation practicality. Wider beams make a stronger visual statement but require more material and may be harder to handle during installation. The standard approach of specifying beams at one-third to one-half the depth dimension produces results that feel balanced. Wider or narrower deviations should be deliberate choices responding to specific design intentions rather than defaults.
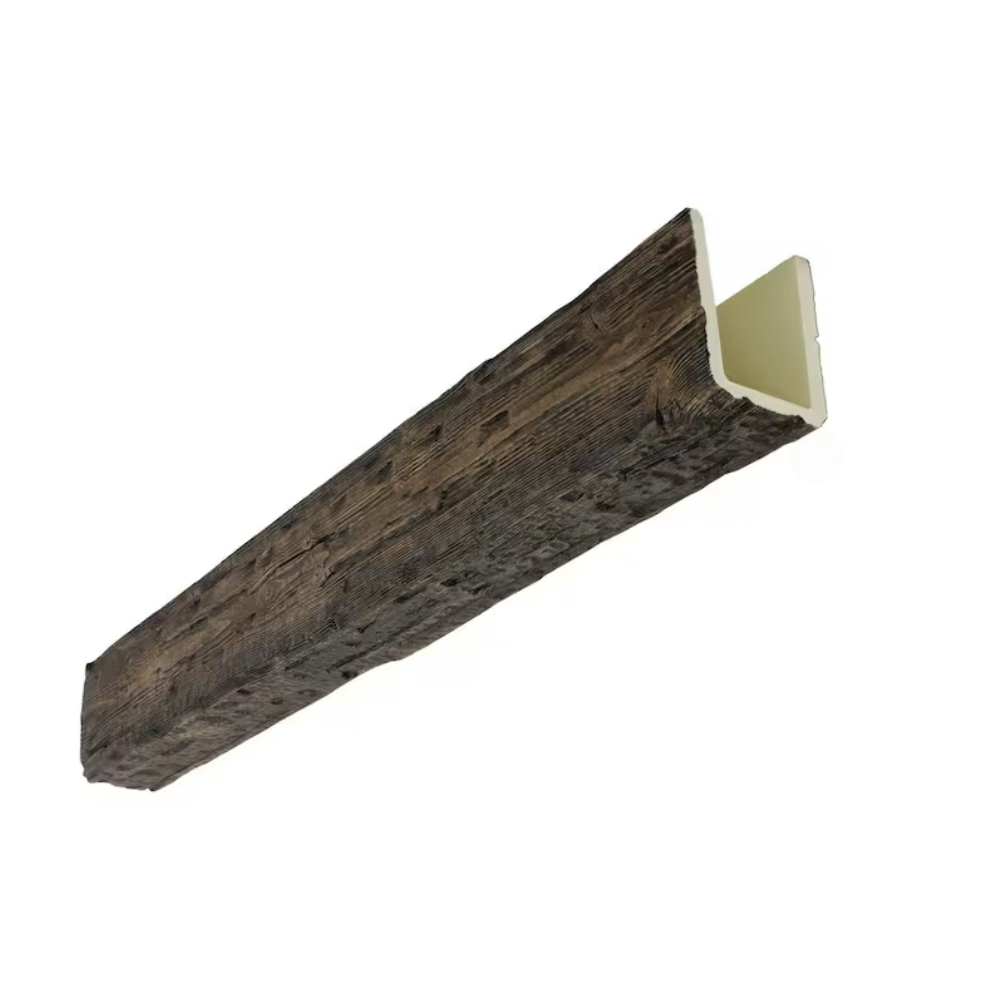
Profile selection — the specific cross-sectional shape of the beam — determines the aesthetic character of the installation. Traditional profiles with deeply chamfered arrises and pronounced shadow lines evoke rustic and farmhouse aesthetics. Contemporary square-edged profiles with minimal chamfering read as clean and architectural. Stepped profiles, tongue-and-groove soffit panels, and variable-width plank combinations each establish their own visual language.
The Installation Process
Proper installation ensures that beams perform structurally and visually throughout their service life. The process follows a logical sequence that skilled installers follow regardless of the specific beam product or mounting system employed.
Preparation begins with accurate surveying of the existing ceiling. Measurements of room dimensions, ceiling flatness, and joist or beam locations inform the installation layout. The beam configuration is marked on the ceiling surface, with chalk lines or low-tack masking tape establishing the position of each beam before any fixings are made. This dry-run positioning enables adjustments before irreversible work begins.
Mounting systems vary by product and substrate but generally involve either surface-mounted metal brackets, direct adhesive bonding, or a combination of both. Metal bracket systems provide mechanical security and enable straightforward removal if future access is needed. Adhesive systems — using construction-grade polymer adhesives — create seamless, invisible fixings where the beam appears to float against the ceiling. Combined systems offer the security of mechanical fixing with the clean appearance of adhesive bonding.
Beam joints — where lengths meet to create continuous runs — require careful attention to achieve clean results. Professional installers typically use 45-degree mitred joints at corners and straight scarf joints along runs, with the joint position staggered between adjacent beams to avoid cumulative alignment issues. Wood filler or flexible sealant applied to joints creates seamless transitions that read as continuous timber.
Finishing work addresses the interface between beams and the existing ceiling surface. Small gaps, fixing holes, or joint preparations are filled and sanded smooth before any staining or painting work begins. The goal is an installation that appears to have grown from the ceiling rather than been attached to it — a distinction that separates professional results from amateur installations.

Lighting Integration
Ceiling beams create opportunities and challenges for room lighting. The relief introduced by beam installations complicates the positioning of recessed downlights, surface-mounted fixtures, and pendant lights in ways that require deliberate planning.
Recessed downlight positioning must account for the beam depth and mounting position. Installing downlights between beams requires careful coordination to ensure that light distribution patterns align correctly. The recessed housing must not intersect with the beam mounting bracket or substrate. In some configurations, downlights are installed within the beam structure itself — routed channels through the beam allow fittings to sit flush with the beam soffit while concealing the housing within the beam mass.
Pendant lights and chandeliers hung from beam ceilings need appropriate ceiling rose installations. The fixing point must penetrate through the beam to reach the structural substrate — either the ceiling joist or a structural support installed specifically to carry the fitting weight. Lightweight pendants may attach directly to the beam using through-bolts, but any fitting exceeding a few kilograms requires direct structural fixing.
The light quality cast by beams themselves becomes a design feature when treated intentionally. Uplighting — concealed light sources that wash illumination up the beam face and across the ceiling — creates a completely different atmosphere from downlighting. The soft upward glow reveals the beam's underside texture while casting warm reflected light across the room. This approach works particularly well in living rooms and bedrooms where a relaxed, intimate atmosphere is desired.
Protecting Your Investment
A properly installed ceiling beam system should perform reliably for decades without intervention. Several practices help ensure this outcome.
Inspect fixings periodically, particularly in the first year after installation when any settling or adjustment of the building structure might affect connection integrity. Tightening any loose bracket connections during this period prevents problems from developing. After the first year, annual visual inspection is generally sufficient.
Avoid applying excessive loads to beams. While PU beams handle their own weight reliably, they are not designed to support significant additional loads. Hanging heavy items from ceiling beams, using them as structural supports for loft access platforms, or stacking materials on beams during renovation work risks damage or failure.
Keep beam surfaces clean using methods appropriate to their finish. Most PU beam finishes tolerate damp cleaning with mild detergent. Abrasive cleaners, steel wool, and harsh chemicals should be avoided as they may damage surface coatings. For painted beams, touch-up paint matching the original specification handles minor chips or scratches effectively.
Technical References
ASTM standards cited in every specification
Test Data
Lab results from internal testing program
Updated 2026
Reviewed against current product specs


