There is a moment in every renovation project when the ceiling transforms from background to foreground — when the decision is made to stop treating the overhead plane as a neutral surface and start treating it as a designed element. This moment rarely comes early. It usually arrives after walls have been painted, floors have been laid, and furniture has been positioned, and yet the room still feels incomplete. The ceiling is the culprit, and the solution is a beam installation.
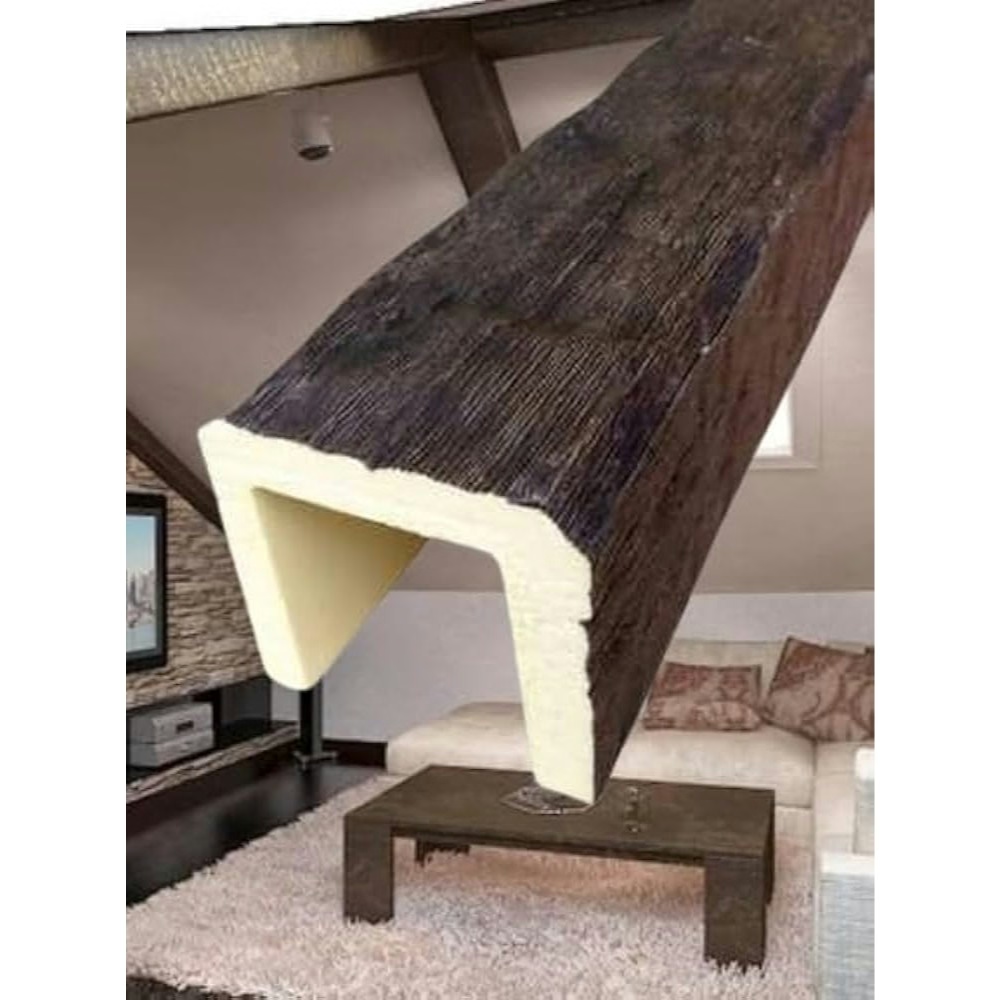
PU faux wood beams represent the most practical path from a flat plastered ceiling to an architectural overhead space. The upgrade is achievable in both new-build and existing properties, in a range of configurations suited to different room types and budgets, and with installation methods that competent DIY installers can manage alongside professional tradespeople. The result is a ceiling that transforms the entire room — not merely its appearance, but the way the space feels to inhabit.
The Upgrade Decision: When Beams Make Sense
Ceiling beam installation is not appropriate for every room in every property. Understanding when beams represent the right upgrade choice — and when alternative treatments would serve better — prevents misallocation of budget and effort.
Rooms with adequate ceiling height are the primary candidates for beam upgrades. Beams reduce the apparent ceiling height by introducing dimensional elements into the overhead plane; in rooms with already modest ceiling heights, this reduction can make the space feel cramped rather than enriched. As a rough guide, rooms with ceiling heights of 2.5 metres or more can generally accommodate beam installations without adverse spatial effects. Rooms with ceiling heights below 2.4 metres require careful profile selection and installation configuration to avoid compression.
Rooms with defined architectural axes benefit most from directional beam installations. A room with a clear longer axis — whether defined by window placement, fireplace position, or spatial organisation — can be visually enhanced by beams running perpendicular to that axis, reinforcing the directional quality and making the room feel more intentionally designed. Rooms with no clear axis and symmetrical proportions may not benefit from directional beams in the same way.
Rooms where the ceiling currently feels like the weakest surface in the room are prime candidates for beam upgrade. If the ceiling is the element that lets the room down — visible water staining, poor plaster quality, or simply an absence of design ambition — then beams can address this weakness directly. If the ceiling is already a strong surface — well-plastered, attractively coloured, or featuring other architectural details — beams may compete rather than complement.
Upgrade Strategies by Room Type
Different rooms present different upgrade opportunities and constraints. A systematic approach to room-by-room assessment identifies where beam installations will deliver the greatest benefit and enables appropriate specification in each context.
Kitchen ceilings present specific challenges for beam upgrades. The concentration of services — extraction hood ducting, recessed lighting, under-cabinet lighting wiring — creates obstacles that must be navigated during beam installation. The preferred approach is to install service runs before beam installation, ensuring that the beam layout is coordinated with existing service positions. Kitchens with flat-pack cabinetry running the full ceiling height require beam configurations that avoid the cabinet positions — typically beams running perpendicular to the cabinet run.
Bedroom ceilings offer more straightforward upgrade conditions. The service concentration is lower, and the spatial character required is typically softer and more intimate than kitchen ceilings demand. Bedroom beam installations benefit from warmer finish tones — honey oak, natural pine, or pale limed finishes rather than the dramatic dark stains appropriate in more public spaces. The bed position provides a natural anchor point for the beam composition; treating the ceiling above the bed as the focal area of the beam installation creates a sense of intimacy and shelter.
Bathroom ceilings require specific consideration of humidity and moisture. While polyurethane is moisture-resistant, the aesthetic outcome depends on appropriate ventilation provision and the specification of suitable surface coatings. Satin or semi-gloss finishes resist moisture penetration more effectively than matte textured finishes and are preferable in bathroom applications. Steam extraction fans should be operating during and after showering to manage humidity levels within the tolerance of the beam finish.
Open-plan living spaces present the most ambitious upgrade opportunities. The large ceiling area and the multiple functional zones within a single space demand a considered approach to beam configuration that addresses the spatial organisation while maintaining overall visual coherence. A single-direction beam installation running perpendicular to the kitchen run, for example, can visually separate the kitchen zone from the dining and living zones while maintaining the open-plan quality that makes these spaces desirable.

Budget-Tiered Upgrade Approaches
Beam upgrades can be scoped to different budget levels, enabling homeowners to achieve meaningful improvement within whatever financial constraints apply. Understanding the cost-to-impact relationship at different budget tiers helps homeowners make informed decisions about scope and specification.
The entry-level beam upgrade involves installing a single statement beam across the most visible ceiling axis. This approach delivers disproportionate visual impact relative to the modest investment, creating a focal point that draws the eye and establishes the design character of the room. The single beam can be a significant statement — a deep, wide beam in a quality finish — rather than a timid compromise. All the installation costs associated with a full ceiling of beams are concentrated in a single element, maximising the result per pound spent.
The mid-range upgrade adds a second and third beam to create a parallel group that reinforces the directional emphasis of the single beam approach. Three to five parallel beams, spaced at regular intervals, create a rhythm across the ceiling that elevates the room's architectural quality substantially. This approach suits rooms where a single beam would feel isolated or arbitrary — where the ceiling area is large enough that one beam would read as insufficient.
The full ceiling upgrade covers the entire ceiling plane with a beam configuration — typically single-direction beams across the full room dimensions, cross-beam arrangements for grander effects, or coffered configurations in the most ambitious implementations. This full coverage approach requires the highest investment in both product and installation but delivers the most complete architectural transformation. It is most appropriate in rooms where the ceiling is the primary design opportunity — where wall and floor treatments are constrained or already resolved.
Installation Planning and Preparation
Successful beam installation depends on thorough preparation before the first fixing is made. The planning phase addresses technical, logistical, and design decisions that, if left unresolved, will complicate the installation and compromise the result.
Accurate measurement of the ceiling space enables correct beam ordering and minimises waste from cutting errors. Both the overall room dimensions and the specific positions of ceiling obstructions — light fittings, air conditioning vents, structural elements — should be recorded. The beam layout should be drawn to scale, showing the proposed positions of all beams, the positions of any integrated lighting, and the location of joints between beam lengths.
Fixing method selection depends on the ceiling substrate and the beam weight. Surface-mounted bracket systems work with most ceiling types and enable straightforward removal if future access is needed. Direct adhesive bonding creates seamless, invisible fixings but requires flat, clean, dry substrates. Combined systems — brackets plus adhesive — provide maximum security and are appropriate for larger beams or ceilings where the substrate condition is uncertain.
Joint planning ensures that beam lengths meet cleanly at positions that look intentional rather than arbitrary. Joints should fall at consistent positions across parallel beams — either at the same percentage of the beam length or aligned with a specific structural feature like a joist position. Avoid placing joints at random positions that create visual discontinuity across the beam run.
DIY Versus Professional Installation
The decision between DIY and professional installation depends on several factors: the homeowner's skill level, the complexity of the installation, the availability of helpers for handling, and the consequences of getting it wrong.
Simple single-beam installations are well within the capability of competent DIY enthusiasts with basic tool skills. The key requirements are accurate measurement, careful marking, appropriate fixing selection for the substrate, and a helper for handling longer beams. The satisfaction of completing a visible architectural element yourself adds a personal dimension to the renovation that professional installation cannot provide.
Complex installations — cross-beam configurations, coffered ceilings, or integrated lighting systems — benefit from professional installation that brings experience with joint construction, alignment precision, and the handling of unexpected site conditions. The premium charged for professional installation is justified by the quality of result and the elimination of the learning-curve errors that DIY installations typically encounter.
Access and handling constraints may favour professional installation regardless of the installation complexity. Beams exceeding three metres in length are difficult to handle safely without equipment or an additional person. Installations at height — above 3 metres from floor level — require appropriate access equipment that most homeowners do not possess. Professional installers bring both the equipment and the training to work safely at height.
Protecting the Completed Installation
Once installed, beams require minimal ongoing attention, but a few practices help maintain their appearance over the long term.
Regular dusting with a long-handled brush or soft brush attachment removes the accumulation that naturally occurs on overhead surfaces. The frequency depends on the room's exposure to dust — kitchens and high-traffic areas accumulate faster than rarely-used rooms.
Immediate attention to any fixing concerns prevents small problems from becoming significant ones. If a beam shows any movement or separation from the ceiling, the fixing should be investigated and remedied before the condition worsens.
Surface cleaning with a damp cloth handles soiling that dusting cannot address. A mild detergent solution applied with a soft cloth, followed by a clean water rinse, removes most accumulated grime without damaging beam surfaces. Abrasive cleaners and chemical solvents should be avoided as they may damage surface finishes.
Technical References
ASTM standards cited in every specification
Test Data
Lab results from internal testing program
Updated 2026
Reviewed against current product specs


