Every renovation project involves choices about scope and method. Complete ceiling reconstruction delivers thorough results but demands significant time, expense, and disruption. Surface treatments offer incremental improvement but often fall short of the transformation that clients envision. Beam cladding occupies a productive middle ground—covering existing surfaces with dimensional elements that create substantial visual impact while keeping the project within manageable scope.
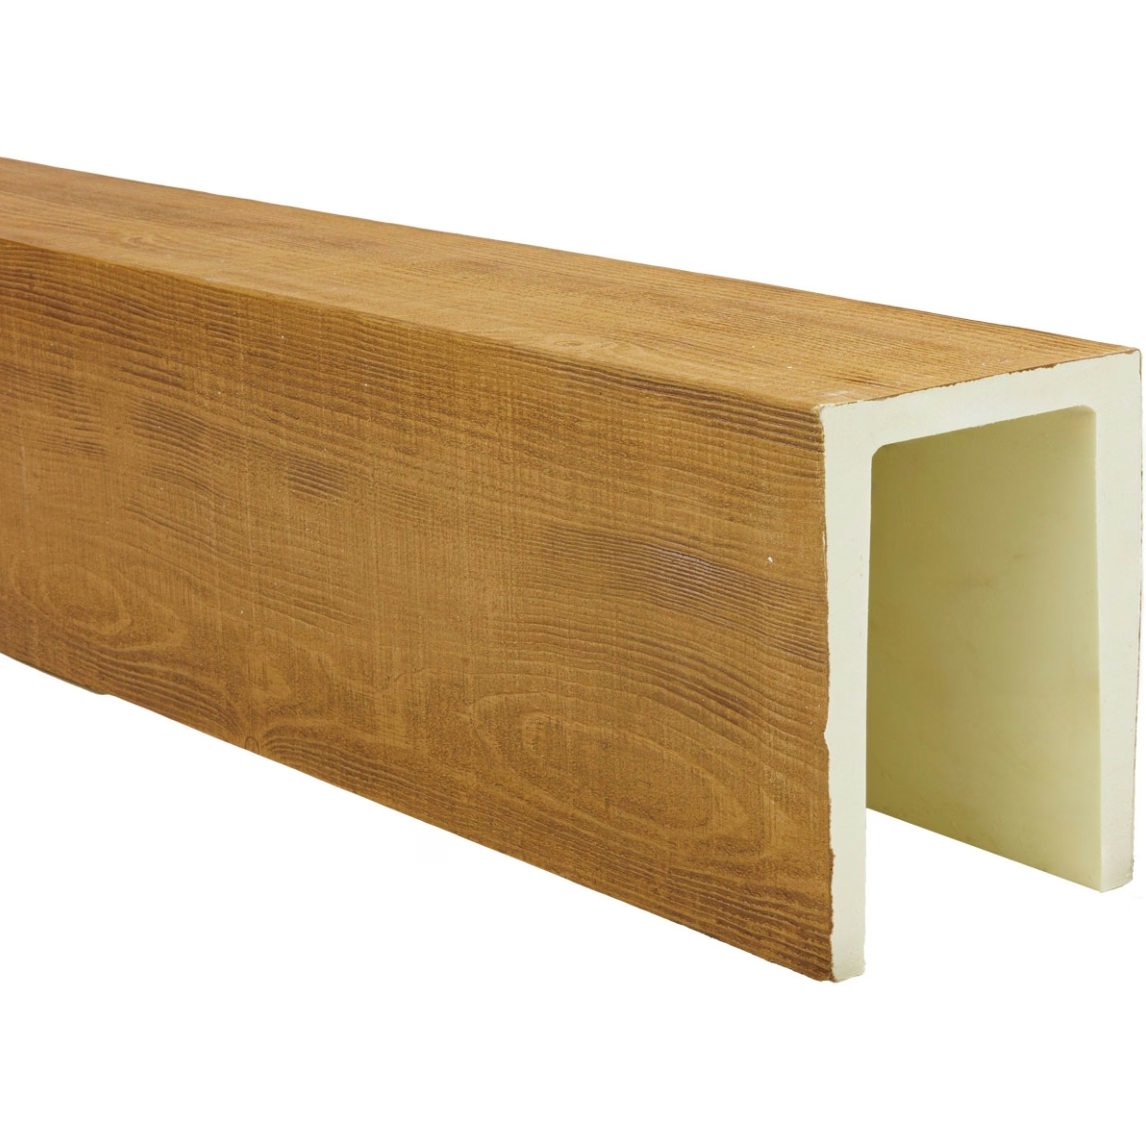
Polyurethane beam cladding systems have refined this approach into a reliable methodology for ceiling transformation. The products consist of thin-profile panels and moldings that attach to existing surfaces, creating the appearance of structural beam construction without any of the structural requirements. The transformation happens entirely at the surface level, which means no demolition, no structural work, and no extensive preparation of the underlying substrate.
Understanding Beam Cladding Systems
Beam cladding differs from full beam installation in its relationship to the existing structure. Where complete beams span between supports and create their own visual mass, cladding elements wrap around or overlay existing surfaces to create dimensional interest. A flat ceiling becomes a beam-and-panel ceiling through the addition of cladding components that define grid lines, panel fields, and decorative intersections.
The components of a typical cladding system include main beam faces, cross beam faces, panel inserts, and corner or intersection treatments. These pieces coordinate to create complete ceiling compositions that read as intentional architectural design rather than surface decoration. The dimensional depth created by layering these components produces shadows and highlights that make the ceiling visually active rather than passively flat.
Material selection for cladding systems prioritizes lightweight handling without sacrificing surface durability. Polyurethane delivers both requirements effectively. Individual pieces remain light enough for single-person installation while providing surfaces that withstand routine cleaning and occasional contact without damage.
Surface Preparation Requirements
Successful cladding installation requires clean, sound surfaces free from loose material, grease, or significant irregularity. The existing ceiling need not be perfectly flat—some systems accommodate minor variations through flexible mounting approaches—but gross irregularities will telegraph through the cladding and compromise the finished appearance.
Inspection of the existing ceiling should identify any areas requiring repair before cladding installation begins. Peeling paint, water damage, or structural cracks should receive appropriate treatment. The goal is a stable substrate that will support the cladding attachments throughout the life of the installation.
Priming the existing surface serves multiple purposes. It stabilizes loose material, promotes adhesion of mounting adhesives, and creates a consistent surface for any caulking or finishing that follows. Water-based primers work well with water-based adhesives, though solvent-based products may be appropriate in specific conditions.

Installation Sequence and Technique
Cladding installation typically proceeds from the perimeter inward, establishing the outer boundaries of the beam grid before filling in interior elements. This approach allows adjustments to grid spacing as needed to maintain visual balance across the ceiling. Starting with fixed reference points—the center of the room, the orientation of dominant light sources, or the relationship to existing architectural features—provides guidance for positioning decisions.
Mounting methods combine mechanical fasteners with construction adhesive for secure, permanent attachment. Screws through the cladding into the substrate provide immediate holding power while the adhesive cures and develops its full strength. The combination creates installations that resist both downward loading and lateral stress without concern for adhesive failure.
Corner intersections require careful attention to miter alignment and gap management. Small gaps at intersections can receive caulking that matches the beam finish, creating seamless joints that appear to be solid construction. Larger gaps indicate positioning errors that should be corrected before the adhesive sets. The adjustable working time of construction adhesive allows for repositioning if needed during installation.
Matching Cladding to Room Proportions
Ceiling grid proportions significantly affect the visual outcome of cladding installation. Beams spaced too closely create visual clutter that overwhelms the room. Beams spaced too widely lose the ceiling plane entirely, creating a disjointed appearance that undermines the intended transformation. Proportion guidelines suggest beam spacing that relates to the room dimensions—typically divisions that create rectangular or square panels with proportions similar to the room itself.
Beam depth relative to width influences the perceived weight of the ceiling treatment. Deep, narrow beams read as substantial and structural. Shallow, wide beams read as decorative and architectural. The choice depends on the visual character desired and the scale of the room. Large rooms support deeper beams; smaller rooms benefit from more restrained proportions.
Panel inset depth contributes to the overall dimensional quality of the installation. Deeper insets create stronger shadow lines and more dramatic relief. Shallow insets provide subtle texture without strong visual interruption. Most residential applications fall in the moderate range, creating noticeable depth without overwhelming the space.
Finishing and Detailing
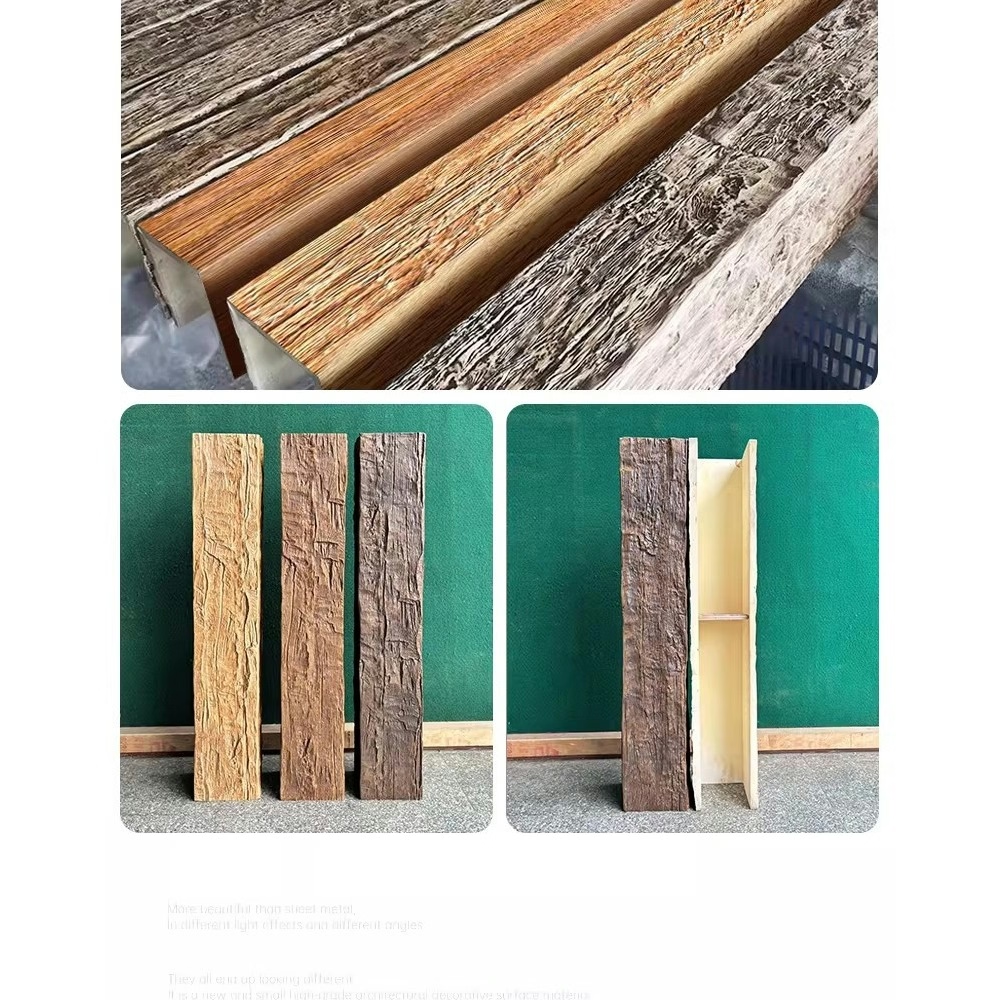
Factory-finished cladding typically requires no site finishing beyond routine cleaning. The pre-applied surfaces arrive ready for installation, eliminating the sanding, priming, and painting that site finishing demands. This convenience translates to faster completion and more predictable results.
Touch-up of minor installation damage uses materials appropriate to the finish type. Light scratches in painted finishes receive spot painting with small brushes. Damage to stained or natural finishes may require specialized repair products designed for polyurethane surfaces. Significant damage typically requires part replacement rather than field repair.
Sealant joints where cladding meets walls or other surfaces complete the installation visually. A continuous bead of paintable caulk creates clean transitions that hide minor gaps and prevent dust infiltration behind the cladding. The caulk line should be consistent in width and tooled to a slight recess that creates a shadow line without appearing sloppy.
Maintenance of Clad Ceilings
Clad ceilings require minimal ongoing maintenance beyond routine cleaning. Dust accumulation on horizontal surfaces and in corner details responds to dusting with soft brushes or vacuum attachments designed for delicate surfaces. The dimensional profile of cladding creates more dust-catching surfaces than flat ceilings, which may increase cleaning frequency slightly.
Inspection of attachment points should occur periodically, particularly in the first years after installation when building settling and material acclimation might stress mounting connections. Tightening any loose fasteners prevents progressive deterioration and maintains the secure feeling of the installation.
The durability of polyurethane surfaces handles the demands of residential cleaning without special precautions. Standard household cleaners may be used without concern for finish damage, though abrasive products should be avoided to preserve surface appearance over time.
Beam cladding represents one of the most efficient paths to ceiling transformation available to renovation projects. The combination of substantial visual impact, manageable installation requirements, and lasting performance makes it an approach worth serious consideration whenever ceiling character improvement is on the project scope.
Technical References
ASTM standards cited in every specification
Test Data
Lab results from internal testing program
Updated 2026
Reviewed against current product specs


