Architectural tradition offers a rich vocabulary of ceiling treatments developed over centuries of building. Crown moldings sweep along wall-ceiling intersections. Cornices define the transition between wall and ceiling planes. Beams span across ceiling fields in patterns that organize space and create visual rhythm. Dentil courses add fine detail to larger moldings. Egg-and-dart, acanthus leaf, and scrollwork enrich surfaces with sculptural detail. These elements carry meaning and association that transcends mere decoration—they communicate historical awareness, attention to craft, and respect for architectural precedent.
Reconciling this tradition with contemporary construction practices presents genuine challenges. Traditional materials like plaster and carved wood require specialized skills that have become scarce and expensive. Site-built installations introduce variability that compromises the precision these details require. The gap between aspiration and execution often leaves projects with flat, characterless ceilings that fail to engage the design intentions that inspired them.
Cast polyurethane molding products address this gap by enabling precise, consistent execution of complex architectural details. The manufacturing process delivers accuracy that site work cannot match, while the material properties support reliable long-term performance without the fragility of traditional materials.
Understanding Decorative Beam Moldings
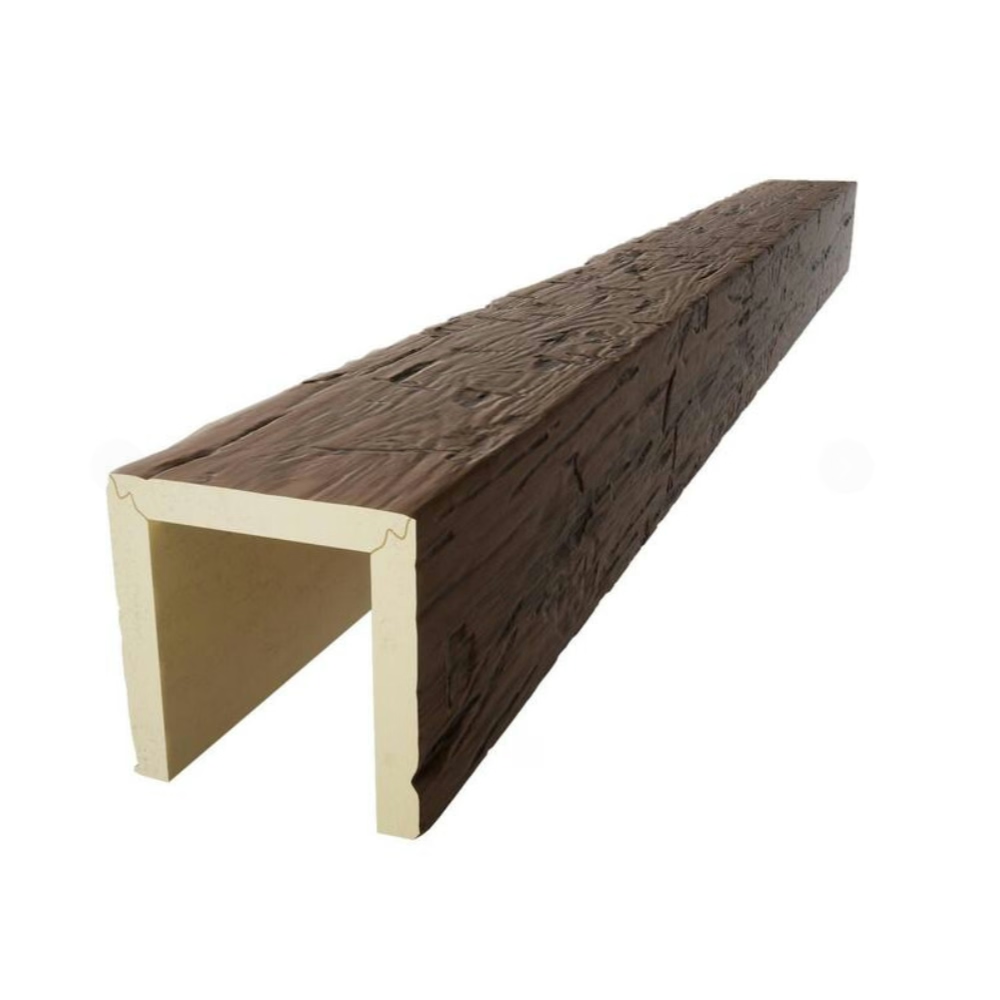
Decorative beam moldings differ from structural beam installations in their primary function. Where structural beams present substantial visual mass that reads as load-bearing, decorative moldings add architectural interest through profile complexity and surface detail. The distinction matters for installation approach and for the overall design composition.
Beam moldings typically combine a primary profile that defines the beam's cross-sectional shape with surface enrichment that adds character to that profile. A simple rectangular beam might receive applied molding strips that create a more elaborate silhouette. A compound profile might incorporate multiple setback steps, fillets, and decorative bands that create visual richness through dimensional complexity.
The depth and projection of molding profiles determine their visual impact in the completed installation. Deep projections create strong shadow lines that make the molding read clearly from across the room. Shallow projections require closer viewing distance to appreciate fully. The choice depends on ceiling height, viewing distances, and the overall scale of the space.
Profile Types and Their Applications
Dentil molding consists of small rectangular blocks arranged in a continuous course, typically with spacing that relates to the block dimensions according to classical proportions. This detail traditionally appears in cornices and beam undersides, adding fine rhythm to larger forms. Polyurethane dentil molding reproduces the detail with precision that ensures consistent spacing and crisp edges throughout the installation.
Acanthus leaf molding features stylized foliage that scrolls along the molding length. This classical ornament appears in column capitals, crown moldings, and chair rails. The casting process captures the organic irregularity of carved foliage while maintaining consistency that hand carving cannot reliably achieve. The result honors the classical tradition while delivering practical installation advantages.
Egg-and-dart and analogous bead-and-reel profiles provide continuous ornamentation with strong directional movement. The repeating pattern guides the eye along the molding length, emphasizing the horizontal or diagonal orientation of the installation. These details work well on long beam spans where the pattern can develop its rhythm.
Ogee and cavetto curves define the profile transitions in classical moldings. The concave cavetto and convex ogee appear in countless combinations that create the vocabulary of traditional cornice design. Polyurethane casting reproduces these curves with mathematical precision, ensuring that profile transitions read smoothly without flat spots or irregularities that would catch the eye as errors.
Installation Techniques for Ornate Molding
Installing decorative molding requires attention to both the individual components and their relationships to each other and to the surrounding architecture. Planning the installation sequence before beginning ensures that components will align properly and that finishing details receive appropriate attention.
Internal and external corners present the first installation challenge. Miter cuts must meet precisely to avoid gaps that compromise the continuous appearance of the molding. For complex profiles with multiple parallel elements, compound miters may be necessary. Practice cuts on scrap material help verify the cutting approach before committing to finished pieces.
Field joints where molding pieces meet along their length require scarf cuts that overlap the joint to hide the connection. The angle of the scarf should relate to the profile geometry to ensure that the joint does not create a visible line. Careful fitting and adhesive bonding produce joints that disappear into the continuous surface.
Attachment to the substrate uses a combination of mechanical fasteners and construction adhesive. Nailing through thin molding elements requires care to avoid splitting. Brad nails set below the surface allow filling that conceals the attachment point. Adhesive provides the primary bond while fasteners hold the piece in place during curing.
Coordination With Lighting and Other Ceiling Elements
Decorative ceiling moldings often interact with light fixtures, ceiling fans, and other embedded elements. Planning the layout to accommodate these features ensures that molding details remain intact rather than being interrupted or compromised by penetration.
Light fixture canopies can be detailed to coordinate with surrounding molding rather than appearing as unrelated additions. Custom medallions or frames integrate fixtures into the ceiling composition. The coordination requires early information about fixture specifications and careful site measurement to ensure proper fit.
HVAC supply and return grilles may interrupt continuous molding runs. The interruption should acknowledge the molding as a design priority, with grille frames detailed to align with molding profiles rather than simply cutting through. This approach maintains the integrity of the ceiling treatment despite the functional intrusion.
Finishing Decorative Molding
Factory-finished molding arrives with surfaces ready for installation, but site finishing may be necessary to integrate molding with other ceiling elements or to achieve specific color requirements. Painting polyurethane molding uses standard techniques with appropriate primer selection.
Priming ensures adhesion of the topcoat to the polyurethane surface. adhesion. Premium acrylic primers work well with most finish systems. The primer should be compatible with both the molding surface and the selected topcoat to ensure lasting results.
Topcoat application follows primer drying. Multiple thin coats provide better results than single heavy coats, which might sag or runs. Light sanding between coats ensures smooth surfaces. The goal is a finish that appears to be continuous with any adjacent painted surfaces, creating a unified ceiling treatment.
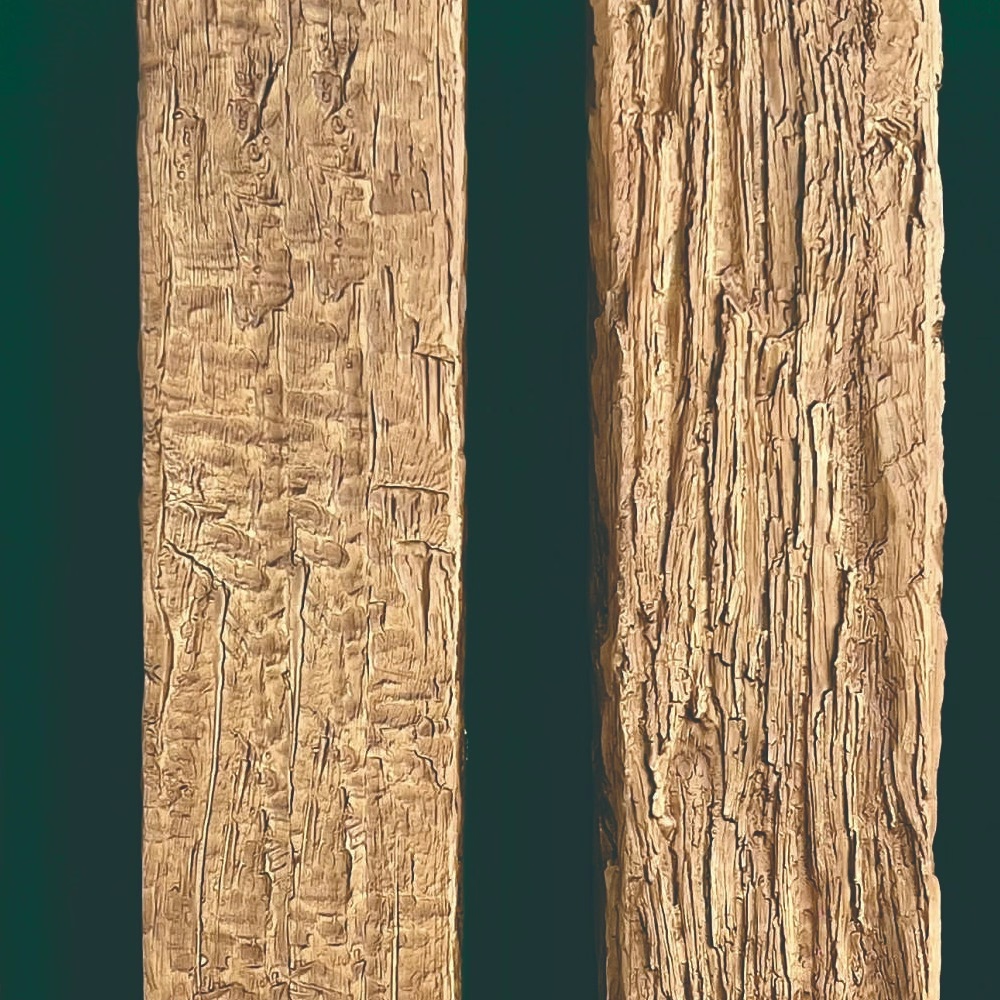
Stained finishes on polyurethane require different preparation than on natural wood. The non-porous surface does not absorb stain, so techniques that rely on differential absorption for grain simulation do not work. Instead, grain patterns may be applied through methods like printing or embossing that achieve the visual effect without relying on absorption characteristics.
Maintenance of Decorative Ceiling Molding
The durability of polyurethane simplifies maintenance considerably. Unlike plaster, which may crack or chip, or carved wood, which may suffer insect damage or finish deterioration, polyurethane maintains its appearance with routine care.
Cleaning uses soft brushes or vacuum attachments that remove dust without abrading surfaces. The dimensional profile of decorative molding creates more dust-catching surfaces than flat trim, so attention to detail in corners and recesses ensures complete cleaning.
Damage repair depends on the severity of the issue. Minor chips may fill with spackle or body filler, sanded smooth, and touched up with paint. Significant damage typically requires part replacement rather than repair. The modular nature of molding installation means that individual pieces can be removed and replaced without affecting adjacent elements.
Decorative molding beams provide a path to classical architectural expression in contemporary construction. The combination of authentic detail, reliable performance, and practical installation makes period-appropriate ceiling design accessible to projects across all scales and budgets.
Technical References
ASTM standards cited in every specification
Test Data
Lab results from internal testing program
Updated 2026
Reviewed against current product specs


