Brad nailers provide an efficient method for attaching polyurethane faux beams, combining speed with sufficient holding power for most residential installations. However, improper technique can damage beam surfaces or create weak attachments that fail over time. Understanding how to use these tools effectively ensures installations that look professional and perform reliably.

Brad Nailer Selection
Pneumatic brad nailers remain the preferred choice for most professional installers due to their reliability and consistent power delivery. These tools connect to air compressors through standard quick-connect fittings and drive brads with consistent force that pneumatic tools cannot match. Select compressors that provide adequate air volume and pressure for sustained use.
Cordless pneumatic nailers combine the convenience of battery power with performance approaching pneumatic tools. Recent advances in battery technology and air compression have made these tools practical for extended use. They excel in situations where compressor access is difficult or where hose management complicates work.
Brad size depends on beam thickness and mounting surface. Standard 18-gauge brads in 1.5-inch to 2-inch lengths work well for most faux beam installations. Thicker beams or harder mounting surfaces may require longer or larger gauge brads. Verify that selected brads will penetrate mounting surfaces adequately without protruding excessively.
Air Pressure and Tool Setup
Optimal air pressure for brad nailers typically ranges from 60 to 100 PSI depending on the specific tool and application. Insufficient pressure produces shallow drives where brads do not fully seat. Excessive pressure drives brads too deep, potentially puncturing through beam backs or creating surface indentations. Test on scrap material before beginning actual installation.
Consistent pressure throughout work sessions requires compressor capacity matched to usage patterns. Intermittent pressure drops cause inconsistent drive depth that creates appearance problems. Larger tanks provide reserve capacity that maintains pressure during continuous operation. Consider compressor size relative to expected daily usage volume.
Depth-of-drive adjustment allows fine-tuning brad penetration without changing air pressure. Most quality brad nailers include adjustment mechanisms that control how far brads are driven. Set depth to seat brads flush with or slightly below the surface without over-driving. Verify settings on scrap material matching actual installation conditions.
Surface Protection Techniques
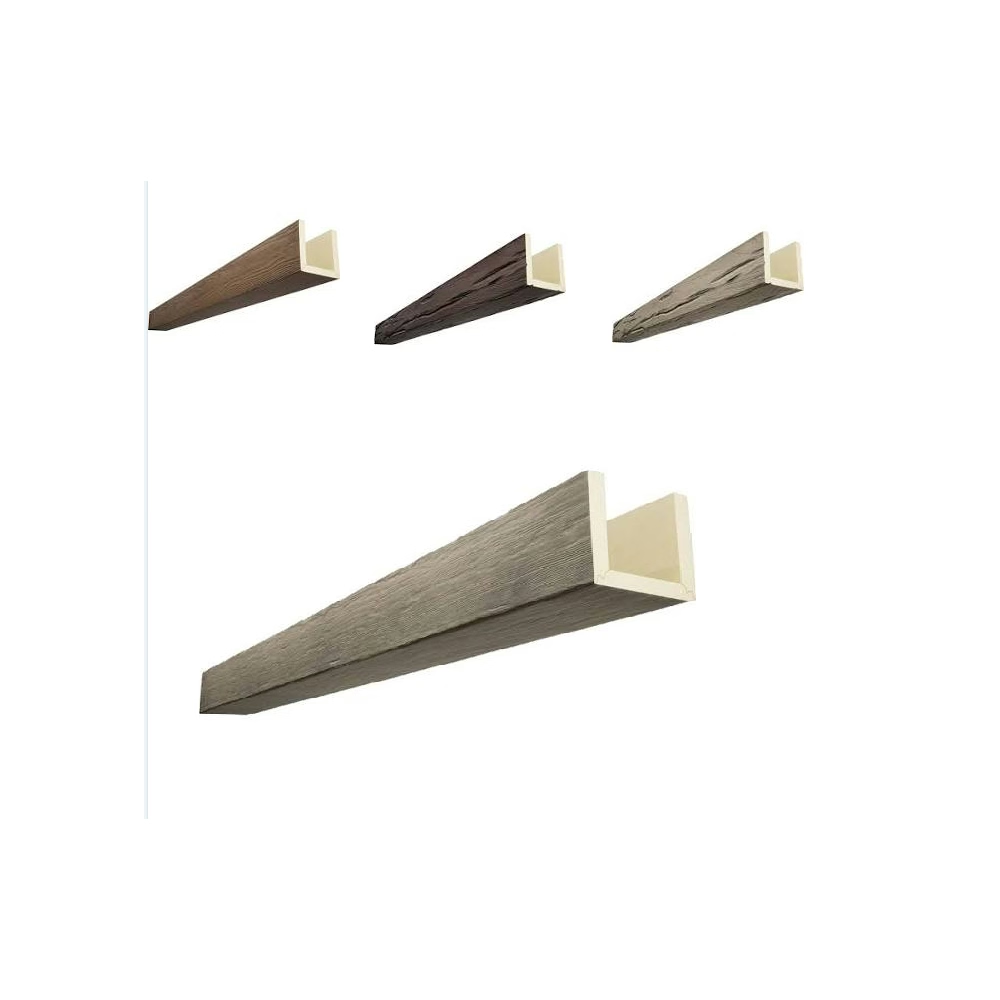
Backer boards mounted behind beam installation points provide solid surfaces for fastening and help protect beam backs from over-driven brads. Plywood or oriented strand board strips fastened to ceiling joists create consistent fastening surfaces across beam runs. Backer boards also help distribute loads and reduce point stresses.
Pre-drilling pilot holes for brads prevents surface splitting in dense beam materials. While polyurethane generally accepts brads well, locations near beam edges or in dense premium formulations may benefit from pilot drilling. Use drill bits slightly smaller than brad diameter to maintain holding power.
Surface protection during nailing prevents hammer or tool contact that would damage beam faces. Masking tape applied to beam surfaces near nailing locations absorbs incidental contact. Some installers use protective rubber pads on tool noses for additional protection.

Installation Technique
Beam positioning should be finalized before beginning fastening. Mark reference lines clearly and verify alignment before committing to attachment. Once brads are driven, repositioning becomes difficult without leaving visible holes. Taking time to position accurately prevents rework that damages beam surfaces.
Starting from one end and working methodically across the beam maintains alignment and prevents gaps. Drive the first brad near one end, verify positioning, then continue fastening at regular intervals. Typical spacing of 12 to 18 inches between fasteners provides adequate support for most beam sizes.
Angled fastening through beam bottoms into ceiling framing provides strongest attachment. Driving brads at slight angles creates mechanical interlock that resists withdrawal better than perpendicular drives. Most brad nailers include angle capabilities for such applications.
Counter-sinking brads below the surface allows fill techniques that hide fastener locations. Use nail set punches to drive brads below surface level, then fill holes with wood filler or spackle that matches beam finish. This technique produces seamless appearance when done properly.
Troubleshooting Common Issues
Surface cracking around brad entry points indicates excessive driving force or improper technique. Reduce air pressure or depth-of-drive setting to prevent cracking. Cracked areas compromise appearance and may allow moisture infiltration that affects long-term durability.
Brads bending during driving suggest insufficient pressure, improper angle, or dense material. Verify air pressure meets tool specifications and that driving angle is appropriate. In dense materials, pre-drilling may be necessary to guide brads properly.
Brads protruding from beam backs occur when beams are too thin or mounting surfaces do not stop fastener travel. Verify that beam thickness exceeds brad length or that mounting surfaces will stop brads before penetration. Protruding brads can damage ceiling finishes and indicate weak attachment.
Missed drives where brads fail to fire completely create weak attachment points that may fail. Check that framing members are properly located for fastening and that tool timing is correctly adjusted. Mark any missed locations for supplemental fastening.
Maintenance and Safety
Regular lubrication maintains pneumatic tool performance and extends service life. Follow manufacturer recommendations for lubrication frequency and oil type. Neglected tools develop reliability problems and may cause inconsistent driving performance.
Periodic inspection identifies worn or damaged components before they cause problems. Check driver blades, O-rings, and other wear items according to maintenance schedules. Replace worn parts promptly to maintain consistent performance and prevent damage from component failures.
Eye protection should be worn during all nailing operations. Debris can fly during driving operations, and eye protection prevents injury. Hearing protection is also advisable for extended use in enclosed spaces where sound levels can be significant.
Workpiece stabilization during fastening prevents movement that could cause misaligned drives. Brace beams during fastening or use assistance when handling longer pieces. Rushing to secure heavy pieces often creates problems that take more time to correct.
Technical References
ASTM standards cited in every specification
Test Data
Lab results from internal testing program
Updated 2026
Reviewed against current product specs


