Successful faux beam installation requires the same attention to technique that distinguishes all quality carpentry work. While polyurethane beams are lighter and work differently than natural timber, professional methods ensure results that look intentional and perform reliably. Experienced carpenters apply these techniques consistently to deliver installations that meet client expectations.

Site Assessment and Planning
Before beginning installation, experienced carpenters evaluate ceiling conditions that affect beam placement and attachment. Joist location, spacing, and condition determine fastener options and support strategies. Identifying obstacles like wiring, ductwork, or recessed lighting prevents mid-installation discoveries that complicate work.
Moisture content assessment identifies conditions that might affect beam performance. While polyurethane resists moisture better than wood, extreme humidity or water intrusion affects mounting surfaces and adjacent materials. Addressing moisture problems before installation prevents later complications.
Clearance verification ensures that beam installation will not conflict with other building elements. Measuring from multiple reference points accounts for construction variations that deviate from design documents. Small discrepancies can be accommodated, but significant deviations require design adjustments before proceeding.
Layout and Reference Establishment
String lines establish reference planes that guide beam positioning throughout installation. Stretching lines across ceiling surfaces at multiple points creates guides that prevent cumulative alignment errors. Professional installers verify string line accuracy before committing to beam placement.
Laser levels provide precise elevation references that strings cannot match. Cross-referencing multiple laser positions confirms accuracy and identifies any instrument errors. Modern laser tools project visible lines that simplify alignment verification across extended spans.

Corner reference marks establish starting points that maintain consistent margins throughout installation. Precise corner layout prevents the visible misalignments that undermine professional appearance. Mark placement should account for beam dimensions and any intended reveals or overlaps.
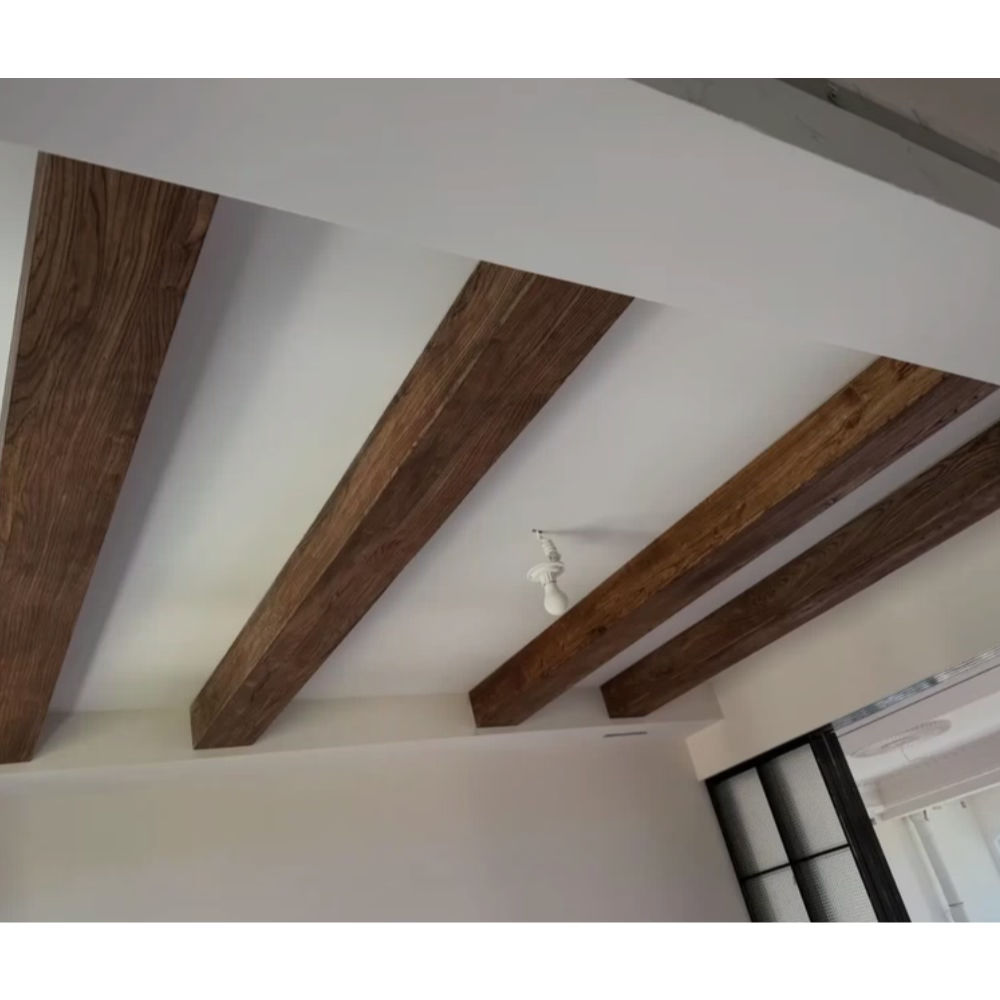
Framing Preparation
Blocking installation provides solid mounting surfaces where joists do not align with intended beam locations. Blocking between joists creates attachment points for brackets or direct fastening. Blocking should be flush with or slightly below joist bottoms to prevent visible gaps.
Plywood backing strips mounted perpendicular to beam runs provide continuous attachment surfaces. This approach accommodates beam positioning without coordinating precisely with joist locations. Backing strips should be firmly fastened and aligned to prevent movement after beam installation.
Electrical and mechanical coordination ensures that services are not compromised by beam installation. Notching or drilling beams for wiring may be necessary in some situations. Planning these modifications prevents damage to components or code violations.
Beam Handling and Preparation
Unpacking inspection reveals any shipping damage before installation begins. Identifying problems before installation prevents the frustration of discovering damage after beams are positioned. Most damage is cosmetic and can be addressed with touch-up finishing.
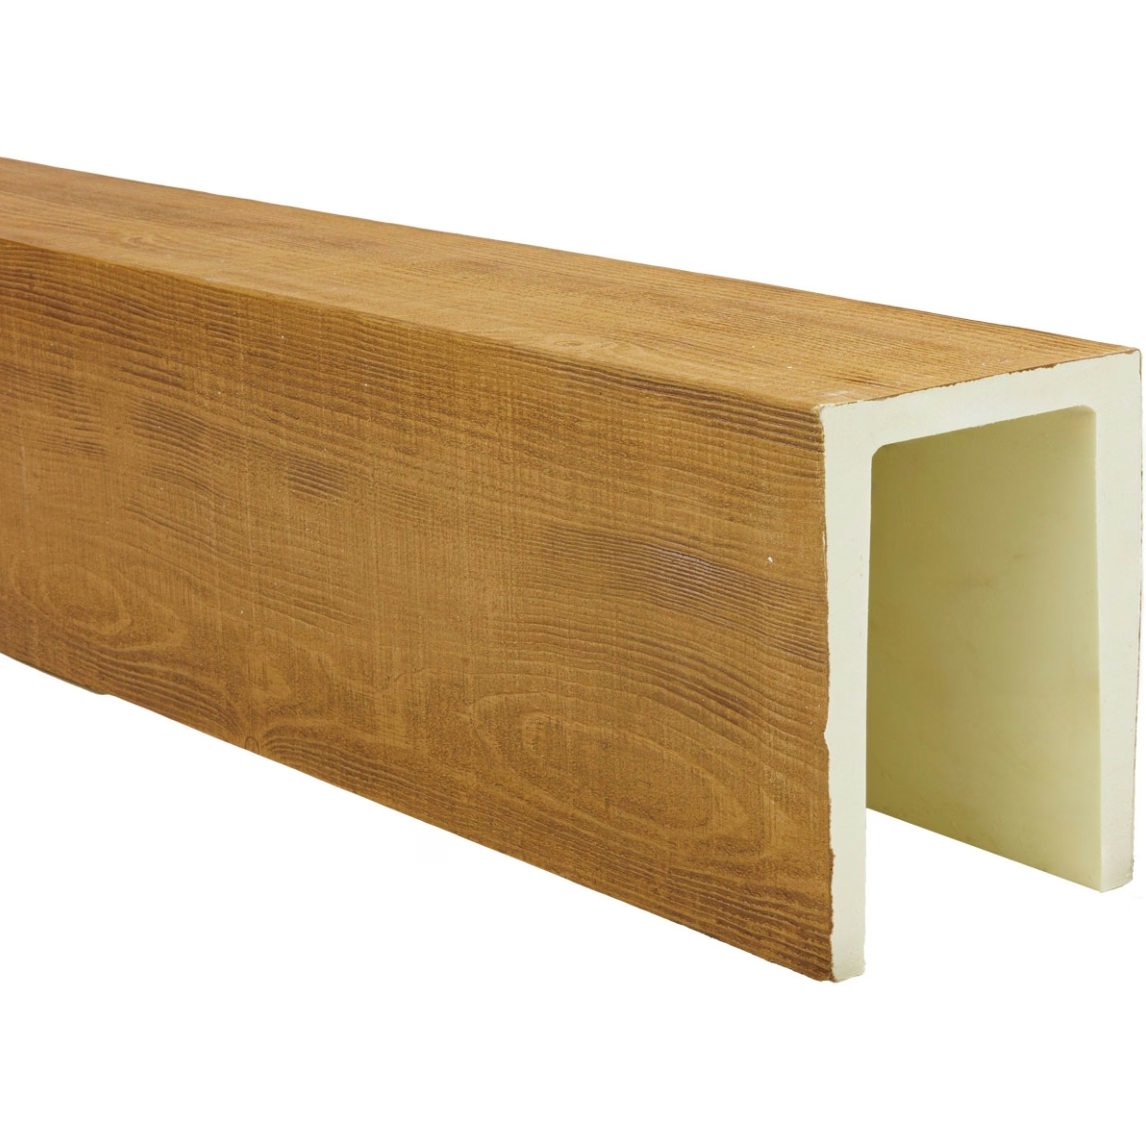
Fitting checks by dry-fitting beams without attachment verify that dimensions match expectations. Marking reference points on both beams and ceiling during fitting saves time and prevents errors during final installation. Adjustments should be made before committing with fasteners.
End preparation includes cutting beam ends to proper angles where beams meet walls or other beams. Precise miter cuts create clean intersections that enhance authenticity. Testing fit before adhesive application prevents problems with cured adhesive that would require cutting away material.
Secure Attachment Methods
Mechanical fastening through beam backs into structural framing provides primary support. Heavy-gauge screws rather than brad nails offer superior holding power for beam weight and any imposed loads. Spacing fasteners at 16-inch intervals typically provides adequate support.
Adhesive application between beams and mounting surfaces distributes load and prevents movement. Construction adhesive formulated for polyurethane provides flexible bond that accommodates thermal movement. Adhesive should be applied generously but not so heavily that it squeezes out onto visible surfaces.
Combination attachment using both mechanical fasteners and adhesive provides redundancy that neither method alone achieves. If one attachment method fails, the other maintains secure mounting. This approach represents current professional practice for ceiling beam installation.
Support straps at intermediate points along long beam runs prevent sagging that can develop over time. Straps hidden behind beam surfaces remain invisible while providing essential support. Spacing straps at one-third points along spans typically prevents visible deflection.
Joint and Transition Detail
Beam-to-beam joints should occur at structural supports or other locations where joints appear intentional. Avoid joints in visible spans where they create weak points and appearance discontinuities. Planning joint locations before ordering beams simplifies installation significantly.
Internal splines placed within beam hollows reinforce joints and maintain alignment. Cutting spline pieces from scrap material provides hidden support that improves joint strength. Splines should fit snugly without requiring force that might damage beam walls.
External straps or plates at joints add detail while reinforcing connections. Wrought iron straps or steel plates positioned at joints create authentic appearance while providing structural reinforcement. These elements can be painted to match beam finishes or left natural for contrast.
Corner joints require particular attention where beams meet at right angles. Mitered corners create clean intersections, while butt joints with decorative trim offer alternative approaches. The choice depends on beam profiles and overall design intent.
Finishing and Detail Work
Gap filling at beam perimeters addresses minor irregularities that occur in all installations. Caulk or latex spackle applied with a feathering technique creates invisible transitions. Matching gap filler color to beam finishes prevents visible repairs.
Touch-up finishing addresses any surface damage from handling or fastening. Small scratches can be filled and refinished to match surrounding surfaces. Premium touch-up materials matched to beam finishes provide seamless repairs when done carefully.
Sealant application at beam ends where they meet walls prevents dust accumulation and insect entry. Flexible caulk that accommodates movement maintains seal over time. Color-matched sealants disappear into transitions more effectively than contrasting materials.
Quality Verification
Alignment verification compares installed beams against reference lines established earlier. Small deviations can be corrected during installation, while larger errors may require repositioning. Verifying alignment before adhesive cures allows correction without significant rework.
Attachment security testing confirms that fasteners are properly seated and supporting loads. Visual inspection of all attachment points verifies complete installation. Any loose or questionable connections should be addressed before completing the project.
Clean-up removes debris, sawdust, and installation materials from work areas. Professional installers leave sites clean and ready for subsequent trades. Final walk-through with clients provides opportunity to explain any maintenance requirements and answer questions.
Technical References
ASTM standards cited in every specification
Test Data
Lab results from internal testing program
Updated 2026
Reviewed against current product specs


