Beam installations depend on underlying ceiling structure for support, making joist location and alignment critical to both appearance and performance. Misaligned beams that do not follow joist lines create obvious problems, while insecure attachment to improperly located fasteners risks failure. Understanding how to work with ceiling framing ensures installations that look intentional and perform reliably.

Locating Hidden Joists
Electronic stud finders provide the fastest method for locating joists in finished ceilings. Modern devices detect density changes between joist and drywall, providing audio or visual indication of joist edges. Calibration according to manufacturer instructions ensures accurate readings.
Drilling small test holes to locate joist centers provides verification when stud finder results seem uncertain. Small exploratory holes penetrate only through drywall, causing minimal damage that can be patched later. Measuring from known reference points like walls helps interpret test hole results.
Attic access allows direct observation of joist locations when available. Climbing into accessible attics reveals framing layout, spacing, and any irregularities that affect beam installation. Photographing attic framing provides reference documentation for areas that will be concealed by beams.
Roof slope considerations affect ceiling framing in homes with vaulted or sloped ceilings. joists in these configurations may follow different patterns than standard flat ceiling construction. Understanding the specific framing system helps interpret locating results correctly.
Dealing with Irregular Framing
Non-standard spacing between joists creates challenges when planning beam layouts. Beams crossing irregularly spaced framing may miss joists entirely in some spans. Options include adding blocking between joists, using continuous backing strips, or adjusting beam positioning to avoid gaps.
Old construction may have joists that do not align with design documents. Dimensional changes, modifications by previous owners, or construction variations create conditions that surprise installers. Verification of actual framing before ordering beams prevents problems discovered after installation begins.

Sistered joists occur where additional framing was added to existing structure, sometimes creating doubled members that confuse locating equipment. Recognizing these patterns prevents misinterpreting doubled joists as single members with unexpected spacing.
Damaged or deteriorated joists may not provide adequate holding power for beam attachment. Inspecting accessible framing identifies conditions that require repair before beam installation. Reinforcement of weak joists ensures that attachment points will support beam loads securely.
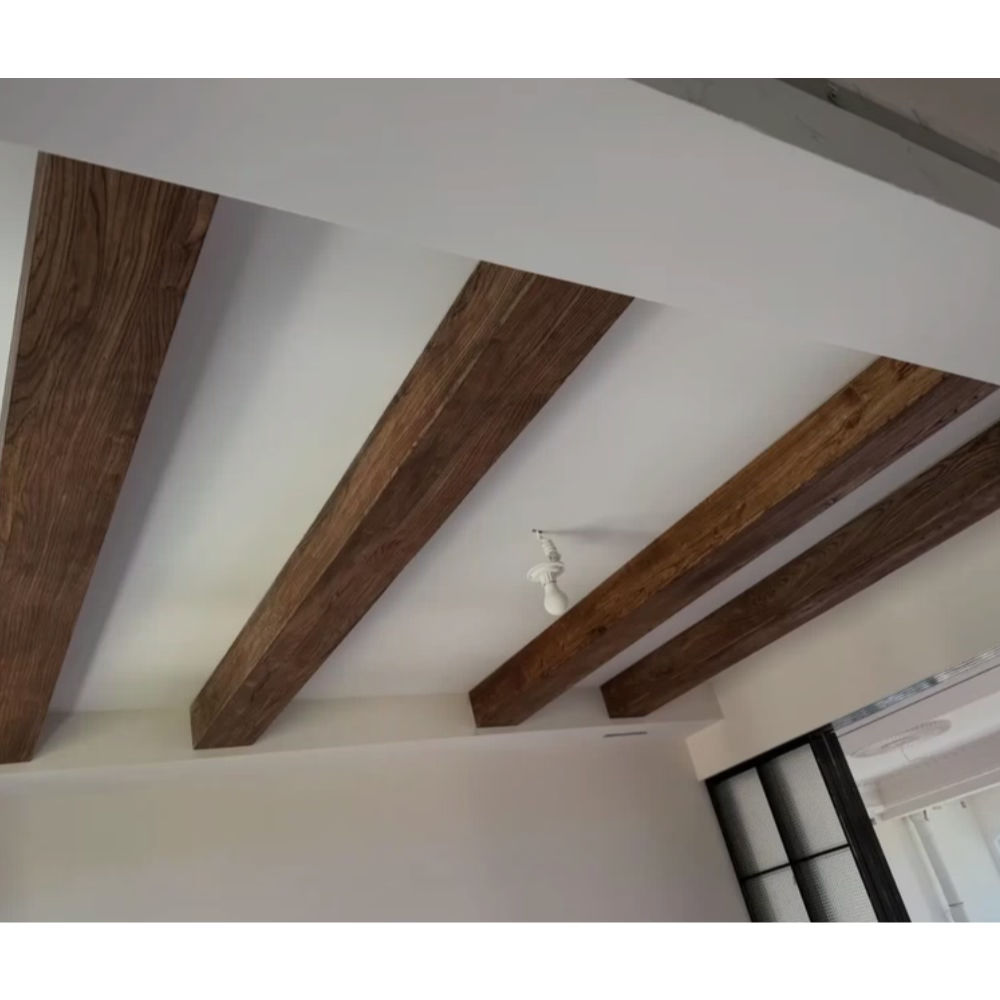
Establishing Reference Lines
Centerline establishment using string lines provides visual references that guide beam positioning. Stretching lines across ceiling surfaces at beam center locations creates continuous guides. Reference lines should be established at multiple points to verify accuracy before committing to beam placement.
Perpendicular checking ensures that beam runs are properly oriented relative to room axes. Using the 3-4-5 triangle method or laser square tools verifies that layouts are truly perpendicular to walls. Small angular errors accumulate over long runs, creating visible misalignment at terminations.
Consistent margin maintenance around room perimeters creates intentional reveals that enhance authentic appearance. Rather than pushing beams tightly against walls, allowing consistent gaps creates the impression that beams are genuine structural elements. Planning reveal widths in advance ensures consistent execution.
Cross-referencing multiple beams against each other identifies cumulative errors that might develop over extended installations. Checking that parallel beams maintain consistent spacing throughout their lengths catches problems early. Adjustments made incrementally prevent large corrections later.
Backer Board Systems
Continuous backing installation provides attachment surfaces that span gaps between joists. Plywood or OSB strips fastened perpendicular to joist direction create mounting surfaces for bracket attachment. Backing should be securely fastened to structural framing at regular intervals.
Backer board material selection affects both installation ease and long-term performance. Plywood provides excellent holding power for fasteners while remaining dimensionally stable. OSB offers similar performance at lower cost. Both work well when properly installed.
Backer board thickness should match or slightly exceed drywall to create flush mounting surfaces. Thicker backing creates mounting surfaces that stand proud of surrounding ceiling, complicating beam alignment. Selecting appropriate thickness prevents this problem.
Backer board spacing planning ensures that mounting surfaces align with beam bracket locations. Layout marking before installation identifies where brackets will attach, allowing backing to be positioned accordingly. This planning prevents discovering attachment point gaps after backing is installed.
Advanced Alignment Techniques
Laser level systems project continuous reference lines across entire rooms. Multi-line lasers project perpendicular axes simultaneously, establishing both beam centerlines and reference elevations. Battery-powered systems offer portability that corded units cannot match.
Optical level instruments provide highest precision for critical alignments. These professional tools require training to operate effectively but deliver accuracy that simpler methods cannot approach. Commercial installations with long beam runs often justify optical level setup.
Photographing reference line setups provides documentation that installers can reference throughout installation. Taking photos from multiple angles captures string line positions that might otherwise be lost. Digital reference images prove particularly valuable for multi-day installations.
Handling Complex Geometries
Vaulted ceiling joist systems follow roof slopes rather than horizontal planes. Aligning beams with sloping framing requires adjusting mounting techniques and may require custom bracket solutions. Understanding the three-dimensional geometry prevents errors that two-dimensional approaches might miss.
Tray ceiling configurations create stepped transitions between different ceiling heights. Beam installations at these transitions require careful planning to maintain alignment through changes in elevation. Mock-up installation on the floor can reveal problems before committing to ceiling mounting.
Beam grid patterns intersect at multiple points that each require attention. Installing beams in sequence rather than all at once allows verification at each intersection. Adjustments made progressively prevent accumulated errors that would affect the entire grid.
Curved ceiling framing requires custom approaches that standard techniques cannot address. Beams for curved ceilings may need to be bent or segmented to follow framing contours. Consultation with manufacturers about custom options helps identify solutions for unusual configurations.
Verification and Adjustment
Intermediate checking during installation verifies that alignment remains accurate as work progresses. Catching small errors before they compound prevents the large corrections that damage appearance and waste time. Building verification into the workflow ensures consistent results.
Reference point return checks compare current positions against original layout marks. Small shifts that occur during installation can be identified and corrected. Regular return-to-reference prevents drift that becomes noticeable in completed installations.
Final alignment verification confirms that all beams meet acceptance criteria before project completion. Walking the completed installation from multiple angles identifies any remaining issues. Documenting final conditions provides reference for any future questions.
Technical References
ASTM standards cited in every specification
Test Data
Lab results from internal testing program
Updated 2026
Reviewed against current product specs


