
Corner intersections test the skill of every beam installer. When two beams meet at an angle, the joint becomes a focal point that either draws admiration for its craftsmanship or reveals amateur shortcuts that diminish the entire installation. L-shaped corners deserve extra attention because they occupy prominent positions in rooms and light tends to emphasize any imperfection in the joint. Professional installers approach these transitions with systematic preparation and refined technique.
The fundamental challenge with L-shaped corners lies in the geometry itself. Walls rarely meet at exactly ninety degrees, beam ends are not always perfectly square, and the interaction of these two imperfect realities creates potential for gaps and misalignment. Add in the fact that polyurethane beams, while dimensionally stable, still require careful handling to avoid dings and dents during cutting and fitting, and you understand why corners demand respect.
Analyzing Corner Geometry Before Cutting
Every corner presents a unique geometric puzzle that determines the best installation approach. Before making any cuts, measure the actual angle at the intersection using a digital angle finder or smart phone protractor application. Standard walls supposedly meet at ninety degrees, but decades of construction practice prove otherwise. New build framing tolerances allow considerable variation, and older walls may have shifted or been modified over time.
For standard ninety-degree corners, a mitered joint typically provides the cleanest appearance. This approach cuts both beam ends at forty-five degrees so they meet at the corner point. When executed correctly, the joint line disappears almost completely, especially when the beams receive paint or stain finish after installation. However, forty-five-degree cuts demand precision because any error compounds at the intersection point.
Non-standard angles require different strategies. Obtuse angles above ninety degrees often work better with butt joints rather than mitered cuts because the geometry becomes increasingly sensitive to small errors as the angle increases. Measure the actual angle carefully and cut sample pieces in scrap material before committing to finished beams. Some installers prefer to cut slightly long and trim incrementally, while others mark directly from the corner and cut once.
Template and Marking Techniques
Create physical templates from cardboard or thin plywood before cutting expensive polyurethane beams. These templates capture the exact geometry of your corner situation and allow you to test fit and adjust before making irreversible cuts. A template also serves as a reference during installation, confirming that your blocking and mounting hardware align with the beam positions.
Mark cut lines directly on the beam surface using a sharp pencil and straight edge. Avoid felt-tip markers that can bleed into the beam surface and create staining problems after finishing. For miter cuts, transfer the angle precisely and mark the waste side of the line clearly— cutting on the wrong side by even a millimeter creates fitting problems that accumulate through the installation.
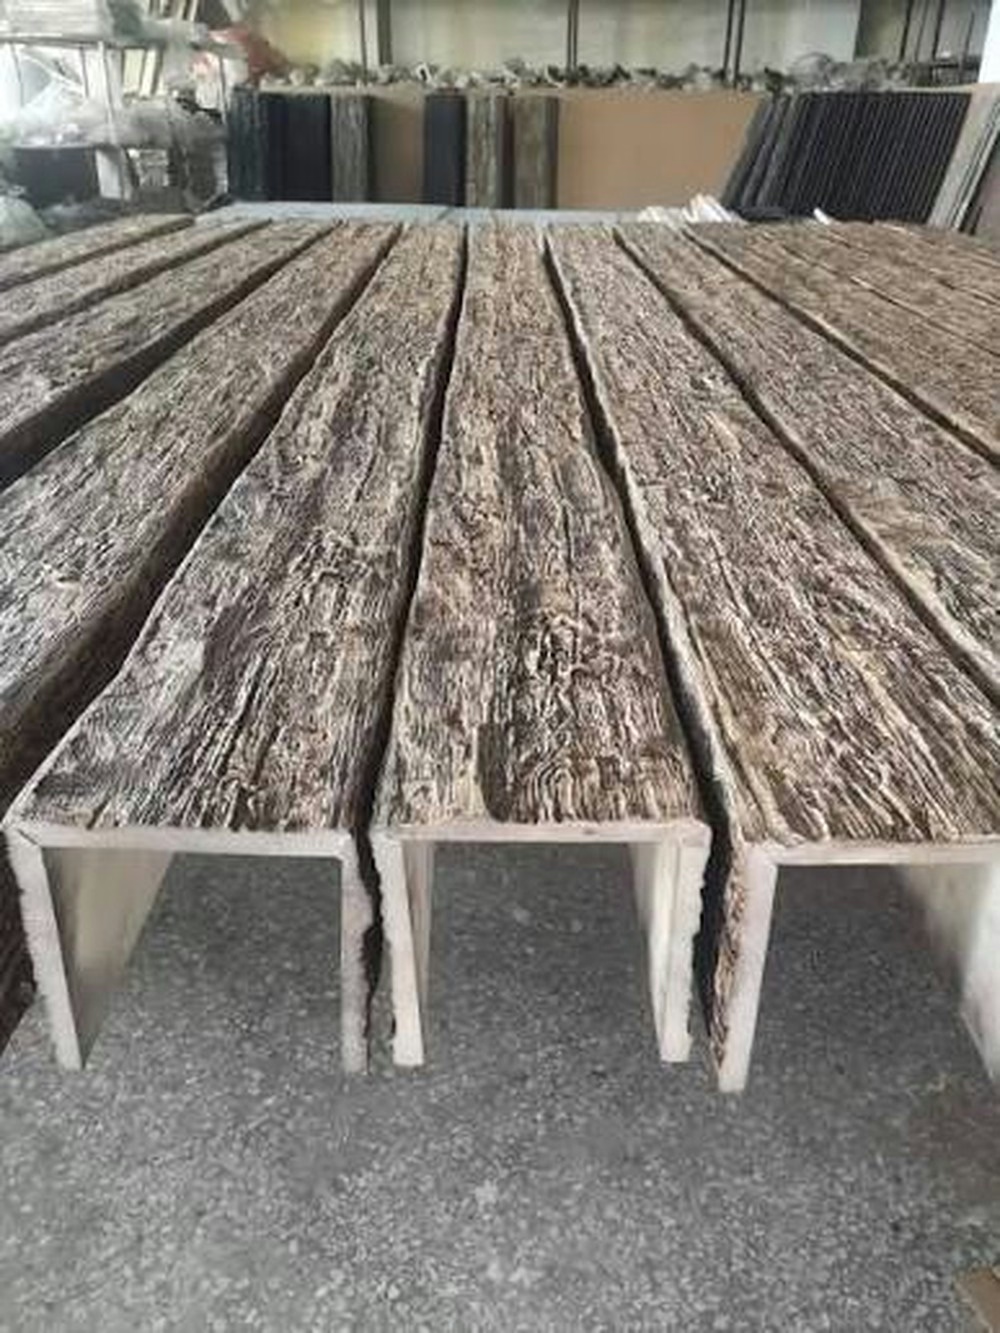
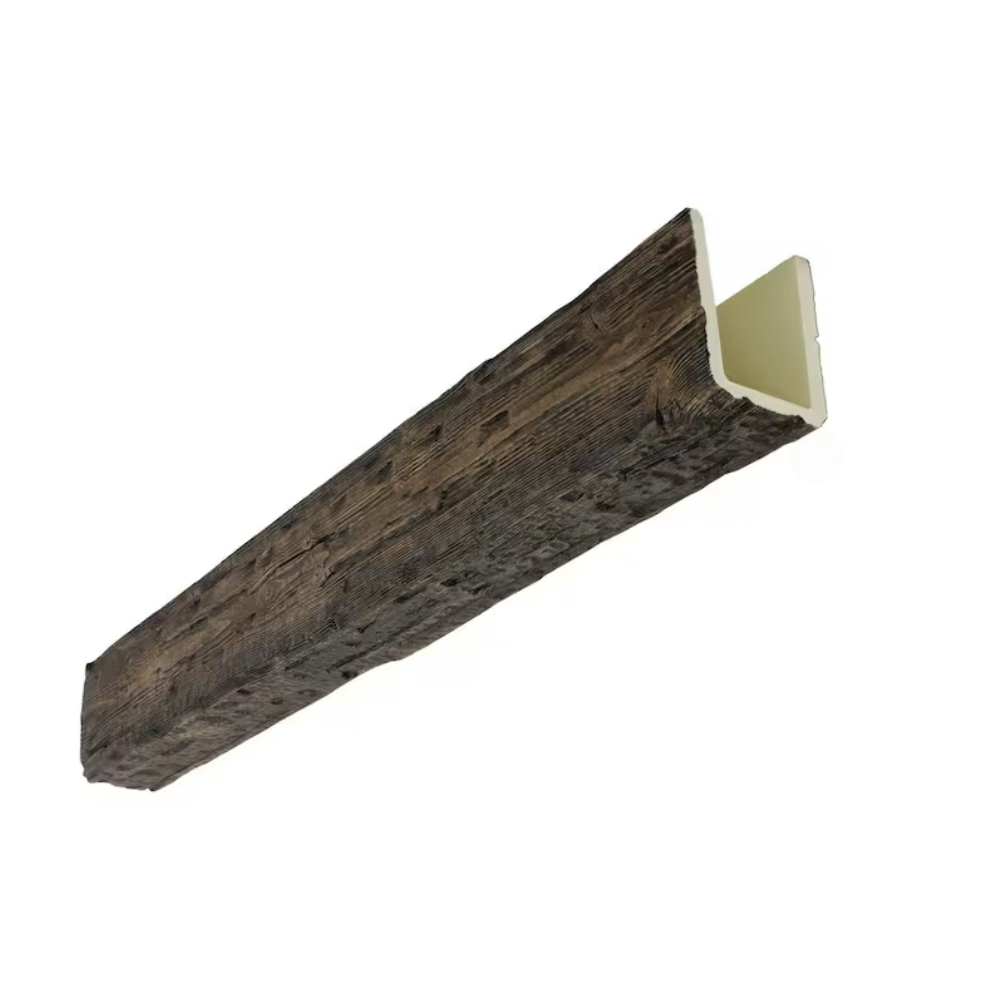
Consider the wood grain pattern when planning your cuts, particularly if the beams have decorative textures that should align across the joint. Some beam profiles feature directional textures like realistic wood grain that look wrong if interrupted abruptly at a corner. Plan your cut placement to either preserve texture continuity or position the interruption at a less visible angle.
Executing Precision Miter Cuts

Miter cuts for beam corners demand sharp blades and steady technique. A dull blade tears the polyurethane surface rather than cutting cleanly, leaving ragged edges that require extensive repair before finishing. Invest in a quality blade designed specifically for composite materials, and replace it when cutting performance degrades. The expense of proper blades pays back in reduced finishing work and superior joint quality.
Set your miter saw to exactly forty-five degrees and verify the setting with an angle finder before cutting. Mechanical miters can drift slightly during use, so check positioning before each cut rather than relying on the detent position. For long production runs of identical corners, consider a stop block that positions the beam consistently without repeated measurement.
Support long beams fully during cutting to prevent binding and kickback. Use outfeed supports that keep the beam level throughout the cut, and maintain firm control as the blade completes the cut. Polyurethane is lightweight but can bind if not supported properly, creating safety hazards and poor cut quality. Take your time— rushing through cuts saves seconds while potentially ruining expensive beam stock.
After cutting, dry fit the joint before any adhesive or fastener application. The two mitered surfaces should meet completely with no visible gap when held together. If gaps appear, examine them carefully to determine the cause. Common issues include blade deflection during cutting, slightly incorrect miter angles, or beam stock that is not perfectly flat. Minor fitting issues can sometimes be resolved by shimming thin material into the joint, but significant problems require recutting.
Managing Inside Corners Versus Outside Corners
Inside corners, where the corner point extends into the room, require different treatment than outside corners where the corner point faces the wall. Inside corner joints often experience more stress from thermal expansion and building movement, so consider adding mechanical reinforcement beyond adhesive bonding. Hidden screws through the back of the beams into blocking provide strength that adhesive alone cannot guarantee.
Outside corners with mitered joints benefit from careful attention to the exposed corner point. This single point takes all the stress from any beam movement and must be protected. Some installers add a small wood dowel or hardwood spline into the corner joint for additional strength. Others apply extra adhesive and clamp the joint until cured. Evaluate the specific conditions of your installation and apply reinforcement appropriate to the stress level.
Consider how the corner joint will look after finishing. Unfinished mitered joints often show hairline gaps that disappear when filled and painted but remain visible with natural stain finishes. If your project uses transparent or semi-transparent finishes, test your finishing approach on scrap pieces first to confirm acceptable results. The finish application itself can highlight or minimize joint visibility depending on technique and products used.
Finishing and Sealing Corner Joints
Once beams are mounted and the adhesive has fully cured, address the corner joint for its final appearance. Hairline gaps can be filled with paintable caulk that flexes slightly with building movement without cracking. Apply caulk carefully, tooling the surface smooth and wiping away excess before it dries. Multiple thin applications build up gaps gradually without the cracking that thick applications often exhibit.
For joints that will receive stain finishes, use wood filler or tinted caulk that matches the beam color. Test any filler material on scrap pieces to confirm color matching and compatibility with your finish system. Some fillers absorb stain differently than the beam surface, creating visible patches that telegraph the repair location. When in doubt, apply finish to the filled area and adjacent surfaces together to minimize color variations.
Sand any rough spots in the joint area before applying finish, working progressively through finer grits until the surface feels smooth. Mask adjacent surfaces if necessary to prevent accidental finish application. For paint finishes, prime the joint area before applying topcoats to ensure consistent appearance. Stain finishes may require additional coats in the joint area to achieve uniform color density.
Troubleshooting Common Corner Problems
Gaps that appear after installation often result from normal building movement rather than poor workmanship. Gaps smaller than 1/16 inch typically respond well to caulk treatment without repair. Larger gaps may require inserting thin filler strips before caulking and finishing. Document the gap location and size, and monitor whether it changes over seasonal cycles before committing to major repair.
Corner joints that separate completely indicate adhesive failure that requires re-installation. Examine the failed joint to determine the cause— insufficient adhesive coverage, contaminated bonding surfaces, or inadequate clamping pressure during cure time. Address the underlying cause before re-gluing to prevent recurrence. Adding mechanical fasteners provides additional security in high-stress situations.
Visible seams in otherwise acceptable joints often respond to careful finishing technique rather than major repair. Scuff the joint area lightly with fine sandpaper, apply a thin coat of primer or sealer, and finish with careful topcoat application. The goal is to create a unified surface appearance rather than eliminating a physical seam that may always exist at some level.
Technical References
ASTM standards cited in every specification
Test Data
Lab results from internal testing program
Updated 2026
Reviewed against current product specs


