Contractors who install faux wood beams regularly develop refined techniques that balance speed, accuracy, and durability. These professionals understand that beautiful results depend on proper preparation, thoughtful planning, and execution discipline throughout the installation process. Whether you're a contractor seeking to improve your methods or a homeowner overseeing an installation, understanding professional approaches helps ensure successful project outcomes.
The most experienced installers approach each project with a systematic mindset, following established procedures that address common challenges before they become problems. They prepare thoroughly, measure precisely, attach securely, and finish carefully, creating installations that look professionally executed and perform reliably over time. These methods aren't secrets, but rather documented best practices that contractors share with those willing to learn.
Site Assessment and Preparation
Professional installation begins before any beam ever touches the ceiling. Contractors assess the installation site thoroughly, identifying structural elements that will support beams, obstacles that must be accommodated, and conditions that might affect adhesion or attachment. This assessment guides selection of appropriate installation methods and materials.
Ceiling conditions require particular attention. The surface must be clean, dry, and structurally sound before installation begins. Any loose paint, wallpaper, or finish gets removed. Moisture problems get addressed. Surface irregularities get corrected if they'll interfere with beam alignment. Taking time to prepare the surface properly prevents problems that would otherwise emerge after beams are installed.
Structural support assessment determines how beams will be attached. Some installations attach directly to ceiling joists or studs, providing secure mounting points throughout the beam span. Others must create support structures using ledger boards or sister joists where existing structure doesn't align with beam positions. Professional contractors identify these requirements during site assessment and address them before beginning beam installation.

Layout Planning and Marking
Accurate layout marks ensure that beams install in the correct positions relative to room features and each other. Professional contractors spend significant time on layout, using measurement, leveling, and marking techniques that produce precise alignment. This investment pays dividends through faster installation and better-looking results.
The layout process starts with establishing reference lines that run the full length or width of the installation area. These lines get verified for level or plumb, depending on orientation, and get marked prominently so they're visible throughout installation. All subsequent measurements reference these lines, ensuring consistency across the entire installation.
Beam positions get marked individually, indicating centerlines and edges for each beam location. In grid installations, contractors often use a story pole—a marked stick that transfers consistent spacing measurements across the ceiling—rather than remeasuring for each position. This technique reduces cumulative error and ensures that spacing remains consistent even across long distances.
Secure Attachment Techniques
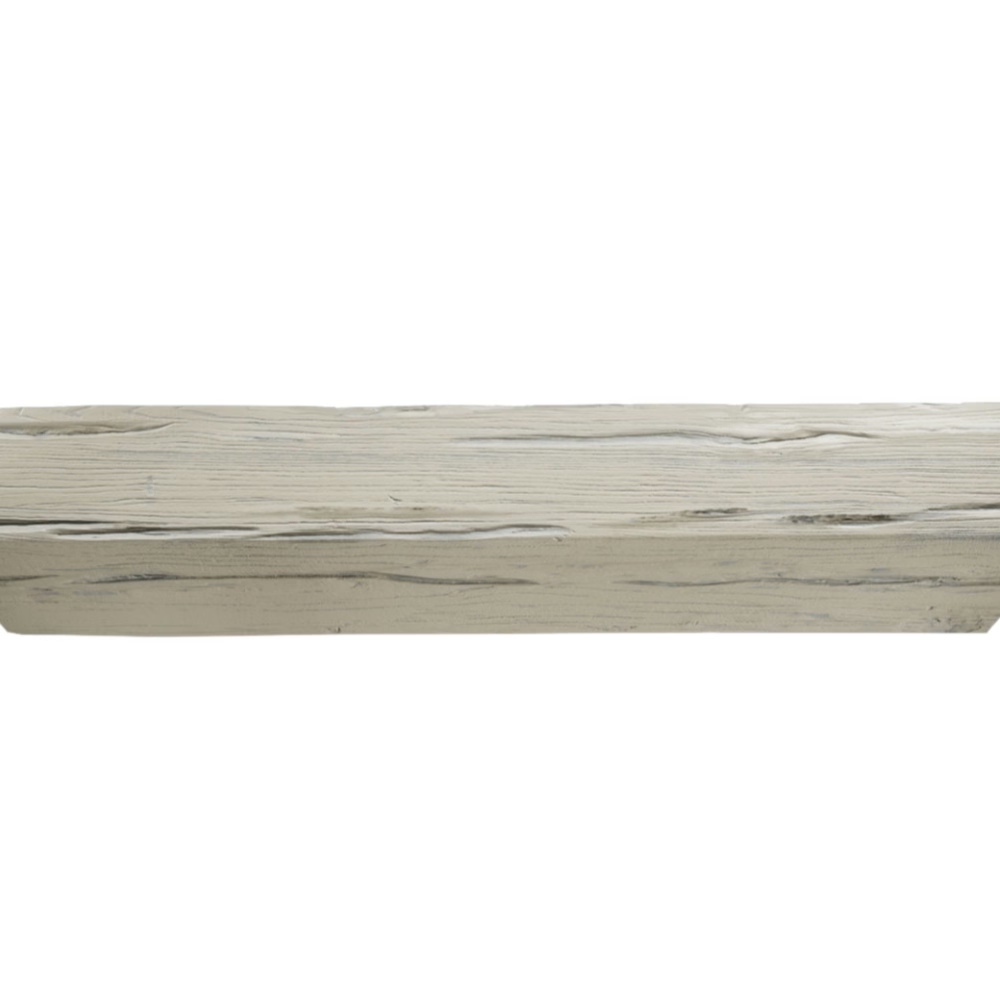
Polyurethane faux beams achieve secure attachment through various methods depending on structural conditions and beam configuration. The most reliable installations use mechanical fasteners supplemented by construction adhesive, combining immediate holding power with long-term security. Professional contractors understand which attachment approaches work best for specific situations.
Direct attachment to structural elements works when ceiling joists or studs align with beam positions. Installers locate these structural elements using stud finders or by measuring from known reference points, marking their positions on the ceiling. Beams then get drilled and fastened through to the structural members below, using screws long enough to penetrate well into the structure.
When beams don't align with structural elements, contractors install backing boards that bridge between existing structure. These backing boards—typically dimensional lumber or engineered wood—get fastened to existing joists or rafters, creating continuous support for beam attachment. The beams then fasten to this backing throughout their span, distributing load across multiple connection points.

Alignment and Leveling
Professional beams might look effortlessly installed, but achieving that appearance requires careful attention to alignment and leveling throughout the process. Experienced contractors use a combination of measuring, sighting, and temporary bracing to ensure that beams sit perfectly positioned relative to the ceiling and to each other.
The first beam installed establishes the standard for all subsequent pieces. Contractors take extra care positioning this beam, verifying level in both directions and checking alignment with room features such as walls, windows, and doorways. This reference beam then guides the positioning of parallel beams through consistent spacing measurements.
For installations with beams running in multiple directions, intersecting beams require special attention. The intersection must align precisely, with both beams meeting at their centerlines. Contractors often use temporary supports to hold intersecting beams in position while checking alignment and making adjustments before permanently fastening either piece.
Finishing and Detailing
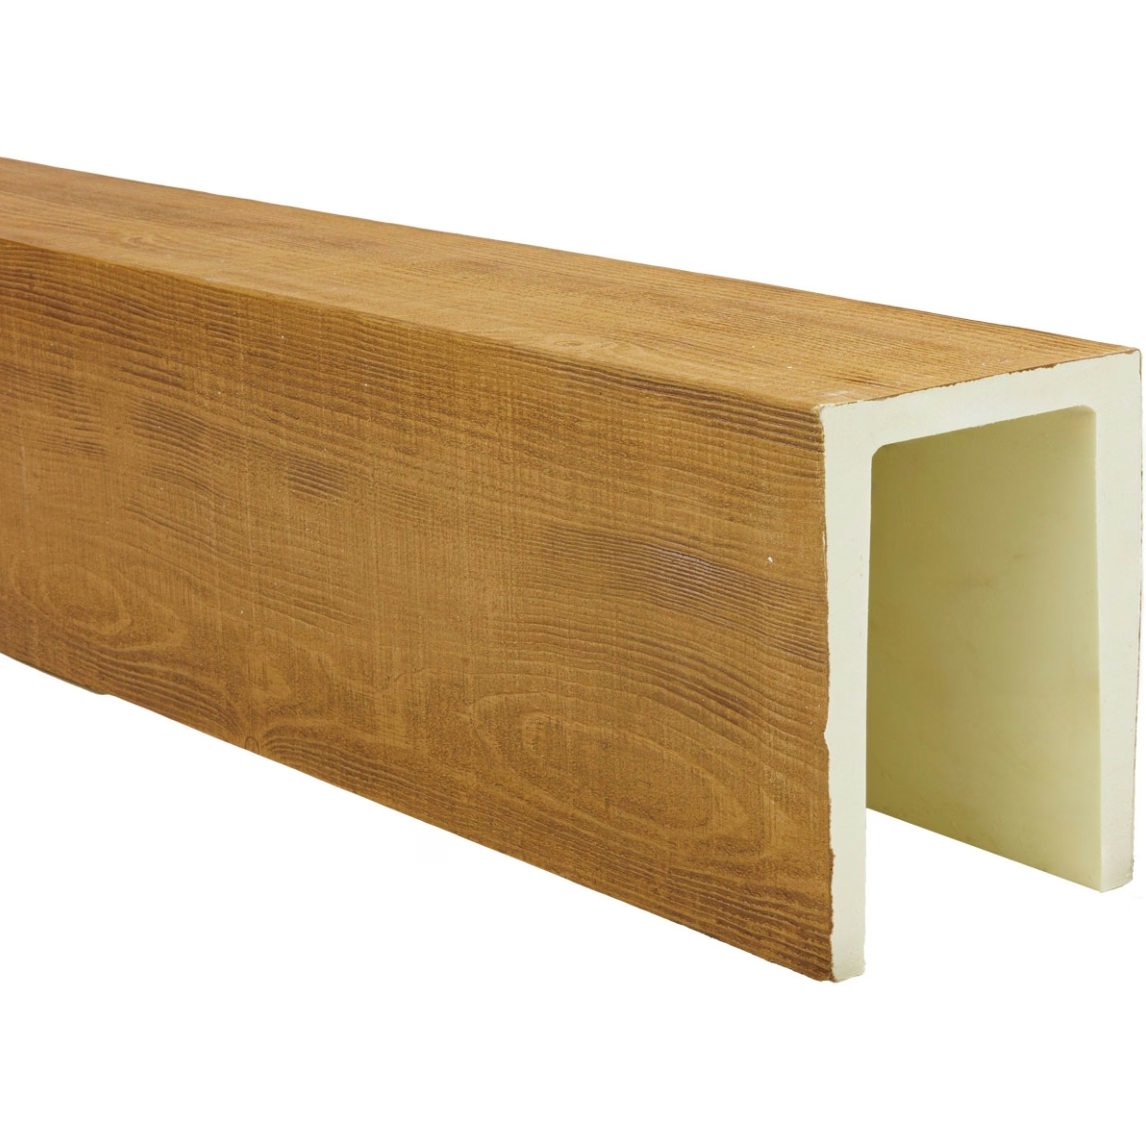
The finishing process transforms a correctly installed beam into a beautifully integrated architectural element. Professional contractors pay attention to seams, fasteners, and transitions that would otherwise draw attention. These details determine whether the installation looks intentional and professional or hasty and incomplete.
Seams between beam sections require careful treatment to appear continuous. Professional installers use seam filler compounds designed specifically for polyurethane, applying them in thin layers that won't shrink significantly as they cure. After filling, seams get sanded smooth and finished to match the surrounding surface texture. This attention to seams makes them invisible even at close inspection.
Fastener locations receive similar treatment. Countersunk screws get filled with patching compound, sanded smooth, and finished to match the beam surface. Some contractors prefer to locate fasteners where they'll be least visible—along beam edges rather than on flat surfaces, or in shadow areas where natural light doesn't highlight imperfections.
Quality Verification and Cleanup
Professional installation concludes with thorough verification that everything looks and performs as expected. Contractors step back to view the installation from multiple angles, checking for alignment issues, visible seams, or other imperfections that require correction. Catching and addressing these issues before leaving the job site prevents callbacks and ensures customer satisfaction.
The cleanup process removes installation debris and protects the finished installation during subsequent work. Dust from cutting and sanding gets vacuumed or swept from surfaces. Protective coverings get installed if additional construction work will occur nearby. Temporary supports get removed, leaving the installation ready for the next phase of the project.
Technical References
ASTM standards cited in every specification
Test Data
Lab results from internal testing program
Updated 2026
Reviewed against current product specs


